Jeweller's tools: do they always need modifying?
Absolutely not. Most tools work perfectly well straight out of the pack. But there are others, such as gravers, that need a reasonable amount of modification before they can be used. Then, there’s the category that we’re going to discuss today: Simple tools that just need a little tweaking to make them perfect for the job at hand.
While every jeweller will have their own ways of modifying their tools, I wanted to cover a few of my personal favorites right here. So, enough with the waffle, let’s dive right in:
Pliers
Smooth out those edges

The easiest way to get your jewellery to a beautiful, smooth finish is not to make any marks in the first place. And pliers are one of those tools where if not used correctly, can very easily put bite marks in your work.
Of course, you should always be working mindfully with your pliers, but aside from that, the simplest thing you can do here to help avoid this, is use a little sandpaper to remove the sharp edges from the pliers.
You don’t need to remove a tonne of metal here. Just make sure those corners are soft and rounded rather than sharp and angular.
Sandpaper in any form will work for this, and I’ll usually use 240 grit followed by 600 grit.

Increase the grip strength by shortening the length of the jaws

The grip strength of a pair of pliers increases the further into the jaws you go. And while sometimes you might need a pair of pliers with long slender jaws, I often find they offer very little benefit and simply get in the way. And so, one modification I have done to multiple pairs of pliers is to shorten the jaws.
To start with, I’ll cut through the jaws with a 0.5mm Agilo reinforced cut off disk from OttoFrei, before smoothing the edges with sandpaper.
Use the code LWAY5 for a 5% discount on orders over $100

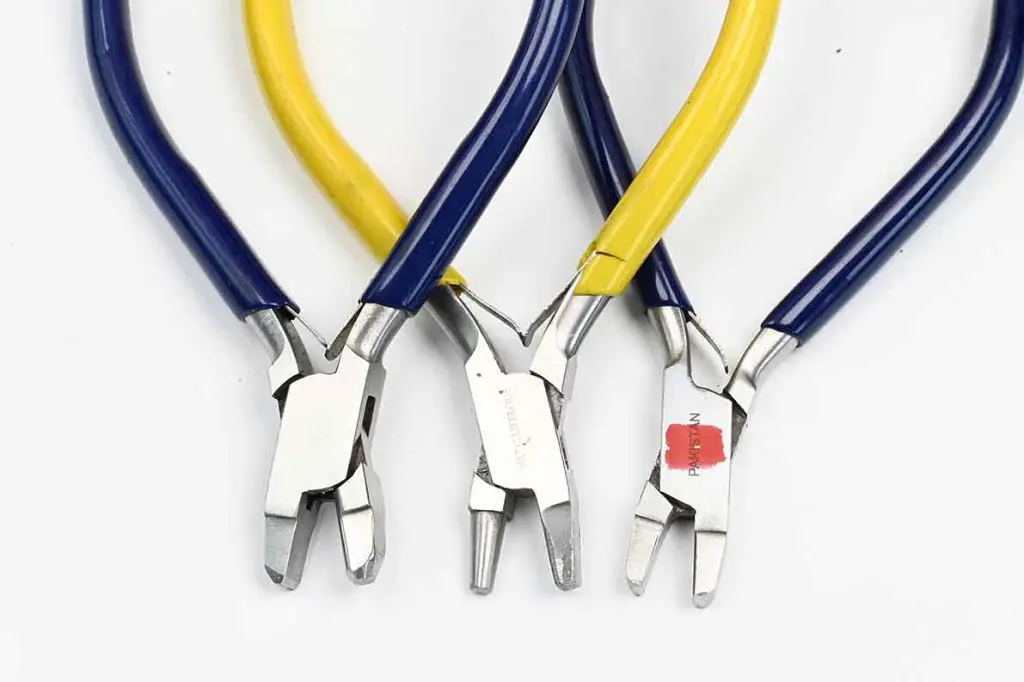
Here you can see I have modified three pairs of pliers; round and flat nosed, half round and flat nosed and flat. And because these are cheap as chips pliers (each of these cost no more than $8), I can afford to have both an unmodified pair for when necessary, and a modified version which I end up using 80% of the time.
We have a full video as part of our brand-new Rings Within Rings class on exactly how to do this, thought you might enjoy this one while you’re here!
A class on fabrication, soldering and finishing
Barrette Needle file
Avoid scratching or chipping stones by smoothing out the edges

This is a file that I often use for shaping prongs after stone setting, which means the edge of the file is in contact with the surface of the stone.
I’ll start by saying I truly recommend using quality files in your work. Cheap pliers are a god send, but cheap files a nightmare. But even with high quality barrette needle files, there’s going to be a slight extension of the teeth over the edge of the file, and we really don’t want these to be catching our stone.
Watch the video below to see how I modify my barrette needle file.
Setting punches and hammer handpiece anvils
Bite marks created by using an unmodified punch can ruin a bezel pretty quickly. Let's get those rounded out!

Generally, I’ll make my own punches for bezel setting. However, Foredom handpiece anvils generally come with very sharp edges – so they gotta go.
With any stone setting tool though, I never bring them to a bright polished finish. I just make sure they’re smooth. I find a highly polished surface on a punch or rocker makes it much easier to slip with them when setting stones – which is something we really don’t want to do.
Watch the video below to see how I modify my Foredom hammer handpiece anvils.
Rubber wheels
Amazing tools, but if not used mindfully and kept in tip top shape, they can make a bigger mess than you started with in seconds!

I find for the most effective use, rubber wheels at least need to be dressed regularly to keep them to their intended shape. A knife-edge rubber wheel works best when it really is a knife edge, and a flat when it has that perfectly flat edge. So, if you find your rubber wheels are rounding out and losing that crisp definition, it’s quick and easy to fix with a diamond plate, or even a sandpaper stick.
Simply set them running, and hold them so that they run against a diamond plate for a few seconds. I use cheap diamond plates from Amazon that are designed for sharpening knives.
There are of course, tonnes of other ways you may want to modify your rubber wheels to suit the job at hand.


I’d love to share with you all my tool modifications, but alas it’s time to call and end to this post! You will however find tonnes of videos on this subject over at the Metalsmith Academy!
Before you go though, if you have a second, leave a comment below and let me know some of your favorite tool modifications!
Ready to dive in and learn how to make jewellery with confidence?

Join the Metalsmith Academy today and you’ll have access to all the classes you need to get up and running making professional looking jewellery with confidence – all filmed with your viewing pleasure in mind. According to our students, our videography is the best out there!
You’ll also be able to ask questions on this class and others in our active community forums where Lucy and Vennice are personally available every single day.
Curious about what’s happening at the Metalsmith Academy, but not quite ready to join? Sign up below to take a peek the classes available, resources, and all the magic we have to offer! As a welcome gift, we’ve prepared some incredibly helpful free resources that you won’t want to miss.