How to make A
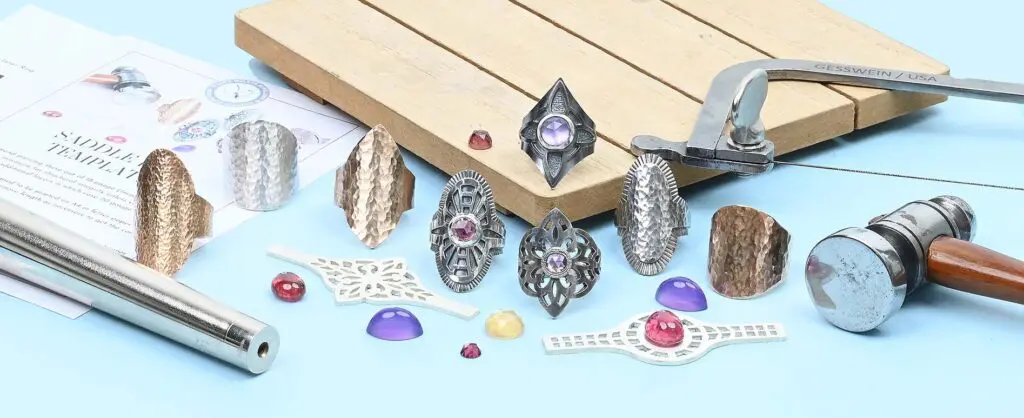
Saddle Ring
Before diving into this, please be aware this is just a short tutorial. You’ll need to already have experience with soldering, bezel setting, and saw piercing to make the most of this one!
Nothing is set in stone
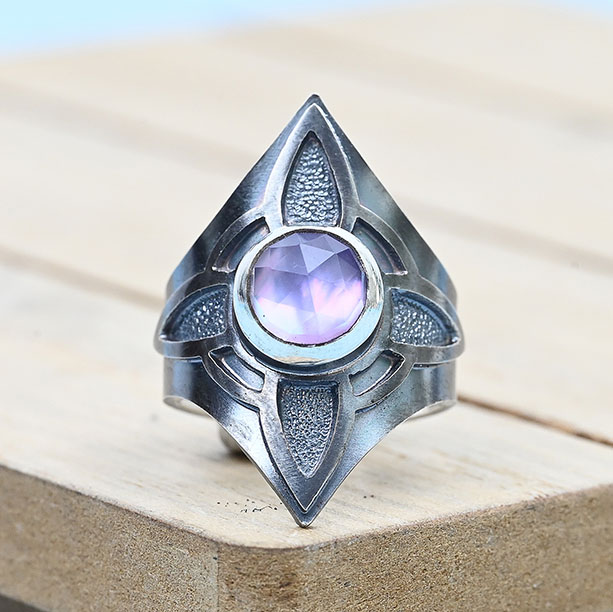

This project is a quick step-by-step guide to making the ring to the left, but the basics will work for a huge variety of designs.
There is always more than one way to do everything, though, and my advice, is to never stop learning and experimenting for yourself!
Alrighty, let’s make a saddle ring!
Before you start, you’ll want to download the free template we made for you below – just click the button below and it will download for you right away.
Piercing out the saddle ring design
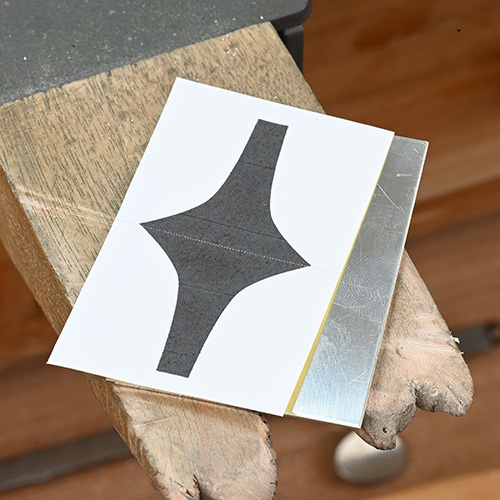

The base of the ring band is to be pierced from 18 gauge (1.0mm) thick sheet
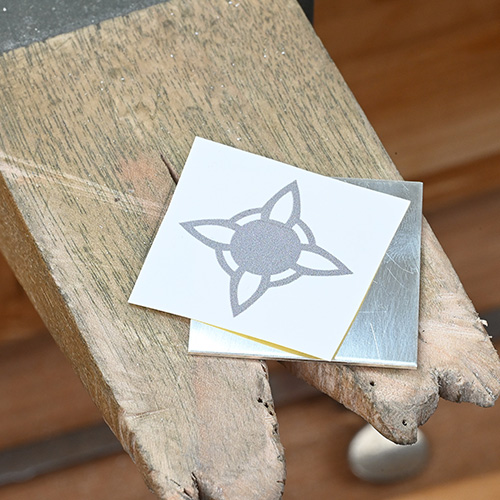

First up, we‘ll want to print out our design and get that attached to the sheet metal we’re going to be making our ring from.
For the base of the ring, I’m going to be using 18-gauge (1mm) sterling silver and for the pierced portion of the the ring, I’m going to be using 20-gauge (0.8mm) sterling silver.
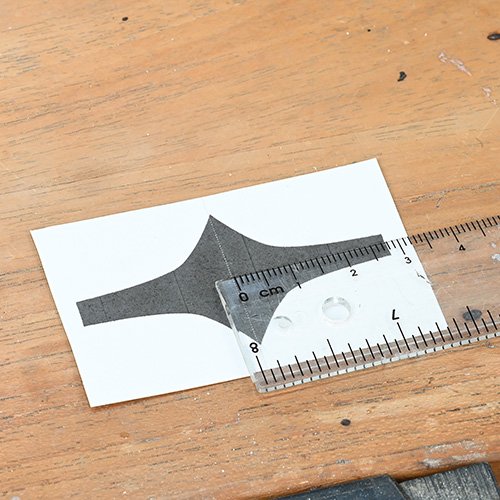

Sizing for saddle rings is not as simple as sizing for a plain band, unfortunately. Because of the shape of the ring, what fits one person’s size 6 finger may not fit another. And so, sizing guidelines are certainly not set in stone.
I marked a center line on the ring band template so you can add or remove metal equally from both sides of the ring band according to the size you wish to make.
Calculating the length for the ring band
I am aiming to make a size 6 ring. Because this is a particularly wide band, I am going to adjust the measurements slightly. Only trial and error over time will tell you just how much you need to adjust for each ring.
Just incase you need it though, here’s a reminder on the maths:
Inside diameter of a size 6 ring band = 16.5mm
Metal thickness of the ring band = 1mm<(16.5+1) x 3.14 = 54.95
I’ll then add 1mm to the length to take account of the extra thickness of the band (this is just a rough number off the top of my head, but it worked).
Once you have your sizing sorted, you can pierce out the inner ring and the pierced detail to be soldered in place.
Everything should be finished up and filed and sanded at this stage.
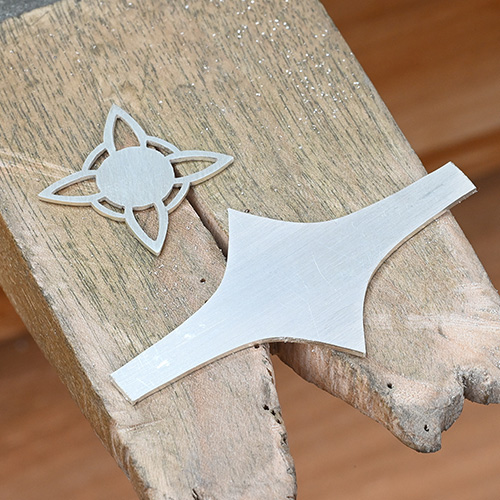

Soldering the design onto the saddle ring
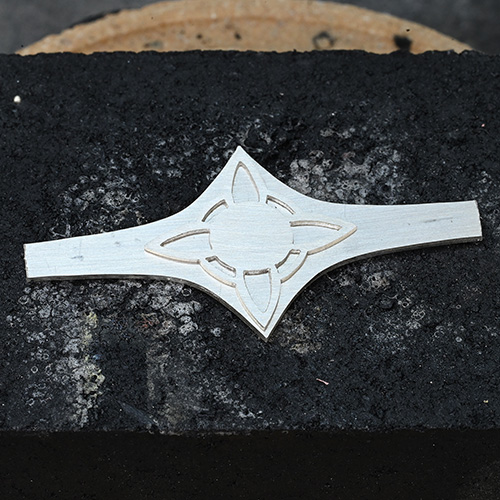

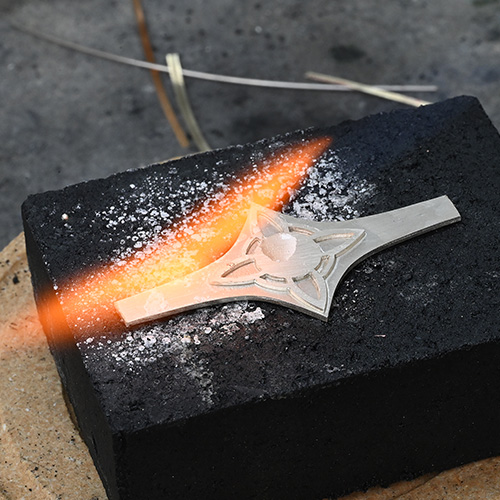

I’ll then add hard solder and heat everything evenly until the solder flows.
The key thing is not to add too much solder, as this leads to solder bumps once the solder join is full. Remember, you can always add more if necessary.
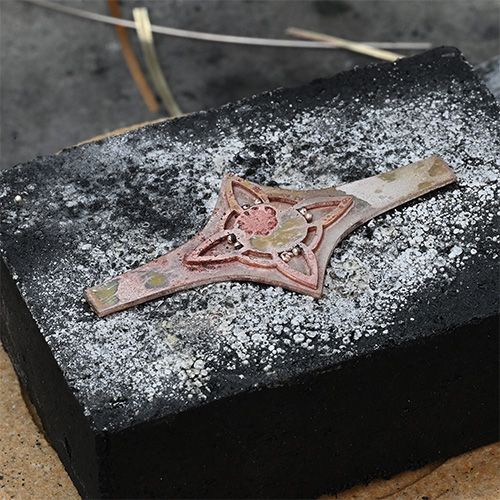

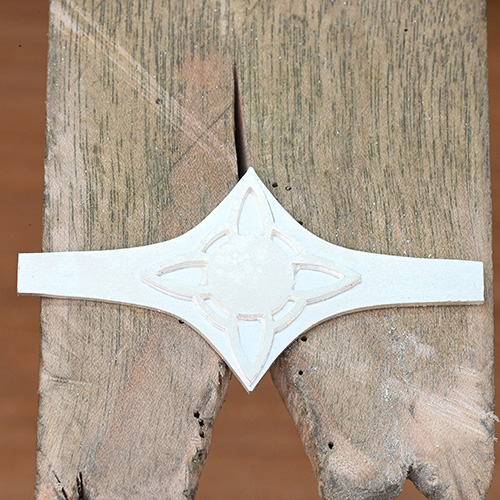
After pickling, check the solder has flowed entirely and that there are absolutely zero gaps between the pierced detail and the ring band.
If there are any gaps, reheat the piece and add a little more solder if necessary.

Forming the Ring
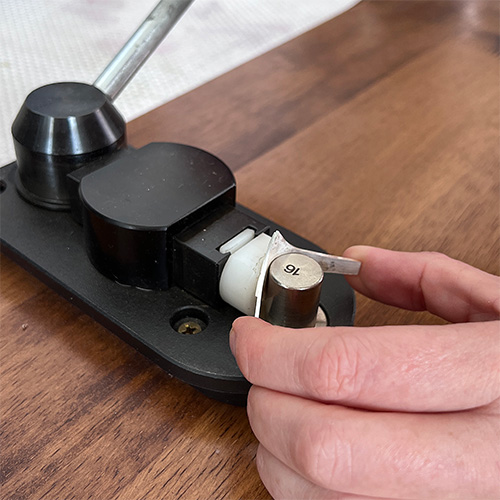

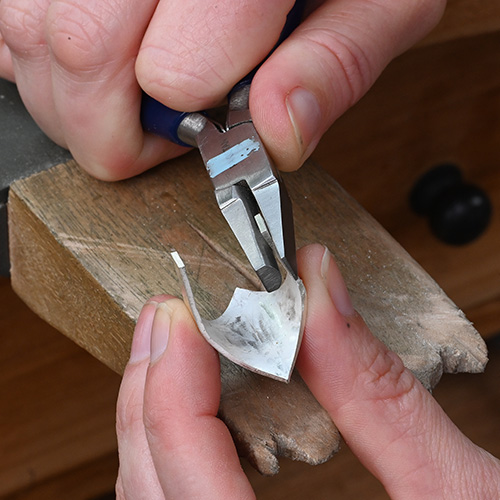
Of course, there are many ways you can form a ring band, but because the center of this band is now quite heavy, I’m going to use my Pepe Tools ring bender with a delrin outer die to form the center of the ring band first. The delrin die means I won’t leave marks on the outside of the ring band.
Because the ring band is taller than my ring bender, I will form this evenly from both sides of the ring band. It can get a little tricky with rings like this though.
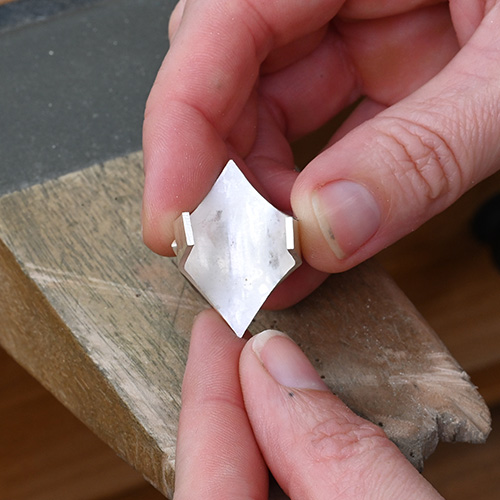

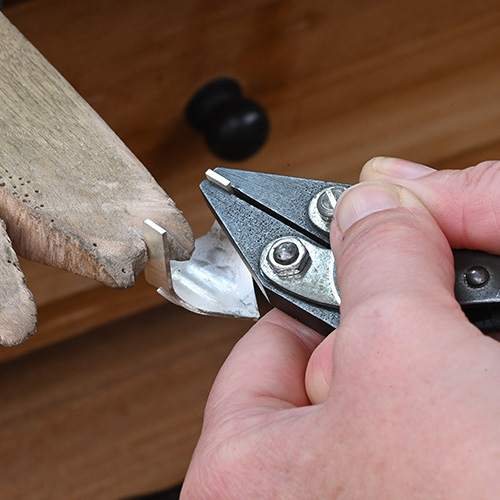

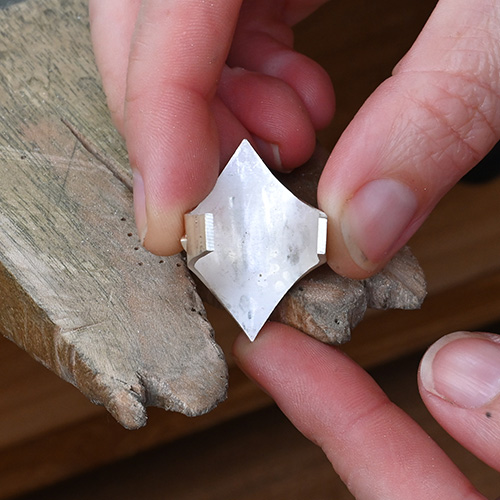


Soldering the saddle ring
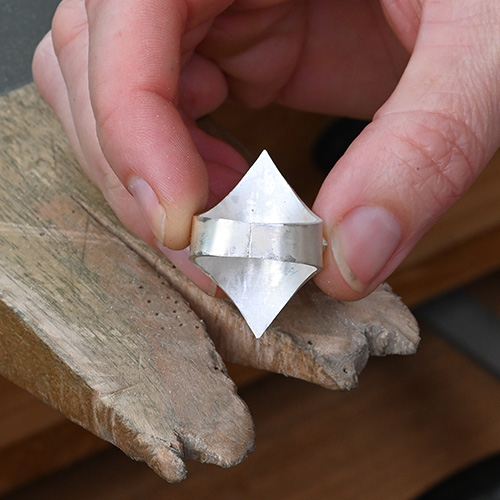

Make sure the solder seam is perfectly aligned, and we’re ready to get this soldered.
If there’s a tiny gap in your seam, you can cut directly through it with a saw to get that bang on.
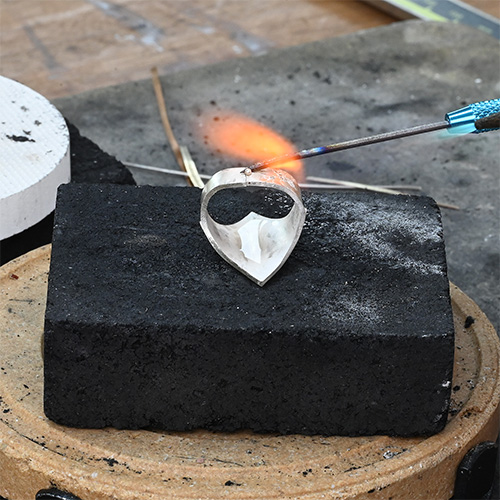

I don’t get overly fancy with my soldering operations when it’s not necessary. The ring band here is just plopped down onto a charcoal block.
I’ll solder the seam closed again using hard solder.
Rounding out and finishing up the ring
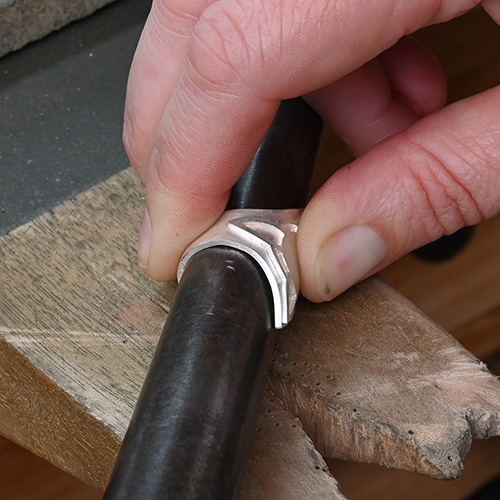

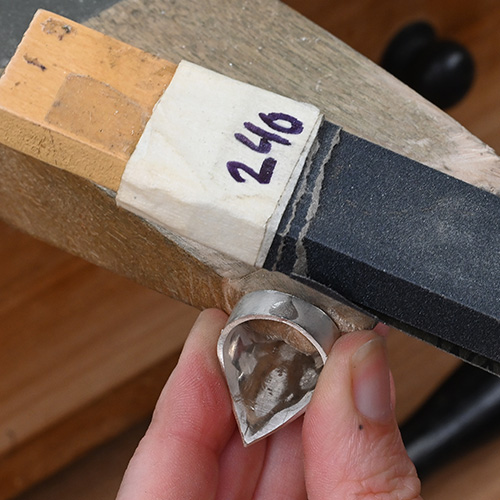

Once the ring is rounded out, we’ll get to cleaning the whole thing up. We’ll start out with the solder join on the outside of the ring band.
I’ll use sandpaper sticks to clean up all the way to 1000 grit for this section.
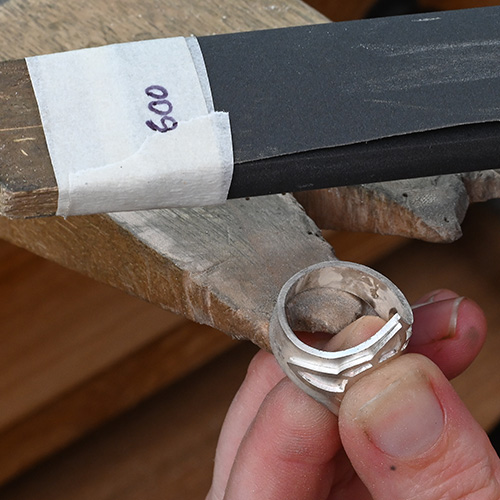

I’ll also use the same sandpaper sticks to clean up the lower 1/3 of the ring band (directly over the solder seam) which is perfectly flat.
Again, starting at 240 grit and working all the way to 1000 grit.
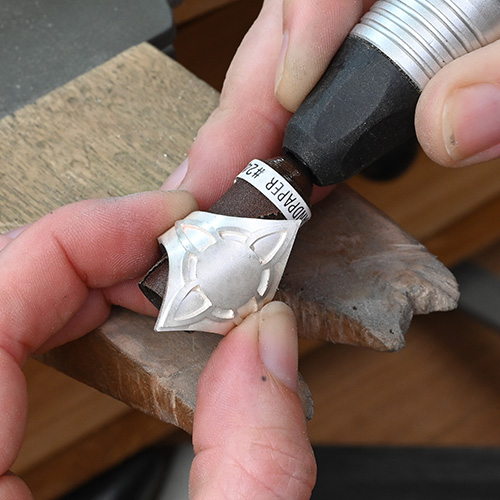

For the inside of the ring, I’ll use the usual sandpaper rolls. My favorite brand are Banana Rolls as the paper tears of cleanly.
I’ll start at 240 grit and working through to 1000 grit.
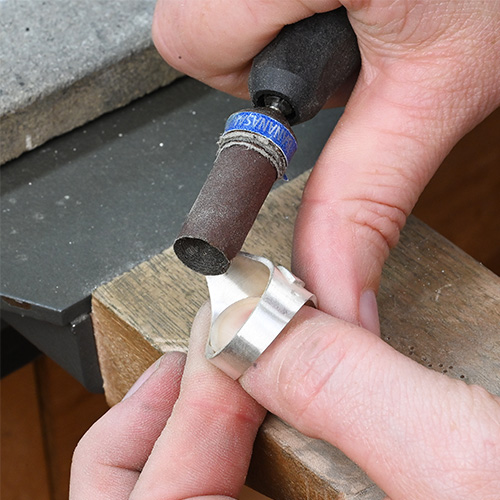

I’ll also use the sandpaper rolls for the upper two thirds of the outside edge of the ring band, as the sides here are curved.
Be mindful as you sand, and follow the curvature of the outside edge of the ring band.
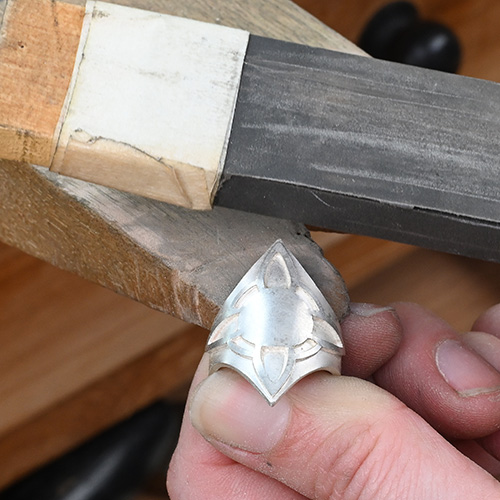

Finally I’ll give the top of the saw pierced detailing a quick sand with 600, 800 and 1000 grit sandpaper.
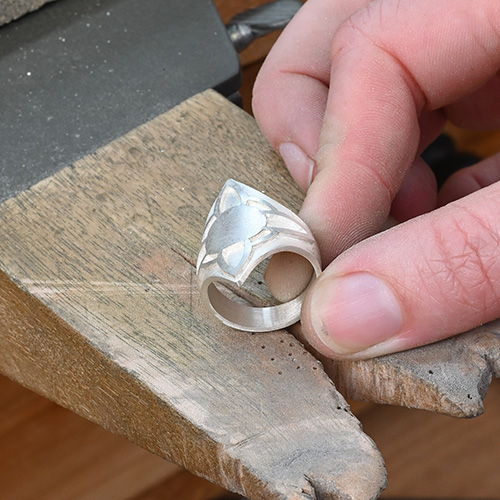

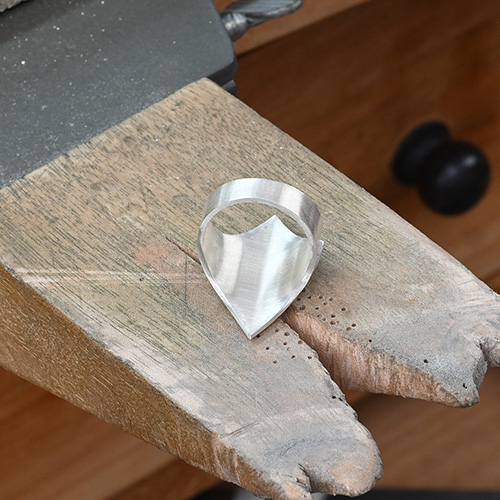

Fitting a bezel setting to a saddle ring
As easy as it may seem, we really don’t want to just make a bezel for our rose cut, fit it to the ring and then set the stone. If we do this, our stone will be sitting on a curved surface. This means the stone will rock in the setting, and may break during the setting process. So for this, we’ve made a bezel with an inner bezel for the stone to sit on.
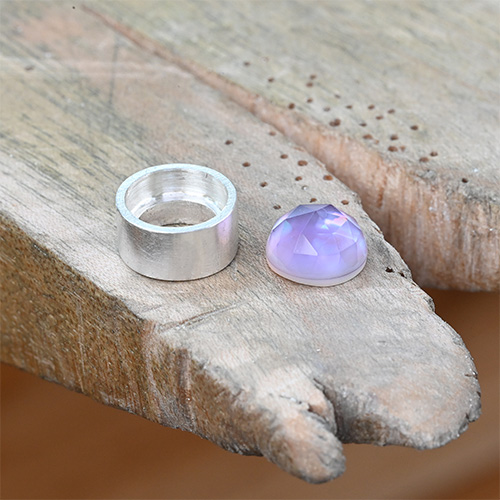

The bezel is 1mm thick and the inner bezel is 0.8mm thick.
I don’t want this bezel to sit too high on the ring, so it’s a relatively short bezel.
As you’ll see shortly, we’re going to be filing quite an opening into the back of our bezel, so we want to make the inner bezel tall enough so that we don’t accidentally file through that. About 3mm is a good place to start for the height of the inner bezel – we can always remove a little extra metal later from the bottom of our bezel if necessary.
I solder my bezels together carefully with hard solder.
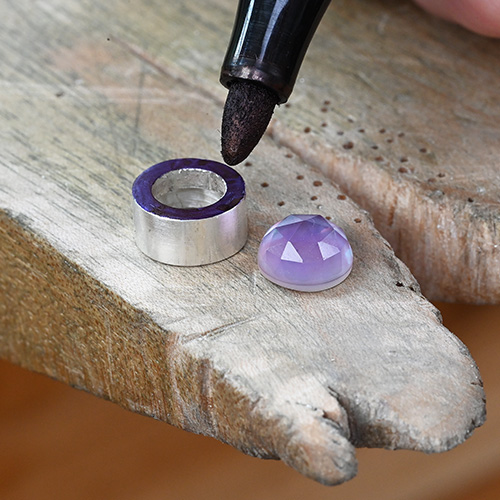

To start with, we’re going to flip the bezel upside down and add a little sharpie to the back side.
This is just to make our filing more visible in a second.
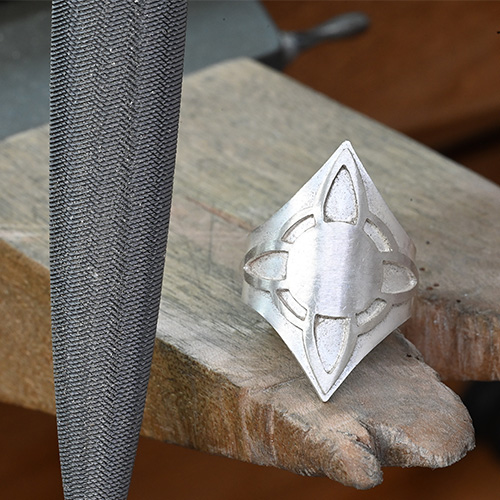

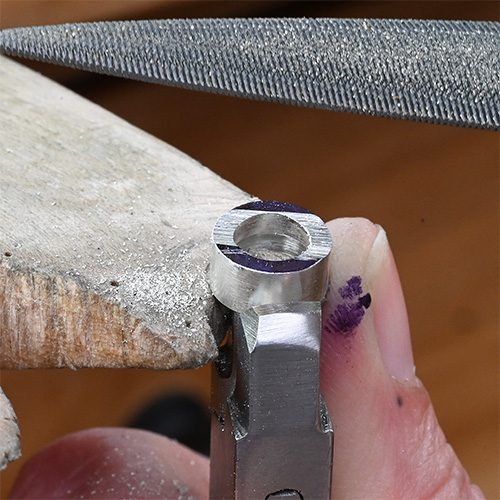

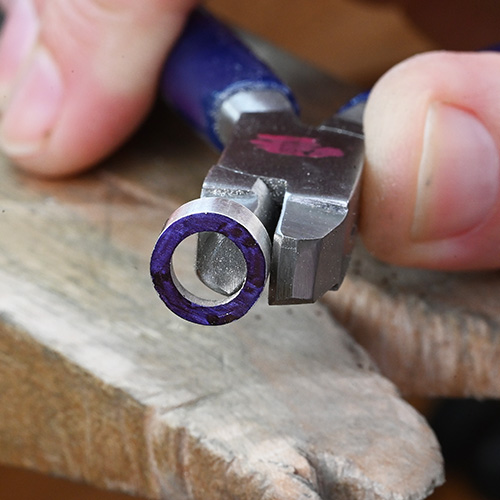

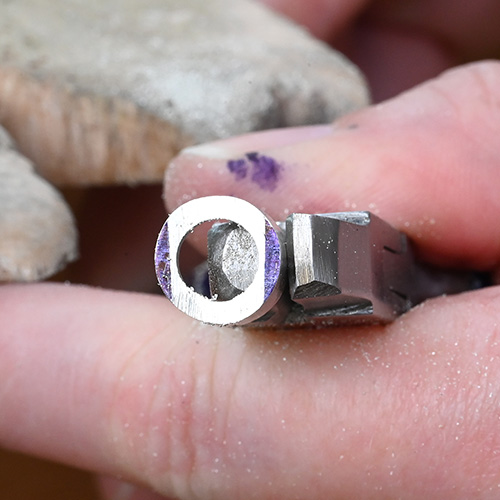

Remember to keep filing until you don’t see any sharpie.
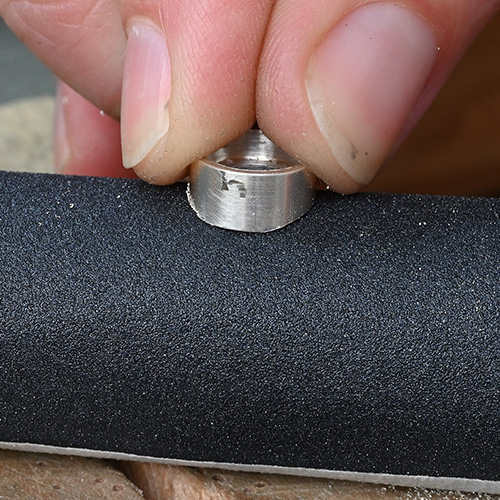

If your hand file isn’t creating the perfect curve to match your ring band in the back of the bezel, you may have to tweak your filing and make minor adjustments by eye.
Or you could use 240 grit sandpaper wrapped around a steel or wooden dowel with the same diameter as the outside of your ring band.
Because it will take you half an hour to do that (whereas filing takes 2 minutes). You’ll also probably need to refresh the sandpaper 10 times, and it’s actually a lot more accurate to do this if you file a “guide” first of all.
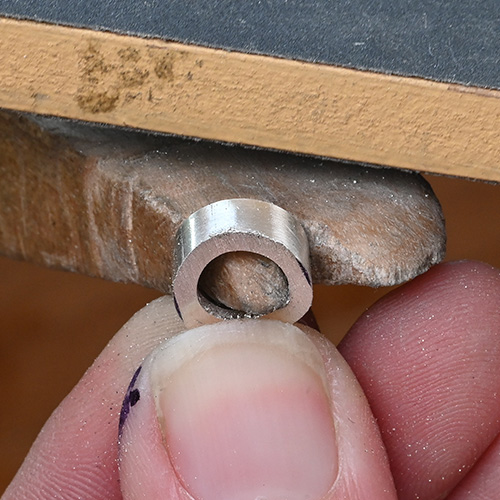

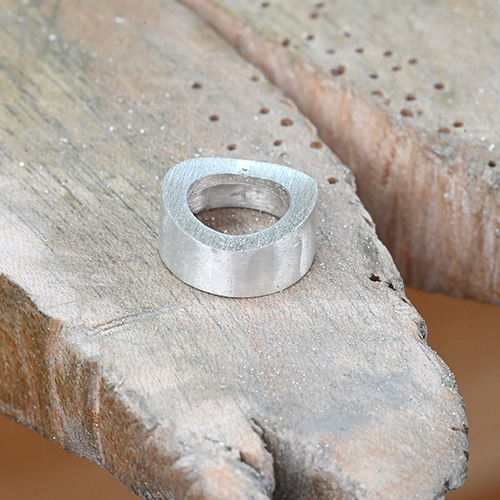

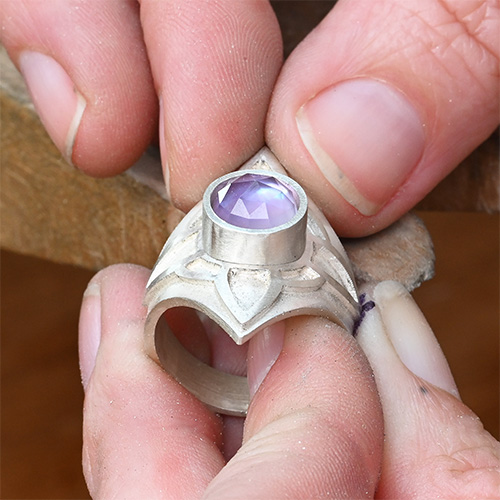

Now we have a bezel that fits perfectly to our saddle ring band together with a flat seat for our rose cut amethyst to sit on.
Soldering the bezel to the saddle ring
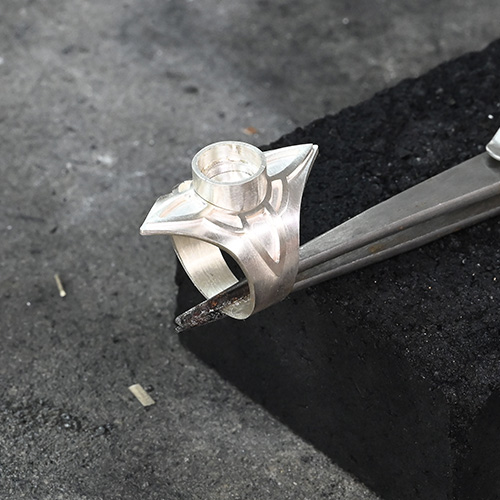

As usual, I went pretty simple for my soldering set up. I have the ring held in a pair of cheap stone holding tweezers that are resting on my charcoal block.
Just like when soldering that pierced design, I’ll add a little flux and heat the ring gently. Remember, gently is key here. We want the flux to get hot and sticky, but ideally we don’t want it to bubble and move our bezel.
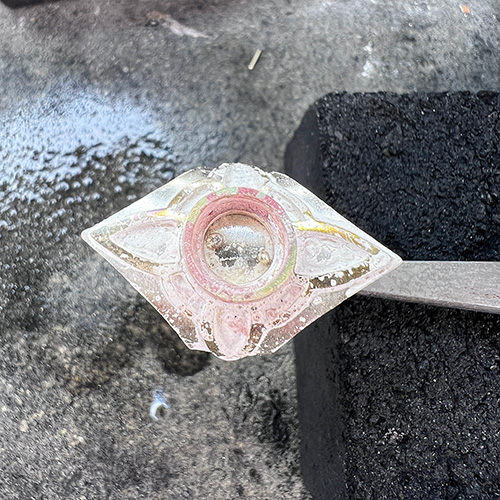

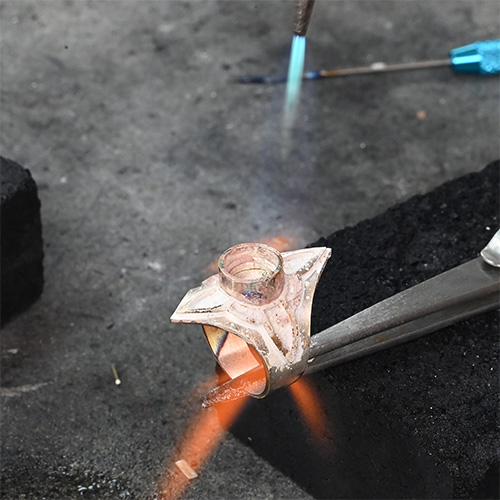

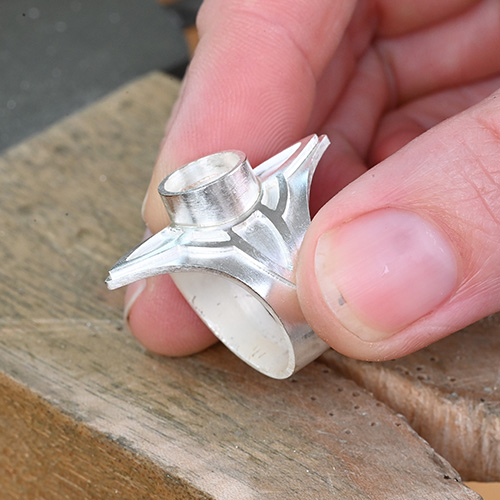

I’m keeping this one relatively simple, so after soldering, I gave the outside of the ring a good scrub with a soft brass brush. You can see we have a lovely crisp and clean solder join all the way around the outside of the bezel – no gaps!!
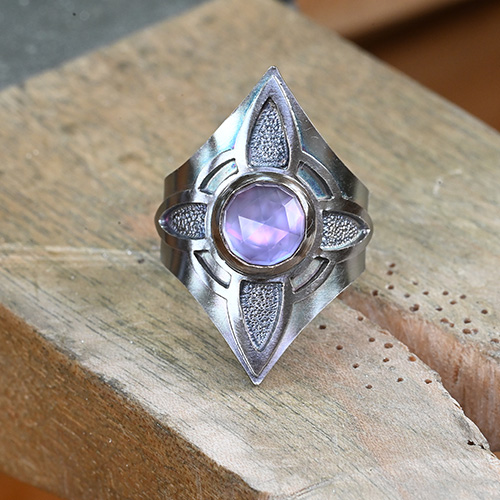

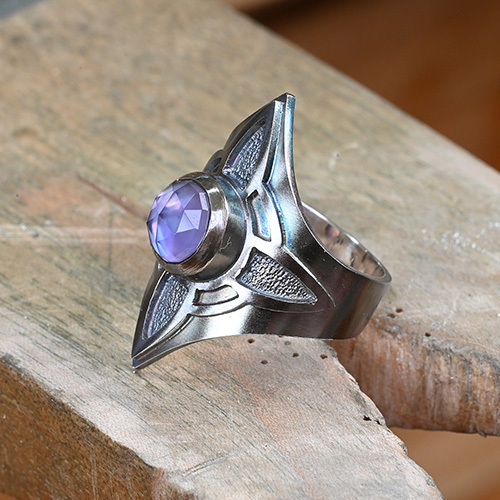

To finish up the ring, I added a little texture on the inside of the flower petals using my Foredom hammer handpiece and a pointed anvil.
I then used liver of sulfur to darken everything. I did three rounds in liver of sulfur for this one, with a good scrub with my soft brass brush and soapy water after each 10 second dunk into the liver of sulfur.
Working slowly and in stages with liver of sulfur helps to get a beautiful even, and non-flaky finish.
If you liked this project, you'll love our full Saddle Ring Template Pack

Featuring 27 saw pierced saddle ring designs for you to make your own! The designs can be used entirely as you wish, with no credit necessary! If you do make a million bucks though, please remember me, but mostly that I love prosecco!
Ready to dive in and learn how to make jewellery with confidence?

Join the Metalsmith Academy today and you’ll have access to all the classes you need to get up and running making professional looking jewellery with confidence – all filmed with your viewing pleasure in mind. According to our students, our videography is the best out there!
You’ll also be able to ask questions on this class and others in our active community forums where Lucy and Vennice are personally available every single day.
Curious about what’s happening at the Metalsmith Academy, but not quite ready to join? Sign up below to take a peek the classes available, resources, and all the magic we have to offer! As a welcome gift, we’ve prepared some incredibly helpful free resources that you won’t want to miss.
