Once you've mastered the basics of forming and soldering, you're probably chomping at the bit to dive into the wonderful world of stone setting. And I don't blame you!
Stone setting is my absolute favorite thing to work on. You can get lost for hours in it (or maybe that’s just me being a bit hairbrained). But if you do want to dive into this, it’s a sound idea to learn the skills necessary in a logical order if we want to do this well and make sure that we’re always setting our stones safely and securely.
If you rush ahead before you’ve mastered the basics, it is undoubtedly going to lead to sloppy workmanship and stones that aren’t set securely (which tends to lead to irate customers if you are selling your work). So, my advice (as always) is to take it slowly, and work on mastering the skills you need one step at a time.
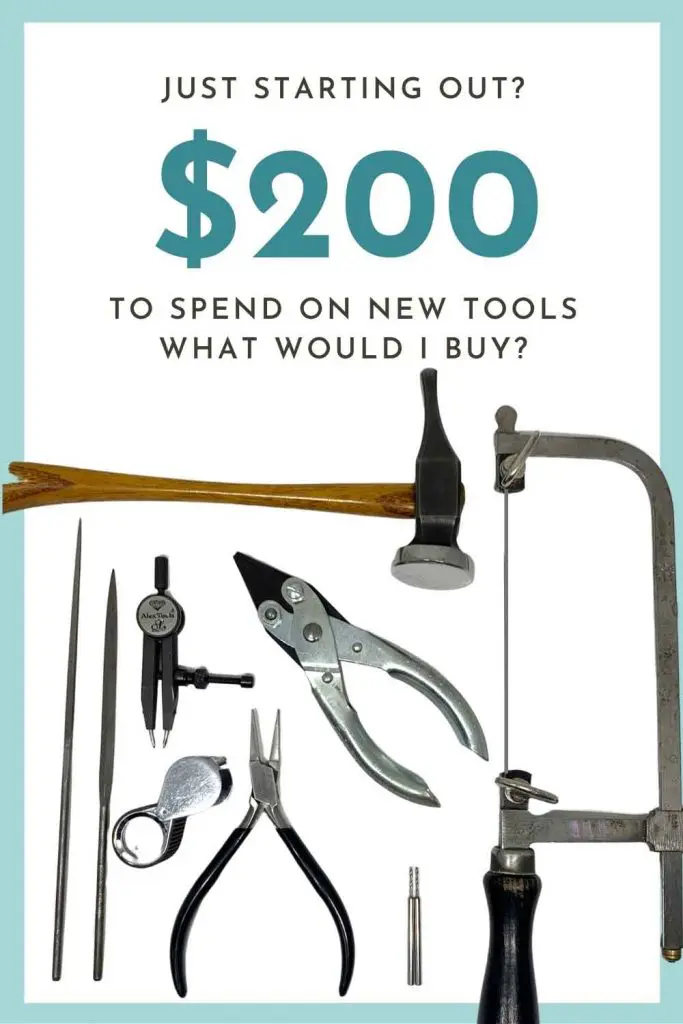
The basic skills you'll want to have nailed before diving into stone setting
Generally speaking, unless you’re going to be working solely as a stone setter (yes folks really do that, especially in England and Europe), you’ll most certainly want to be fully confident with soldering. After all, you can’t really make a setting without soldering.
You’ll also want to be on the ball with your jeweller’s saw, files and finishing skills. Believe me, unless you’re a fan of stones with huge scratches on them, you don’t want to be practicing finishing skills for the first time on stone setting projects.
So, if you’ve got all that sorted, let’s dive in:
So, about this order malarkey (I'm so bossy I know)
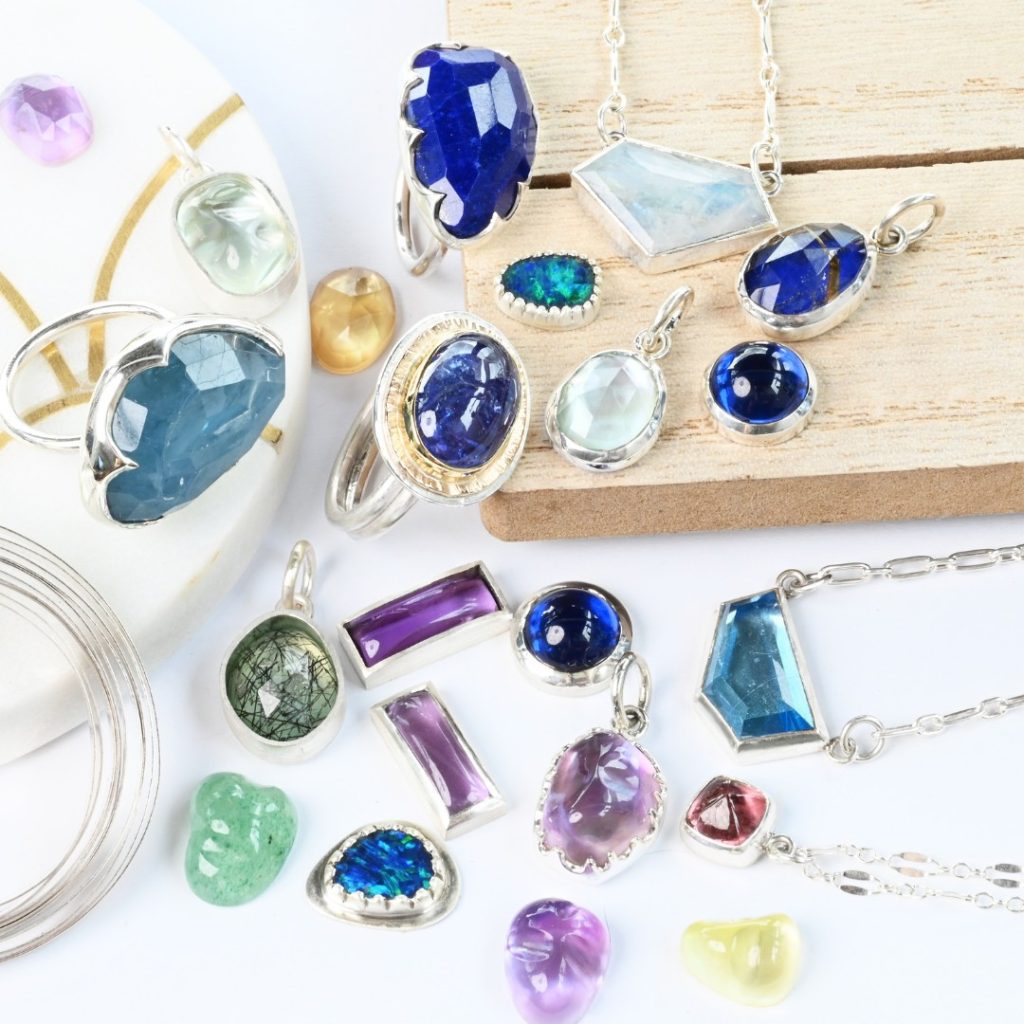
Generally speaking, I always recommend starting with bezel setting, and practicing that with well-cut, flat bottomed round cabochons. You can get cheap stones to practice with from places like Ali Express. Just do a search for cubic zirconia cabochon on the website. You can probably get some decent deals on natural stones too, but I wouldn’t expect anything to be what it says it is on there – but for practice, it’s cheap as chips, and so it works just fine.
To start with I’d suggest practicing with 28 gauge bezel wire in fine silver. Fine silver in such a thin gauge can be easily formed over the stone with a simple bezel rocker – so by far, it’s the easiest setting to master.
In terms of shape, the next easiest would be ovals or organic shaped stone, followed by stones with soft corners such as sugarloaf cabochons.
But seriously, it’s best to begin with well-cut cabochons with a perfectly flat base. It will make the learning process a lot more peaceful if your first stone isn’t a complete monster.
Finally on the subject of shape, stones with crisp corners are the most difficult when it comes to bezel setting, and generally I’d only move onto setting these once I’m happy I’ve nailed everything else.

Bezel set with 28 gauge bezel wire
After trying out a few bezels in fine silver, you might want to have a go with sterling silver. But be warned, it does take quite a little more effort to move sterling silver and secure the stone – and for this reason, it’s imperative to get the bezel height perfect. Sterling silver has a lot more spring than fine (999) silver, so you will notice that when you set a sterling silver bezel, the metal has an annoying tendency not to stay down and over the stone.
Go heavy!

After mastering thinner gauge bezels, that’s when I’d suggest moving onto heavier gauge bezels. These require quite a different skill set to thinner bezels as the bezel wire can’t simply be formed around the stone by hand – it requires pliers and patience! Heavier bezels also usually require a hammer and punch or a hammer handpiece to move the metal down and over the stone (especially with sterling silver bezels).
Again, start with the easy shapes, using fine silver if you want a gentle learning curve.
At this stage, if you’re really enjoying working with cabochons, giving flat bottomed rose cuts a try would be a great next step. Another alternative that requires a little more soldering skill would be to move on to prong setting for cabochons and rose cuts. Prong setting for these kinds of stones are actually very similar to bezels. After all, when it comes to setting, a prong setting at its most simplistic, is just a bezel with bits removed.
Setting round faceted stones
The skills needed for setting round faceted stones are quite different from those required for bezel or prong setting cabochons or rose cuts. Mainly because you’re going to need to develop bur control to accurately cut recesses (known as seats) for your stone to sit on.
Again, for this you’re going to want to start out creating settings for round stones. Why? Well because the burs we use for cutting our seats are all round too – believe me, it might take a little practice to get the hang of cutting a perfect seat for a round stone, but it’s infinitely easier than cutting a seat for any other shape. And so considerable focus should be given to learning to set round stones before moving onto fancy shapes. And the two best options for this are either flush or tube setting.


First master bur control
Over at the Metalsmith Academy, our students’ start out thinking we are a little bit nuts about creating textures using burs. By practicing creating textures with burs early on in our jewellery making journey, it makes life a lot easier when it comes to setting faceted stones, because we’ve already mastered bur control!
So before diving into setting, grab a simple ring band, or a flat sheet of 18 gauge sheet and get to work making marks with those burs. Try deeper marks, try pulling the bur to create lines, and of course try out a variety of burs. Whatever you do though, don’t forget to use the lube!

Flush setting or tube setting for round stones
Tube setting or flush setting are both excellent options for learning how to cut a seat for stones. Most folks find tube setting a little easier, but I prefer to master flush setting first personally. Why? Well, cutting a perfect seat is imperative to successful flush setting, so you have no choice but to master that. And you really should master cutting a seat if you want to set faceted stones.
But promise me, you’ll stick with round brilliant cut stones to begin with – preferably well-cut ones too. It’s infinitely more complex to cut a good seat for a stone that isn’t round – that requires next level bur control. So, master the rounds first before thinking of getting fancy.
Other setting styles
When it comes to stone setting, as long as the stone is securely held in place, the only limit is your imagination. There really are an infinite number of ways you can set stones. However, aside from bezel setting, the settings usually fall into one (or sometimes a mixture) of several categories.
And while I REALLY don’t recommend starting out with these, I wanted to share a few of those categories just so you know what’s what.
Prong Setting
Prong setting comes in a huge variety of styles, from a simple tube with prongs (which is the ideal place to start out), to halos with ornate under galleries.
It is a more advanced setting style as seats are cut individually into each prong to secure the stone in place. And while it’s relatively easy to do a hack job of this, to do it well takes quite a lot of practice.

Bead setting and pave

Bead setting is actually very similar to prong setting, but on a much smaller scale. And pave, on a very simplistic level, is basically just a lot of bead settings together (there’s obviously a little more to it than that). With pave, often the stones are so close together that it appears as if there’s almost no metal at all holding them in place – this is usually done with the help of a microscope.
Because the setting is on a much smaller scale, rather than prongs being soldered in place as with prong setting, metal is removed from where we intend the tiny prongs to be little by little with a combination of gravers and burs.
Channel setting
Channel setting is kind of what it sounds like: a row of stones set in a channel. It tends to go in and out of fashion and can be used for a variety of stone shapes, although round brilliant cuts and princess cuts are the most popular. Seats are generally cut into the channel walls to hold the girdle of the stones, before tapping down the sides of the channel to secure them permanently in place.
It can also be used in a more simplistic form (as pictured), to set multiple stones very similar to bezel setting. In the image to the right, I set rough diamond cubes in a single row – a tight fit is imperative.

Tension setting

Not a setting I recommend getting into as a novice, or even a relatively experienced jeweller. Most often these stones are not secure and will be an absolute headache for you every time the customer loses the stone. The image to the left was a quicky I made from 14-gauge sheet. It feels relatively secure right now and the metal is very much work hardened, but I wouldn’t ever sell this – it’s too much of a liability and the stone will fall out with time.
One late jeweller who absolutely nailed this technique, and his legacy has been carried on by his family is Steven Kretchmer. Kretchmer was a highly skilled metallurgist, and developed specialist, exceptionally strong and springy alloys specifically for this technique.
Ready to dive in and create your own professional looking settings?

Join the Metalsmith Academy today and you’ll have access to over 7 individual classes on different bezel, tube and flush setting variations. Not only will you get access to these, but tonnes more classes too – all filmed with your viewing pleasure in mind. According to our students, our videography is the best out there!
You’ll also be able to ask questions on this class and others in our active community forums where Lucy and Vennice are personally available every single day.