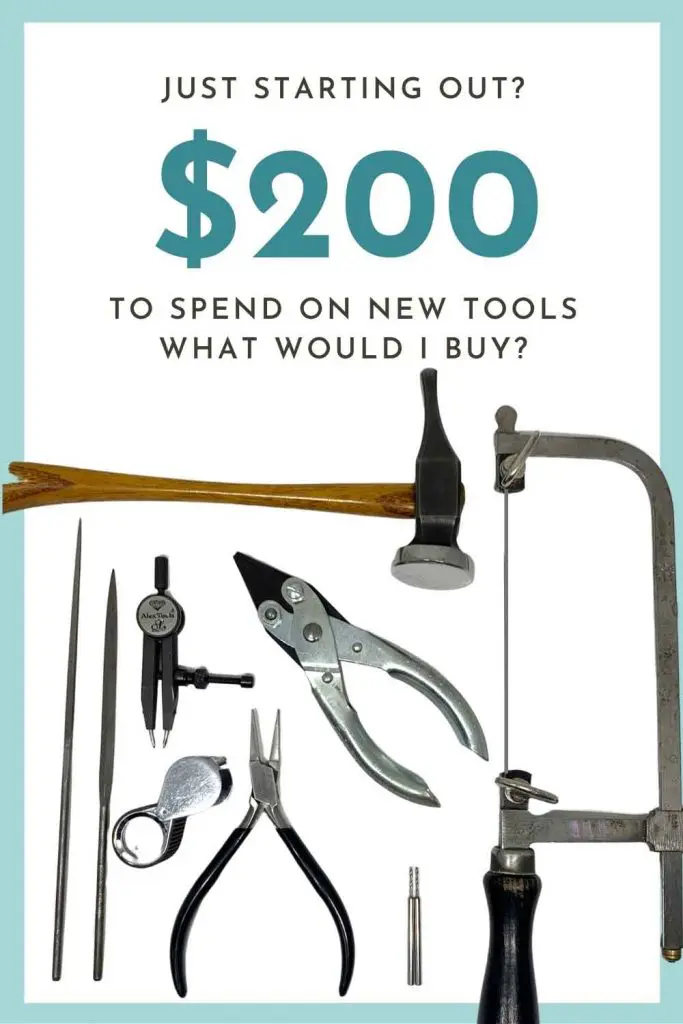
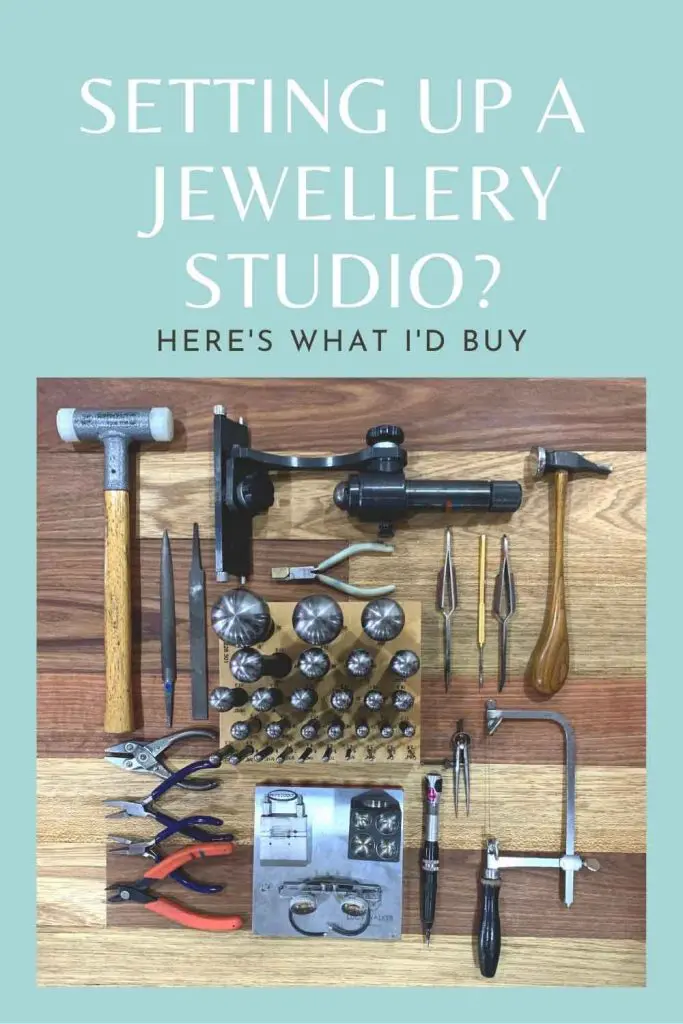
What tools do I really need to start making jewellery?
Well, that does depend on exactly what you’re going to make. But if you’re just diving into the wonderful world of metalsmithing and want to get yourself a starter tool kit, then hopefully you’ll find this blog post pretty handy.
Before we dig in though, I want to officially warn you: making jewellery is not a cheap hobby! The tools here are the basics and in a few years time, you’ll likely have a hell of a lot more as you develop your own style and focus. But I want to drill in 3 important noggins of insight right now before we even start…….

Buying every fancy new shiny tool out there will not make you a better jeweller. Focus on learning to use the basics first.

Concentrate spending on tools that you really need, the ones that will make the biggest difference to your work.

Ingenuity is more important than any physical tool. Not having all the tools really forces us to think outside the box.

Safety glasses, mask, ear protection and a fire extinguisher.
These are absolutely the first tools you should have before you even pick up a hammer!
For more information on health and safety in the studio,
I can’t recommend The Jewelry Workshop Safety Report by Charles Lewton Brain enough.
Alrighty Let's Take a Look at Those Tools!
We’ve included links to everything mentioned (just click on the little buttons below the image). The links are to one of my favorite tool companies, Gesswein, who have been absolute legends in helping make sure we have everything on this list available for sale in the US! You can order most of the tools on here from any jewellery tool supplier but as I said I do love Gesswein.
We are proud affiliates for Gesswein, so if you would like a 5% discount, and for us to earn a few more coffees to keep us going, you can use the discount code: LWA21 at checkout. If you don’t want to – I still recommend all the tools below with all my little heart.
Jewellers Saw Frame
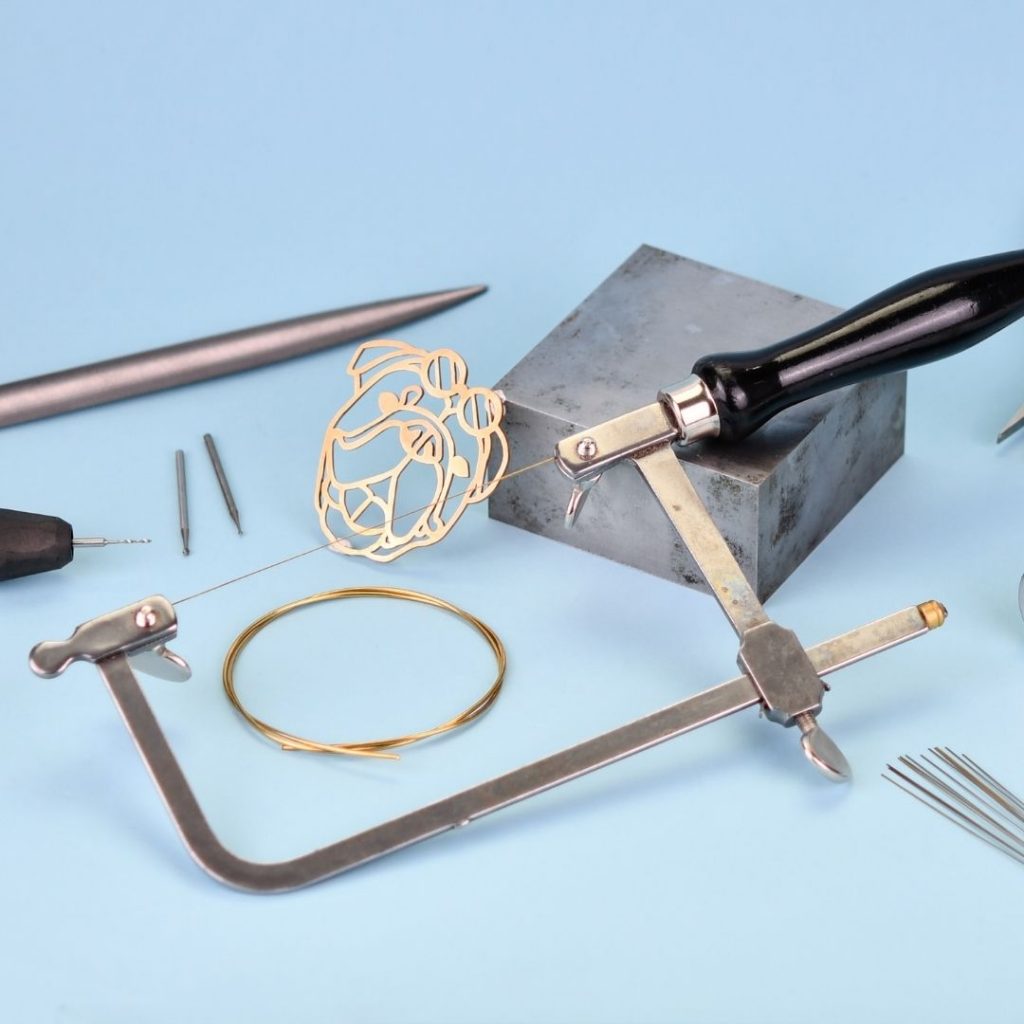
This is one tool you absolutely can’t live without.
You’ll likely find the humble saw frame is the most regularly used tool in your tool box. In fact, I don’t think I could go a day without mine. From saw piercing intricate designs to simply sawing through heavy gauge wire to make a ring band, this is one tool you must have if you want to make jewellery.
The link gives a selection of frame sizes, but personally I’d choose the large, which has a depth of 3 3/4 inches. One thing to note when it comes to frame sizes though: the bigger the frame the harder it is to control. So while a larger frame is handy for certain things, it makes piercing small detailed pieces that bit more complicated. If you’re anything like me, you’ll want a couple of different frame sizes for different jobs.
Which Saw frame is best for jewellery making?
A little braggy I know, but I have pretty much every jewellers saw frame out there. As nice as the fancy frames look, if you’re just starting out, I highly recommend buying a standard German style frame and saving money to spend on quality blades.

If you value your metal health, you don’t want to purchase cheap saw blades. I love Super Pike, Laser Gold from Rio Grande, Nano from PepeTools (and a couple of other brands too), but generally you should be paying around $24 for 144 blades (a gross).
As for which sizes you should get to start out with, that really depends on what you’re going to be doing. Cutting heavy gauge metal for ring bands, will require a much thicker blade than delicate saw piercing work. Personally though, I’m usually flipping between a 2/0 and a 4/0 blade 90% of the time.

If you want a smooth saw cut (you can also use this with burs and drills too), then you’re definitely going to want to use lubricant. My favourite comes in stick form, and you can get branded ones from different suppliers, but as far as I can tell it’s all exactly the same stuff.
If you want to save a bit of money, you can totally skip this though and just use an old candle, a bar of soap or beeswax too.
FILES
Flat Hand File
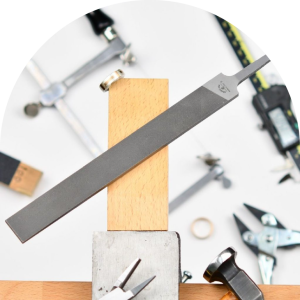
Whilst some budget tools work perfectly well, budget files do not. Cheap files wear out faster than… (I can’t think of a clean analogy), but believe me they don’t last. If you are on a budget and can just afford just one hand file though, I recommend starting out with the half round file below.
For flat hand files, my 0-cut 8-inch gets used the most, so I would suggest starting with this. I use my flat hand file pretty much every day, it’s certainly a tool I couldn’t live without.
You’ll also most likely want to get file handles too for these as they don’t come with handles. There are lots of options available, but you can easily save some cash and make your own too.
half round Hand File

Again, don’t scrimp on this. If you can only afford one hand file though, go with the half round. The half round has a flat side too, which whilst not as evenly balanced as the flat hand file above, will work just fine.
Although I don’t use my half round file as often as my flat file, it does get a lot of use, when making rings. I use my 2-cut and 0-cut half round hand files equally, but if you’re getting a flat hand file in a 0-cut, maybe go with 2/0 for the half round.
The price is for the 6-inch version, which works great for me, but I do have small hands.
NEEDLE FILES - #2 Cut, 5 1/2 inch
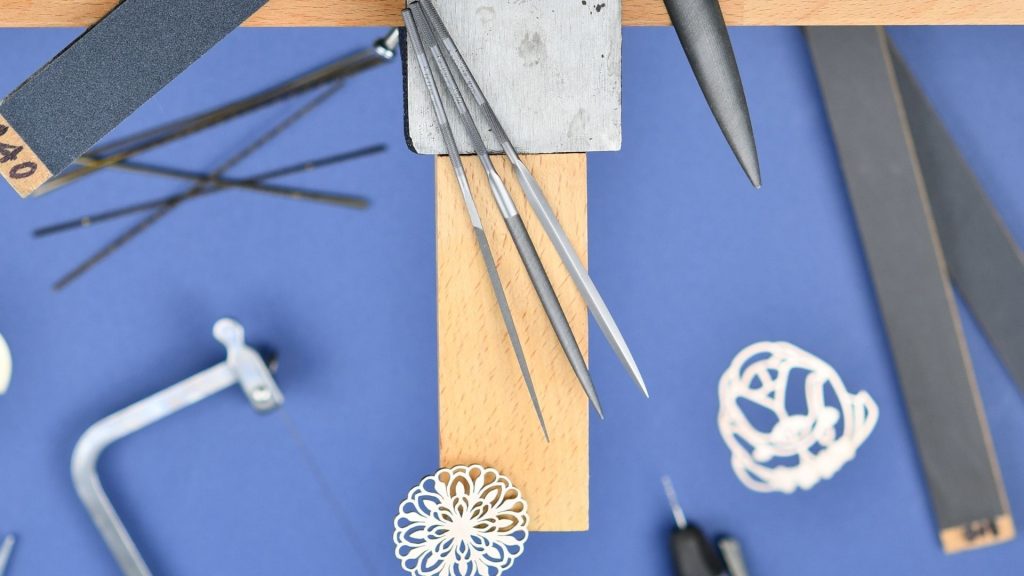
Barrette

There are all sorts of shapes available as needle files go, but my barrette file gets used about 50% of the time. It’s perfect for cleaning up saw piercing work, filing bezels, and in fact the list could go on forever!
Half Round

My half round needle file is another well used tool in the studio. Of all my needle files, this one gets used about 25% of the time, for cleaning up saw piercing work as well as filing inside rings and bezels.
Square

Whilst I don’t use this as often as my other files, the square needle file is perfect when bending metal to create perfect 90 degree bends. I use this regularly to make bezels for square stones.
SANDPAPERS
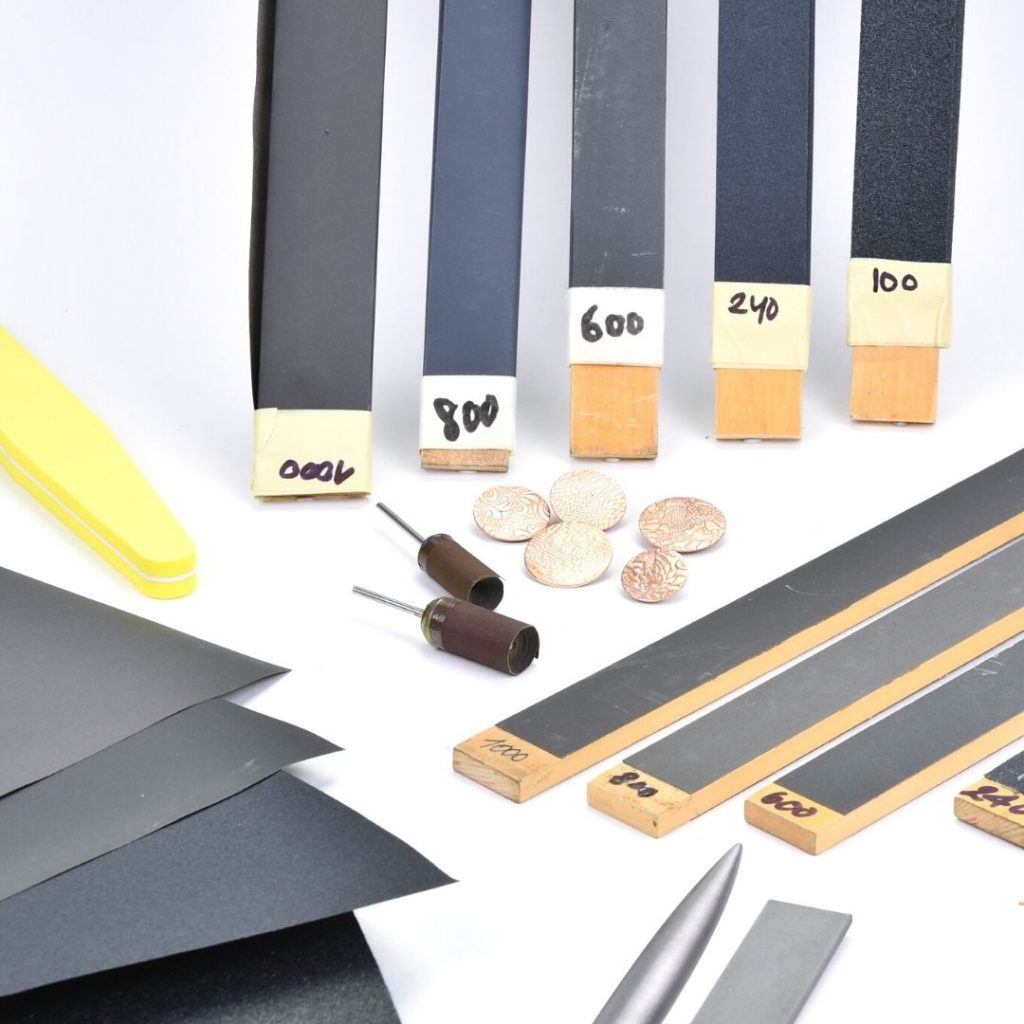
I generally use 240, 600, 800 and 1200 grit. But don’t get too hung up on the grits. Start with coarse and work towards fine, simply making sure you remove all the marks created by the previous grit before moving onto the next. For silver, brass, bronze, copper and gold, I’ll usually work up to 1200 grit before polishing.
Whilst sometimes I’ll just use sheets of sandpaper as they are, more often than not I’ll turn my sandpaper into sandpaper sticks. You can learn how to make these right here:

Have no fear, the Metalsmith Academy is here!
If you’d like to join us and over
3000 international jewellers in there,
just click the button below to sign up!
Polishing - Sample pack
When it comes to polishing, there are so many options available, and it’s often not just a one step process. But I don’t want to blow your mind to begin with. The one thing you do need to know though, is that a final polish is only as good as your sanding allows. Polish will not remove deep scratches, it will just make them shiny scratches.
This polishing kit will let you try out some of my favourite buffs and satin finishing wheels too, and it comes with one of my new favourite polishing compounds (as you probably know I also love ZAM). Click here for ZAM

Steel Bench Block and Bench Pin

A steel bench block is a simple, but must-have tool which is mostly used as a solid surface for hammering on.
And of course, you’re also going to need a bench pin. Almost all of a jeweller’s work actually gets done on the bench pin, rather than the bench itself.
This screw-on bench pin and steel block in one is a super handy little tool that kills two birds with one stone.
CHASING HAMMER

You can get by to start out with by stealing any hammer from your pop’s garage, and just making sure the face is smooth and the edges are rounded off with sandpaper. But a chasing hammer will definitely make life easier in the long run. If you’re just starting out, a budget chasing hammer such as this one will do the job just fine. If your hammer has sharp edges though, just make sure to use a little sandpaper to soften them so then don’t put those nasty dings on your metal as you work.
FLEX SHAFT DRILL

My dream flex shaft. I have this model personally and use it as often as my very expensive NSK micromotor – the mechanism is that smooth! But it’s also got plenty of torque too! To answer your question before you ask it…. yes, it does work perfectly with the Foredom hammer handpiece (and all other Foredom handpieces too) and it comes together with a quick change handpiece of its very own!
As a jeweller and stone setter, I couldn’t live without a flex shaft motor. You can get by with a dremel if you’re not really getting into stone setting, but once you start setting, these are an absolute game changer!
Flex Shaft Hanger

If you do buy a flex shaft, then you’re definitely going to need something to hang it from. If you’re reasonably handy you can get creative and rig something up, but when we had in person classes here in Malaysia, every bench was set up with this particular hanger, and both my personal benches have this too.
You can get hangers that clip onto your desk, but I prefer those that you screw into place – yes you make holes in your desk, but you also have a nice tool to work with too.
Drill Bits

Just as with saw frames, I highly recommend quality drill bits, and in my mind, they don’t get much better quality for the price than Busch.
Even when not using my quick change flex shaft handpiece, I still choose to use the drills with a 3/32 shank (the standard size for quick change handpieces). These drills are much sturdier than their skinnier counterparts. 90% of the time I simply use a 1mm drill bit, but you will most likely want to purchase a few smaller ones too if you’re getting into some detailed saw piercing work.
Pliers and Snips

Well, what don’t I use these for? I highly recommend getting a pair of these together with a pair of chain nose pliers too. If nothing else, they’re a godsend for opening and closing jump rings. But of course, you’ll end up using them for so much more!
TOP TIP : use a little 240 grit sandpaper to take off the sharp edges on the plier jaws.

When I first started out, everyone told me to get a pair of half round pliers. But I love half round and flat pliers. Regular half round pliers (with two half round jaws) will leave a lot more marks on your work, but half round and flat pliers are perfect for bending and forming ring bands and bezels etc. where we need a gentle curve to the metal without leaving dings in it!


All snips are not created equally. Flush cut snips are the ones you want. When you make a cut with flush cut snips, one side of the cut is left almost perfectly flat. But no, you can’t get flush cutters that leave both side flat I’m afraid 🙂 I have these on every bench in my studio!
Ring Mandrel
If you want to make rings, then you can’t make do without one of these, but thankfully for such a solid tool, they don’t break the bank. For forming purposes, I highly recommend a steel mandrel. You may see aluminium (aluminum) mandrels, but these are just for checking the sizes of rings. If you try to size a ring on those, you’ll destroy the mandrel before finishing the ring!
Select “Steel Standard” from the drop down menu – remember, not the aluminium one!


Ring Sizing Set
Again if you intend to make rings, and especially for custom orders, you’ll want a set of these for finding out your customer’s ring size. This is one tool that I find you really don’t need to go crazy on and buy an expensive model. As long as the sizes are accurate, you’re good to go. However if you are intending making wider ring bands, you may want to purchase a wider sizing set too – just to be as accurate as possible.
Select “Ring Gauge Sizing Set” from the drop down menu.
Soldering
Blazer Butane Torch
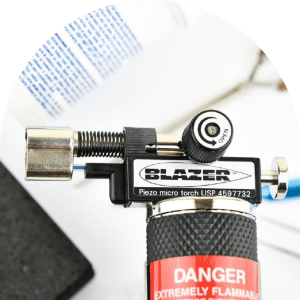
Pretty much the standard choice for small scale jewellery soldering. This can be filled over and over from regular butane from a canister available at any hardware store, and is a great starter torch for jewellery making.
Durston Butane Torch

My new favourite butane torch. With a larger flame than the blazer, this is the perfect butane torch for larger projects such as bangles, and larger pendants. Again, this is refillable from a standard butane canister.
Flux (Handy Flux)
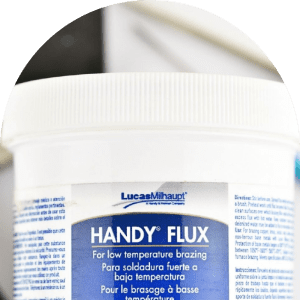
For working in silver, brass, bronze or copper, as far as I am concerned, there is no better flux – and I’ve tried a lot! If you’ve had trouble soldering brass bronze and copper before, I recommend giving this flux a try.
TOP TIP : If your flux starts to dry out, just add a little water.
Charcoal Block

The standard go-to surface for soldering on. I prefer to use hard compressed charcoal over soft charcoal 99% of the time, for the simple reason it lasts a lot longer.
TOP TIP : Unless you’re a fan of raging fires, do not place this directly on this on your workbench for soldering – use the heat-proof surface below.
Heat-proof Surface

I love my 12 inch heat-proof surface for placing on my workbench underneath my charcoal block. I’ve had mine now for probably 5 years and it’s been a solid investment.
These surfaces are not great to solder directly on though – they’re very dense and will really suck the heat away from your piece. I remember my very first attempt at soldering was on one of these, and it didn’t go well. If you’re having trouble soldering, and you’re using one of these to solder on – give charcoal a try and let me know what you think in the comments below!
Titanium Solder pick

I love my titanium solder pick, it speeds up soldering no end for me in comparison with using tweezers. It takes a little bit of practice to get used to, but once you do, you’ll wonder how you ever lived without it.
To pick up the solder, make sure you have a little flux on the pick, place the pick about an inch behind your solder and have the tip of your flame about one inch in front of the pick. Heat the solder until it turns into a ball, REMOVE THE HEAT, and scoop up the solder. Easy! But always remember to remove the heat before scooping.
Slow Cooker (Crock Pot) and Citric Acid for Pickling

Citric acid makes for a great pickle, it’s cheap and easy to use. I use a ratio of about 1 cup of acid to 5 or 6 cups of water. Remember to always add acid to water just like your chemistry teacher told you! You’ll also want a pair of copper tweezers for placing items in the pickle.
To keep it warm, I use a slow cooker. Pickle works best hot though (not steaming hot ok – just like a nice warm bath). Pickle vapours aren’t healthy so don’t let it boil. I’d recommend having one with an automatic off switch, so if you forget about it (it happens), it will automatically turn itself off. The one I use most regularly also has a warm and a hot setting – the warm setting works perfectly to leave on all day without boiling,
Ready to dive in and create your own professional looking jewellery?

Join the Metalsmith Academy today and you’ll have access to all the classes you need to get up and running making professional looking jewellery with confidence – all filmed with your viewing pleasure in mind. According to our students, our videography is the best out there!
You’ll also be able to ask questions on this class and others in our active community forums where Lucy and Vennice are personally available every single day.
Curious about what’s happening at the Metalsmith Academy, but not quite ready to join? Sign up below to take a peek the classes available, resources, and all the magic we have to offer! As a welcome gift, we’ve prepared some incredibly helpful free resources that you won’t want to miss.