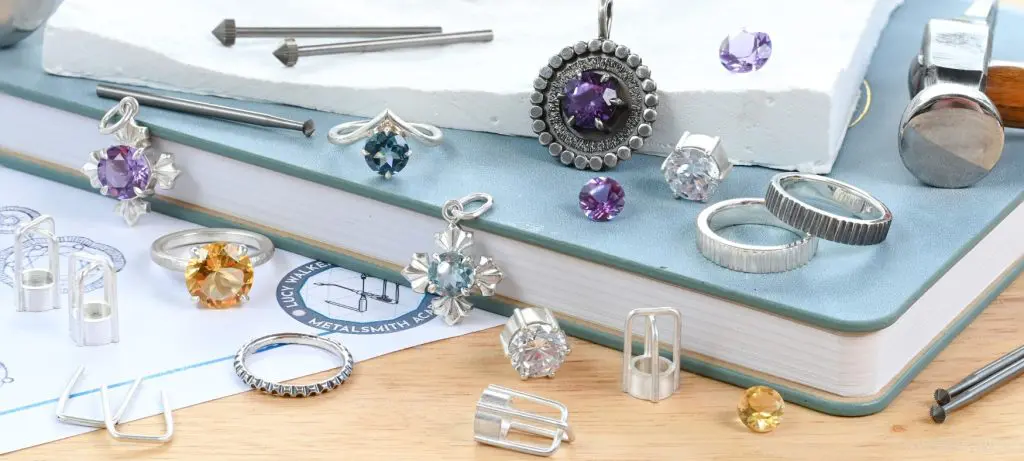
Prong setting for round brilliant cuts might seem simple, and it is in fact a very simple looking setting. But, as far as jewellery making techniques go, it can be a little tricky to execute WELL.
So, to help our students over at the Metalsmith Academy out, we went all out and created an incredibly detailed class complete with 7 videos (over 4 hours of footage in total) and 50 pages of full colour handouts to make sure we got across all the tiny details involved in doing this well.
But I wanted to share my top tips right here with everyone, for what I think really makes a difference when it comes to creating a well executed prong setting.
Get to know your stone
We recommend starting out practicing with well-cut round brilliant cut cubic zirconias. But, as is the case with all stones, you’ll need to pay attention to the shape and thickness of the girdle as well as the angles of the pavilion and the crown of the stone. The aim of the game with prong setting is to cut a seat to match our stone’s girdle profile. The seat is not just a notch to help the prong bend over the stone,


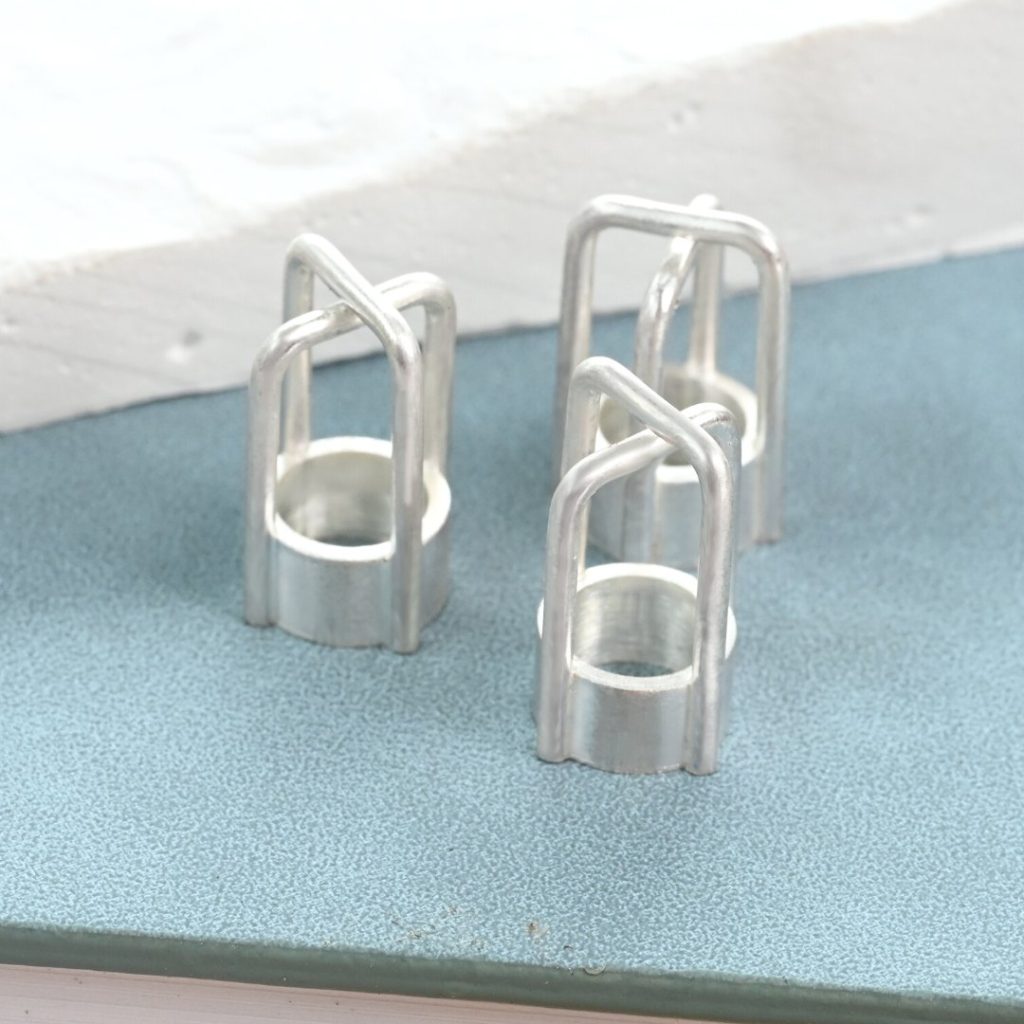
Cut recesses for your prongs into the under bezel
Not only does this ensure your prongs stay fixed in place for soldering, but it also ensures that when we cut the seat for the stone later on, the prongs will hold the stone securely with no unsightly gaps. Not only are gaps between the prongs and the stone not particularly pretty, but they are also a strong sign the stone isn’t set securely.
Make sure your prongs are symmetrical
Unless there is a strong design reason for doing so, prongs should be evenly spaced around the stone and be soldered perfectly parallel with the length of the under bezel.
Just say NO to wonky prongs. Please and thank you!


Finish up the setting entirely before soldering it in place
Not only is this a lot easier to do for this style of setting, but you’ll be able to work a lot more accurately if you attach all your prongs and finish cleaning up the setting before soldering the setting to a piece of jewellery. Remember, we want straight, symmetrical prongs and a clean and crisp setting. It’s much easier to achieve both before soldering a setting in place.
Don't clip off the tops of your prongs until you're ready to set
Another benefit of creating prongs that reach across the setting as we’ve done here is that it makes subsequent soldering operations a lot less risky. Leaving the prongs connected is an incredibly simple way to avoid any prongs falling off during future soldering operations.


Do as much finishing as possible before the stone is set
Abrasives are made from harder materials than most gemstones and can (and most likely will) scratch our stones. Once the stone is set, we should only need to do a quick final polish. Using sandpaper to clean up prongs after a stone is set is an absolute no no. The image to the left is a cubic zirconia which has a Mohs hardness of 8 – 8.5 after being run across a sheet of 240 grit sandpaper! For your own sanity and the life of innocent gemstones, DON’T RISK IT.
Set the stone as low down in the setting as possible
Not only are stones much more secure when set low down in a prong setting, but I personally think it looks more professional too. It’s also what the super high end jewellery houses do as well, so I’m clearly not alone in that thought. Just take a look at Sothebysjewels on Instagram to see what I mean!


When cutting the seat, ensure it matches the profile of the stone
A seat is for the girdle of the stone to sit on. It’s not in any way, shape, or form, a notch to help bend the prong over the stone. The girdle of your stone should sit in the seat that we cut into our prongs precisely. It hurts my heart to see it simply used as a notch to bend the prong over the stone – this is wrong on so many levels. Not only is the stone not set securely, but there’s a high chance you’ll break the stone if you do try to set it like this.
Cut the seats to match the shape of your stone's girdle
Heart burs are designed for setting small well-cut diamonds. For all other stones, creating a seat using a heart bur to create a single cut just isn’t going to…. well, cut it.
The girdles of most coloured stones and cubic zirconias are not a knife edge, the seats we cut should match the shape of the girdle perfectly and not the shape of our heart bur.


Square the stone before setting
Whether you’re setting with 4, 6 or 8 prongs, we want to get the stone looking as symmetrical as we possibly can in relation to our prongs before setting. With 4 prongs, this simply means lining up the prongs with 4 of the star facets of a stone.
The human eye is exceptionally sensitive to symmetry, and so a squared stone will always be more pleasing to the eye than a stone set randomly.


Try Busch Twin Cut Concave Cone Burs instead of traditional cup burs
I can’t recommend these enough. They cut incredibly efficiently, and I find these are much less likely to leave bite marks on the backs of your prongs.
If you do grab these from Otto Frei – use the code LWAY5 for a 5% discount at checkout (for orders $100 or more)!
Ready to dive in and create your own professional looking prong setting?
Join the Metalsmith Academy today and you’ll have access to over 4 hours of video instruction and 50 pages of downloadable handouts as part of our Prong Setting for Round Brilliant Cuts online class. Not only will you get access to this, but tonnes more classes too – all filmed with your viewing pleasure in mind. According to our students, our videography is the best out there!
You’ll also be able to ask questions on this class and others in our active community forums where Lucy and Vennice are personally available every single day.

