Making a chain is a super handy way to work on those soldering skills and in this case, bur control skills too!
In this blog post, I want to take you through step by step, how to make this super stylish chunky textured chain. Not only will you nail those soldering skills with a project like this, but if you follow along exactly, you’ll get to work on those bur control skills too.
What you're going to need
We’re going to be working here to make an 18-inch chain, but of course if you want to do a longer chain, you’re just going to have to do a little maths. Please note, the quantities below are more than enough – but it’s always better to have a little extra, just in case. And of course, you don’t have to do this in sterling silver. Brass or bronze will work well too. So, here’s what you’re going to need:
14 gauge (1.6mm) round profile sterling silver wire (dead soft) – 75cm (2.5ft
16 gauge (1.3mm) round profile sterling silver wire (dead soft) – 45cm (1.5ft)
17 gauge (1.15mm) round profile sterling silver wire (dead soft) – 60cm (2ft)
Hard and medium silver solder
Jump Rings
We're going to need quite a few of these!

I’m going to use my jump ring maker to make the jump rings here, but of course they can also be made pretty easily with just a steel rod to wrap your wire around. The key is to keep those coils looking as even as possible if you want an easy life later on.
If you’re thinking to purchase a jump ring maker, I have personally used all three of the models below and am more than happy with all of them. If you are looking to save a buck though, the Coil Cutter from Potter USA offers the best value for money.
Making the 14 gauge (1.6mm) jump rings
First up, we’re going to take our 14 gauge round wire and use a 10mm mandrel to make a coil of jump rings with an inside diameter of 10mm.
We’re going to need a total of 16 of these jump rings for our 18 inch chain, but it’s always a good idea to make a few extra. The amount needed will obviously also depend on how elongated you make the links, so just bear that in mind too.

Making the 16 gauge (1.3mm) jump rings

Next, we’re going to use our 16 gauge wire and a 4mm mandrel to make another coil. I used a total of 17 jump rings for this project. But remember, the length of your chain will vary slightly from mine, so it’s a really good idea to make a few more than might be necessary. You can always use them for another project.
Making the 17 gauge (1.15mm) jump rings
Finally, we’re going to use a 3.5mm mandrel to make our 17 gauge (1.15mm) jump rings. Because we’re using these to link both our 16 and 14 gauge links together, we’re going need a lot more of these. I used a total of 34 jump rings for my 18 inch chain.

Cut through the jump rings
Once we have all our coils made up, it’s time to get to cutting them to create individual jump rings. When cutting, ensure you’re cutting directly through the jump rings and aiming for the center of the coil. Cut all the way through the jump rings with the blade and don’t be tempted to pull the jump ring off the coil when you’re almost through – doing that will leave a bur, and just mean you have to cut through the jump ring again later to get a perfectly closed join.

Opening and closing up the jump rings
When opening and closing jump rings, be super careful not to take bite marks out of them with your pliers. Before doing this, you may want to think about modifying your pliers to soften the edges as we show in this video here:

Close up all the 14 gauge jump rings completely. We’re going to solder these closed.

Close up all the 16 gauge jump rings completely. These are also going to get soldered closed.

Open up the 17 gauge jump rings just wide enough so that the 14 gauge jump rings can pass through the opening.
Solder the 14 and 16 gauge jump rings closed
It’s so much easier to solder jump rings when they’re not all linked to form a chain. So where possible, we want to solder as many of our jump rings closed before forming the chain. In this case, as our 17 gauge jump rings will be sitting in between each of our 14 and 16 gauge links, we can solder the 14 and 16 gauge links closed now.
We’ll then use our 17 gauge links to join everything together later.


14 gauge jump rings all soldered

16 gauge jump rings all soldered

17 gauge jump rings left open
Cleaning up the jump rings

If you have any excess solder visible on your joins, a quick clean up now while the jump ring is still round, is the easiest time to clean them up. If there’s quite a bit of excess solder, I’ll use a sandpaper barrel followed by a fine / medium modified rubber wheel. But if the sandpaper isn’t necessary, I’ll skip that step.
If the solder seam is only slightly visible, I would leave it alone for this particular chain as we’re going to be adding texture to the chain later which will disguise a well soldered join instantly.
Creating the textured jump rings
The feature links for this chain are going to be the large links created from 14 gauge round wire with a 10mm inside diameter. But before adding the texture, we’re going to make them oval using our reverse action pliers. To learn more about this handy tool and how to modify them to avoid leaving gouges, check out the blog post below:
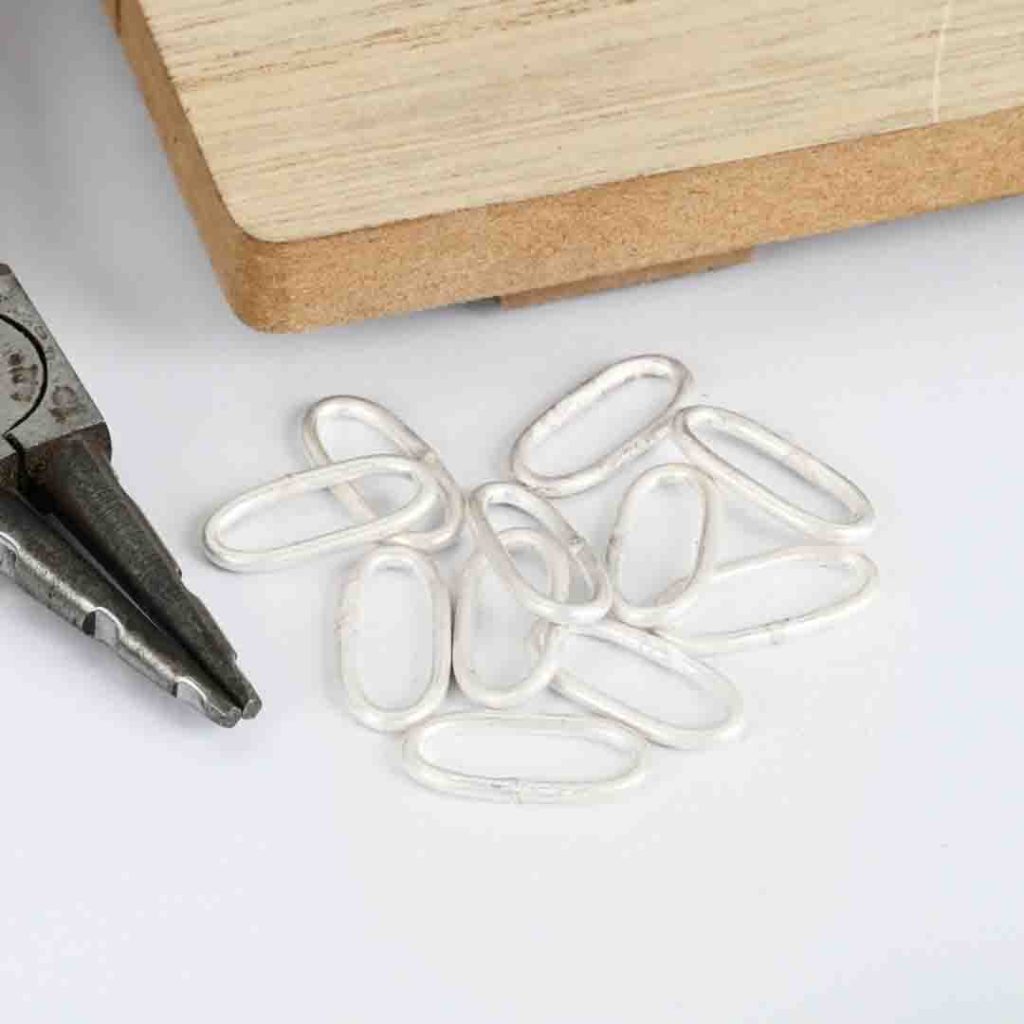
Making oval links


I like to have my jump ring resting in the first set of notches on the pliers so I can make my chain links as narrow as possible at the ends. But you can experiment here depending on the look you’re going for. In this instance, I’ll make sure my solder join is located in between the two jaws of my pliers so it sits on one of the long edges of the link (this way we’ll ensure we’re covering it when we add a bur texture later on).
With the jump ring in place on the pliers, simply squeeze down on the handles to elongate the jump ring. As with all pliers that aren’t parallel action, the force applied will not be even on both sides of the jump ring. So, simply rotate the jump ring and repeat the process.
Repeat this for the rest of your 14 gauge chain links.
It might take a little practice here to ensure you’re applying the same amount of pressure for each link, but do take the time necessary to ensure your chain links end up the same length and width.
Adding texture and creating form with a ball peen hammer


To add a little interest to my chain links I’m going to flatten out the middle section along the length of the links and add a little hammer texture using my small ball peen hammer from Fretz Tools.
Carefully holding the link (as I don’t particularly like whacking my fingers), I’m going start hammering at the center of the link and then gradually reduce the force of my hammer blows as I work towards the tightly curved ends of the link (which I will be leaving perfectly rounded). I’ll repeat this for both edges of my link, and then flip the link over to do the same again on the other side.
Hammering the links from both sides will help ensure the links are formed evenly and don’t curve along their side profile. If you’ve tried adding a hammer texture on both sides before, you’ll realise it can be a little tricky. So as a last step, after hammering both sides, I’ll flip the link over to the starting position again and just add a few more blows to help add in a bit of texture again without removing too much texture from the back side of the links. Remember, every action has a reaction!!!
And surprisingly enough – you’re going to want to do that all over again for the rest of your oval links.
Take the time here though to make sure you’re creating a gentle taper with your hammer blows. In practice, this means more blows with more pressure in the center of the link, and less blows with less pressure towards the curved edges of the link.

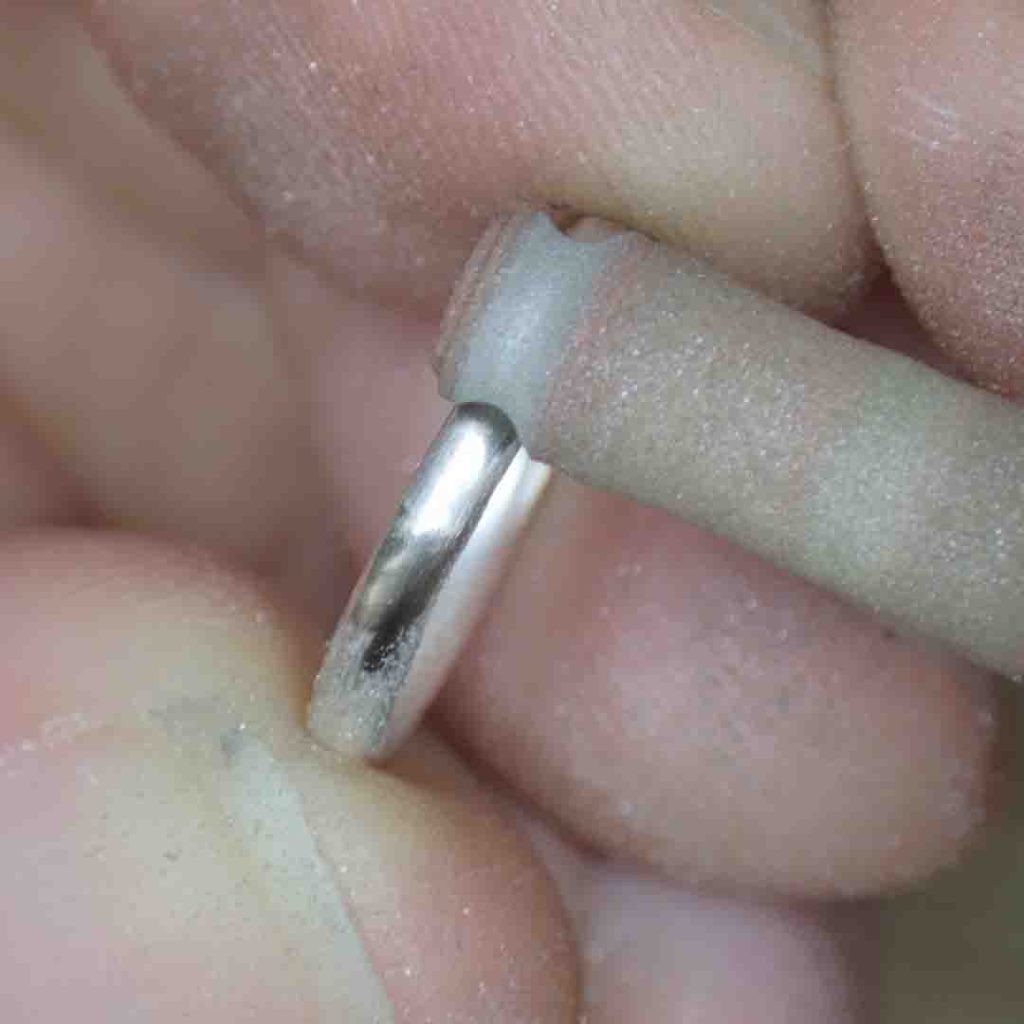
Adding texture with a cross cut Cylinder bur

Finally we’re going to finish up our oval links by adding a little texture using a 1.3 – 1.4mm cylinder bur. As well as creating a unique texture, which is going to tie into the pendant I’ll add to the chain later, this is a great exercise in bur control too! You know I love those bur control exercises right!?
Assembling the Chain
Aside from aesthetics, there is another reason I chose to have three links in between each oval link.
I am going to add a pendant to the center of the chain and it will be attached to one of the 14 gauge round links. If I had simply placed one round link between the two oval links, the pendant wouldn’t have hung correctly around the neck. This way, the large oval links can sit flat against the neck with the pendant hanging from the 14 gauge round jump ring also laying perfectly flat against the neck. It’s important to consider details like this before beginning any chain making project.
Anyway – here’s the order we’re going to assemble this:

So, now all we need to do is link the chain together and get everything soldered. I’m using two pairs of chain nose parallel pliers for this part (I find chain nose work a little easier than flat nose pliers for such tiny linking links).
As always, make sure you’ve fully closed up those jump rings and the edges are meeting perfectly! It’s much easier to make this perfect now, than after they’re soldered.


I’m going to solder these links with hard solder again, but feel free to use medium here if you prefer. Remember, keep the solder pallions tiny here. If we use just enough solder, no clean-up will be necessary – that’s gotta be a pretty good motivating factor!
As we’re dealing with pretty tiny links here, it’s important to hold the link to be soldered as far away from the join as possible. To help ensure I’m not going to be accidentally melting any of my other links, I have my cross locking tweezers resting on top of a charcoal block with the rest of the chain kept well out of the way of my flame.
You can use any flux for this as it’s a relatively quick and clean soldering operation, but I’m using Pripps style flux in a spray bottle from Pepe Tools.
I’ll solder one link at a time here, quenching, but not pickling after each soldering operation. The rest of the chain links shouldn’t be getting oxidised as you solder each link, so there is no need to pickle in between.


I’m soldering, as always, using a solder pick and using my Smith Little Torch with a number 7 tip. My flame is small but not tiny (approximately 6-7cm in total length).
Please pay attention to the angle of my flame here. It’s going across the link, and not pointing down towards the rest of the chain (if it was, there wouldn’t be any chain left, it would be a melty mess)!
Finishing up the chain

Another way to make oval jump rings
Well, after soldering everything together, I decided that I didn’t like my small jump rings being round, and my chain was about an inch shorter than I needed. So, a super simple solution to the length issue is to make the jump rings oval instead. But there’s no way on earth my reverse action pliers were going to fit in there, so I thought this was an excellent opportunity to show you how you can also make oval links using a pair of parallel pliers.


Place the jump ring in between the jaws of the pliers, and gently squish it. Beyond simple. However, keep your fingers out of the way of the jaws of the pliers. If your jump ring slips, that hurts like…… (insert very painful moment here). To avoid slipping, ensure your jump ring is perfectly perpendicular to the inside jaws of the pliers and kind of hold it straight using the previous jump ring. And don’t try this with anything but parallel pliers. Even then, I still slipped a couple of times!! Remember – do not put your fingers in the jaws of the pliers to hold the jump ring!!
After adding a clasp and a quick tumble with stainless steel shot, I’m pretty happy with the final result!
Do you like the pendant I made to go with it? I textured the bezel with the same cylinder bur as I used on the chain.
I’m still not sure though, maybe I’ll add a shit-tonne of bezel set charms instead. After all, I really am a MORE IS MORE kind of gal!

Ready to dive in and learn how to solder with confidence?

Join the Metalsmith Academy today and you’ll have access to all the classes you need to get up and running making professional looking jewellery with confidence – all filmed with your viewing pleasure in mind. According to our students, our videography is the best out there!
You’ll also be able to ask questions on this class and others in our active community forums where Lucy and Vennice are personally available every single day.
Curious about what’s happening at the Metalsmith Academy, but not quite ready to join? Sign up below to take a peek the classes available, resources, and all the magic we have to offer! As a welcome gift, we’ve prepared some incredibly helpful free resources that you won’t want to miss.