Thankfully, it's not as tough as it looks!
If you’ve ever thought: “I just don’t know where to start!”, let me help you. Saw piercing is the perfect technique, and thankfully it’s much easier than you think. I’m not saying it’s entirely stress-free, you’ll cuss a bit for sure, but by learning the right techniques from the start, whilst working on fun projects such as the one we link to below, you’ll be able to build your confidence with a jeweller’s saw in no time at all. As one of the most regularly used tools on a jeweller’s bench, saw piercing is the perfect place to start your metalsmithing journey.
So here are our top tips on how to get up and running (please don’t actually run with tools – they’re sharp and stabby), in no time at all.
Make sure the blade is in tight
And preferably with the blades pointing in the right direction (outwards in the direction you’ll be sawing, and with the teeth pointing downwards towards the handle). Make sure to flex the frame as you attach your blade to get it nice and tight in there. To test the tightness, ping the blade with your fingernail – if it’s nice and tight, it should make a high pitched sound.
Thinner metal is not easier to saw
This misconception is super common with those new to saw piercing, I see so many average looking projects that could have looked exceptional if they’d only been done with thicker metal. It’s actually much easier to get a more refined, crisp looking result when using thicker metal. My advice is to start practicing with 18 gauge (1mm) sheet, and my favourite metal for saw piercing practice would be brass or bronze, but copper will work just fine too.
Make sure you're sitting comfortably
Ensure you’re sitting comfortably, with your bench pin at chest height. You need to be close enough to see what you’re doing, but far enough away to make sure you’re sitting with a straight back. Not only does good posture help your piercing skills, but hey I find finishing work without a backache at the end of the day makes me feel young again!


Use the right size blade for the job
As a rule, you always want to have two of the blade’s teeth in contact with the metal at all times. Although generally I prefer 3. But you can download my saw blade guide if you’re feeling a little too lazy to count teeth!
Getting started


Start with the blade perpendicular to the metal. If it’s tilted forward, the teeth will catch on the edge of the metal and your saw will act all jittery. Keep it perpendicular and start sawing by applying zero forward pressure.
If you’re still struggling, do a couple of upstrokes with your sawblade first to make a small notch using your thumb nail as a guide.
If you’re still struggling, try sawing into the bench pin for the first few strokes, you’ll be surprised at just how smoothly things feel with this little trick.
Don't kill Hamish
Grip the saw frame lightly in your hand. If you’re holding the saw too tightly, the blade is more likely to tilt to one side or the other. Let gravity be your friend in guiding the saw up and down, this can only happen with a loose grip. Imagine the handle of a saw is a super cute hamster called Hamish – don’t kill him, he doesn’t deserve to die!!

Stay Sane
Don’t use cheap saw blades, they will break regularly, cut wonkily and ruin your sanity. I love Super Pike, Nano by Pepe Tools, C & J Co, and Laser Gold from Rio Grande. Decent quality blades should cost over $20 per 144 blades. $5-a-gross blades are a recipe for a mental breakdown.


Fancy frames....
They look great on Instagram, but they don’t make you a better jeweller. Only practice can do that. My advice is to save your money for tools that will make a difference in the long run. A fancy saw frame is seriously about as helpful as a condom in a convent.
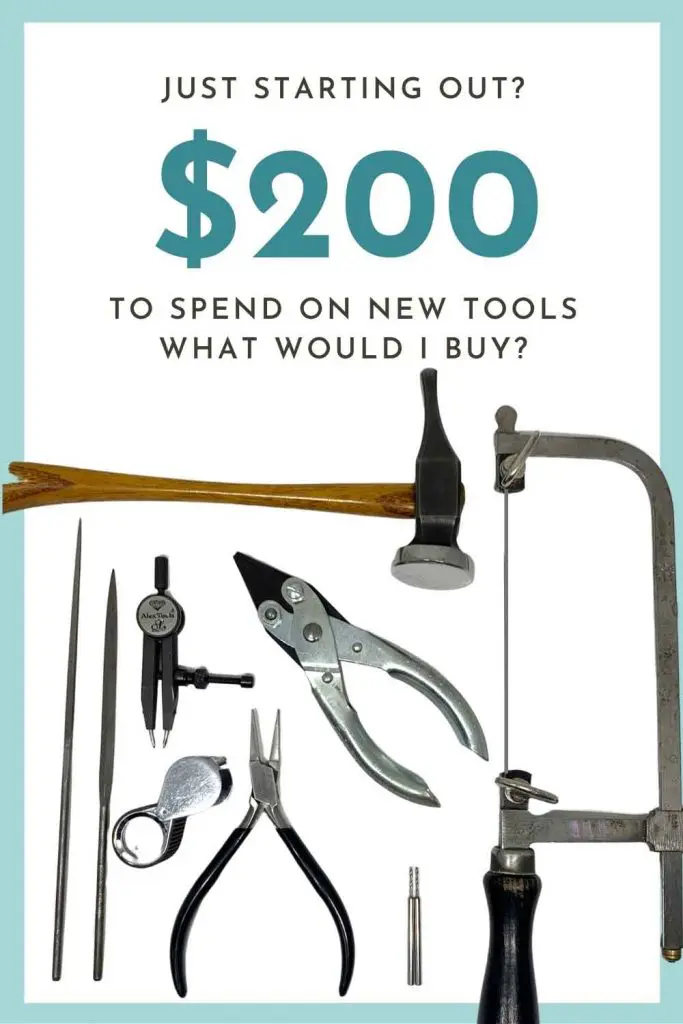
The frames are in order of my favorite from left to right. Yep the cheapest is my go-to every single time
The smallest file in your tool box
Use your saw as a file. With just one row of teeth, it’s technically the smallest file you own. Use the thumb of your non-sawing hand to help guide the blade from underneath the bench pin. Start moving your blade up and down with the teeth not in contact with the metal, then slowly rotate the teeth of the blade inwards until they are just grazing your metal. Now as you move your blade back and forth, you’re able to file rather than cut the metal with your blade.

Watch where you're going
Watch where your saw blade is going at all times and adjust if necessary. The blade won’t magically correct itself – always be aware of where you are heading. Wear an optivisor, or reading glasses if you need to.
Make each saw stroke count
When you’re starting out, each time you raise and lower the blade, do it with purpose and mindfulness. Make each cut as if it were the only thing you had to do perfectly to win a million bucks. Speed will come in time, but perfection takes patience.
Longer is better.....
Saw slowly and use the full length of the blade. Using the full length of the blade will ensure a smoother stroke when cutting straight lines or smooth curves.
Or is it?
But, when turning corners it’s better to use short strokes. Move your saw frame up and down using short strokes, and without applying any forward pressure, slowly turn your metal into the blade. Do not try to turn the corner if your saw frame isn’t moving up and down, this will just snap your blade
Corners
To get a really crisp finish to your corners though, cut into the corner from both sides. As you gently cut into the corner, tilt your blade forwards and point the teeth inwards towards the corner slightly. If you do this from both sides, you’ll get that perfect corner.


The sweet sound of sawing
It should sound smooth and rhythmic, not like a monkey with a hacksaw. Aggressive cutting just leads to broken blades and emotional meltdowns.
Practice is key!
Our online students are always amazed at just how much of an improvement they make when comparing their first and second piercing projects. So don’t be disheartened if your first try isn’t perfect, all it takes is practice. But if you want to make your shitty attempt look passable…. nothing cures a bad piercing job like a good old hammer texture…… Seriously, if you screw up, give it a try 🙂
Ready to dive in and learn how to saw pierce - and so much more with confidence?

Join the Metalsmith Academy today and you’ll have access to all the classes you need to get up and running making professional looking jewellery with confidence – all filmed with your viewing pleasure in mind. According to our students, our videography is the best out there!
You’ll also be able to ask questions on this class and others in our active community forums where Lucy and Vennice are personally available every single day.
Curious about what’s happening at the Metalsmith Academy, but not quite ready to join? Sign up below to take a peek the classes available, resources, and all the magic we have to offer! As a welcome gift, we’ve prepared some incredibly helpful free resources that you won’t want to miss.