When it comes to jewellery design, understanding how to accurately render diamonds and gemstones really will bring your designs to life.
In this blog post I want to show you step-by-step how to render a simplified version of a round brilliant-cut diamond. This method is commonly used for medium-sized stones, typically ranging from 5-12mm in size.
With jewellery design, it’s often more about creating the look rather than being technically accurate. So, our simplified diamond will have fewer facets than a real diamond. But how many facets does a round brilliant cut normally have? Well, this can vary, but a standard brilliant cut diamond usually has 57 facets. When rendering diamonds in the 5-12mm range, it’s simply not possible to fit all the facets in the drawing though.
Let’s get started!
We’ll be rendering this diamond with colour pencils. Here, I will use the watercolour pencils from Faber Castell Albrecht Durer because I love the bright and strong pigment of these pencils. These are rather pricey, so when starting to learn, you can use any brand of colour pencils at an affordable price, or you can purchase just the individual pencils mentioned below.
Before we dive into the exciting world of diamond rendering, it’s important to understand the role that our imaginary light sources play in the process. As a designer, having a strong understanding of lighting and shadows is essential when drawing and rendering jewellery. It allows us to create a 3D visualization of the design, which is necessary when presenting our work to clients.
To create an imaginary light source (mentally so to speak), we’ll imagine a standard light source coming in at 45 degrees from the top left. What this means is that for a flat surface, we’ll begin shading the darkest area at the bottom right of the image, using a 45- degree angle, and gradually reduce the pressure as we move towards the imaginary light source. But it’s a little different in the case of gemstones……
When it comes to shading faceted stones, there are a few differences to keep in mind. As you can see from the side view, the stone isn’t a single flat surface, and because of the way a diamond reflects light, the faceted surface will show reflected and refracted highlights.
When rendering the stone, we’ll start by rendering the table of the stone, beginning from the top left and gradually reducing the pressure as we move towards the bottom right of the table facet.
When it comes to rendering the facets, we’ll start from bottom right and gradually reduce the pressure as we move towards the top left, which is where our imaginary light source is coming from.
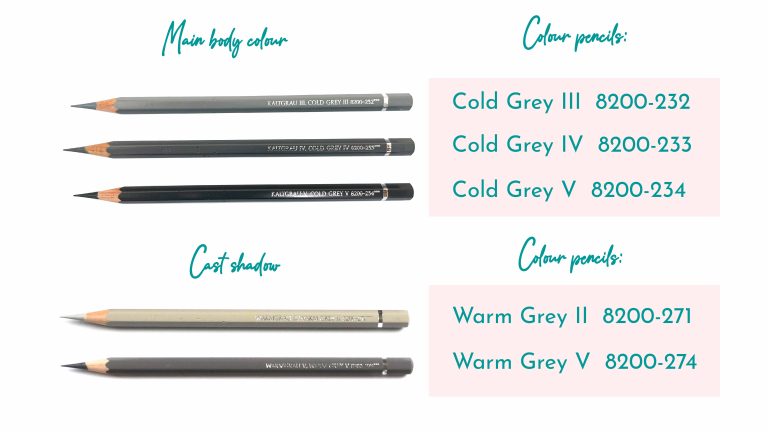
Let’s begin by applying the main body colour to the diamond using our Cold Grey III coloured pencil. Because of the refracted table highlight, we will render the darkest area at the top left.
Colour: Cold Grey III
Colour Code: 8200-232
However, before we begin, I’ll trace the lines labeled A, B, and C at the top left of the stone using my Cold Grey III pencil to create a crisp looking facet junction. The facet junction is the point where two facets meet. We must take care not to shade over these lines as we would lose the definition of our gemstone.
Next, we’ll shade the table facet diagonally, beginning at the top left and gradually reducing the pressure as we move towards the bottom right of the table facet.
It’s important to take your time while shading and focus on staying within the lines. By the time we reach the bottom right of the table, the pressure will be reduced to almost nothing. However, we won’t leave any part of the stone completely white at this stage.
Now we’ll use our Cold Grey IV coloured pencil to add another layer of shading. Starting at the top left, we’ll apply the most pressure and gradually reduce it as we move towards the centre of the table facet. By the time we reach the center of the table facet we’ll be using almost no pressure, and we’ll stop shading.
Colour: Cold Grey IV
Colour Code: 8200-233
Next, we’ll move on to using the Cold Grey V coloured pencil. For this step, we will shade only about 1/4 of the way in from the top left edge. Remember to reduce the pressure as you shade to achieve a smooth result.
Colour: Cold Grey V
Colour Code: 8200-234
We will repeat the entire process once more to ensure that our shading is super smooth and evenly blended.
Now, we’ll focus on the star facets of the stone.
The shape of the stone and the angle of the crown make the star facet farthest from the light source the darkest, while the facet closest to the light source will be pure white. All the facets in between will gradually become lighter as they get closer to the light source.
First, we’ll start with the bottom right star facet, which will be the darkest.
We’ll use the Cold Grey III coloured pencil to first trace the facet junctions, again making sure we get a crisp and clean finish.
Colour: Cold Grey III
Colour Code: 8200-232
Then, we’ll shade the bottom right facet using even pressure over the entire facet.
We’ll move on to the next two-star facets and repeat the same process again, using the same amount of pressure and evenness as we did for the bottom right facet. We’re not done with the first facet yet, but let’s finish the others in the same way first.
Now onto the Cold Grey IV coloured pencil and for all three facets and I’m going to shade the entire surface evenly with the same amount of pressure.
Colour: Cold Grey IV
Colour Code: 8200-233
Now, we’ll use the Cold Grey V coloured pencil on the bottom right facet only, applying even pressure over the entire surface.
Colour: Cold Grey V
Colour Code: 8200-234
We’ll use the Cold Grey III coloured pencil for shading the remaining star facets, each facet will be shaded with even pressure, but as we move towards the facet at the top left, which should remain pure white, we’ll reduce the pressure applied on each facet.
Colour: Cold Grey III
Colour Code: 8200-232
Now we are going to shade the outer layer of facets next to the girdle of the stone starting from the bottom right. We’ll just use Cold Grey III coloured pencil for this. Again, we’ll be applying the most pressure on the facets farthest from the light source, so they appear darker, and gradually reduce the pressure as the facets get closer to the light source.
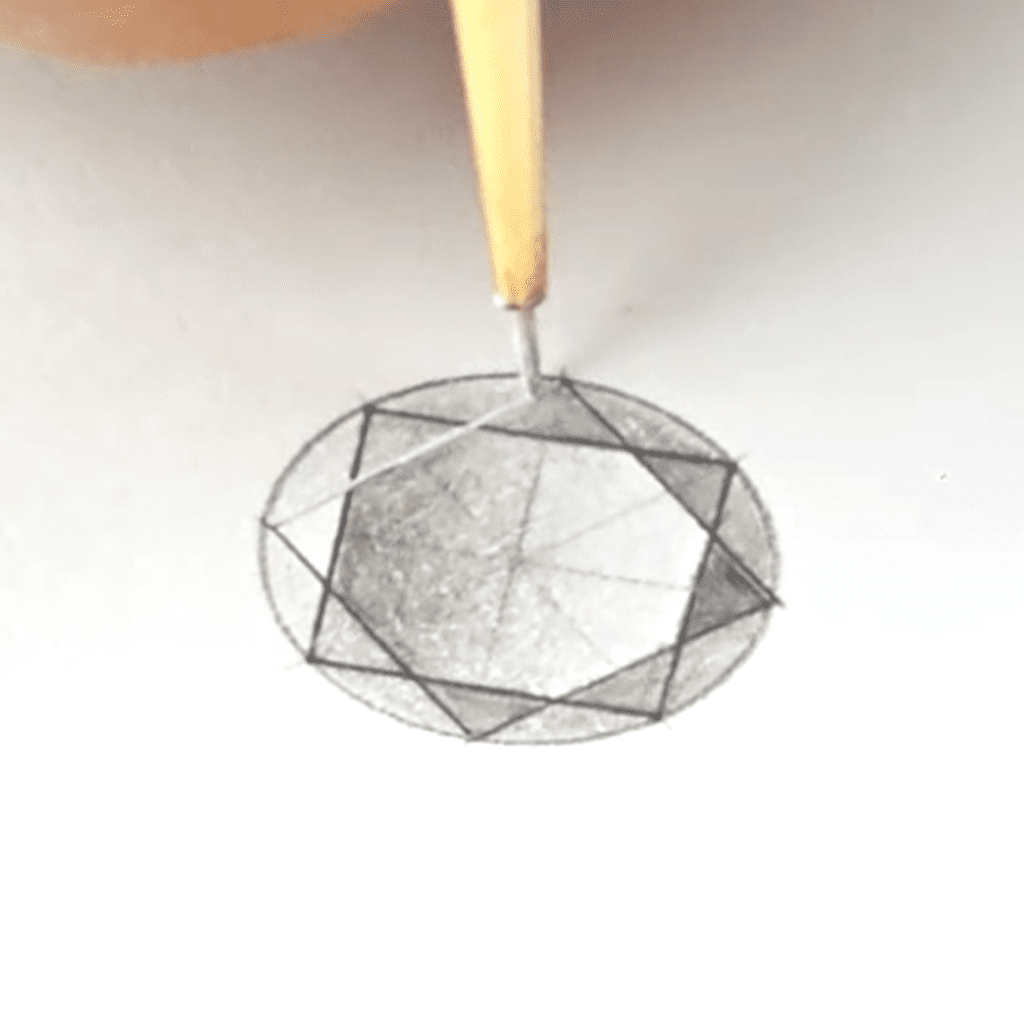
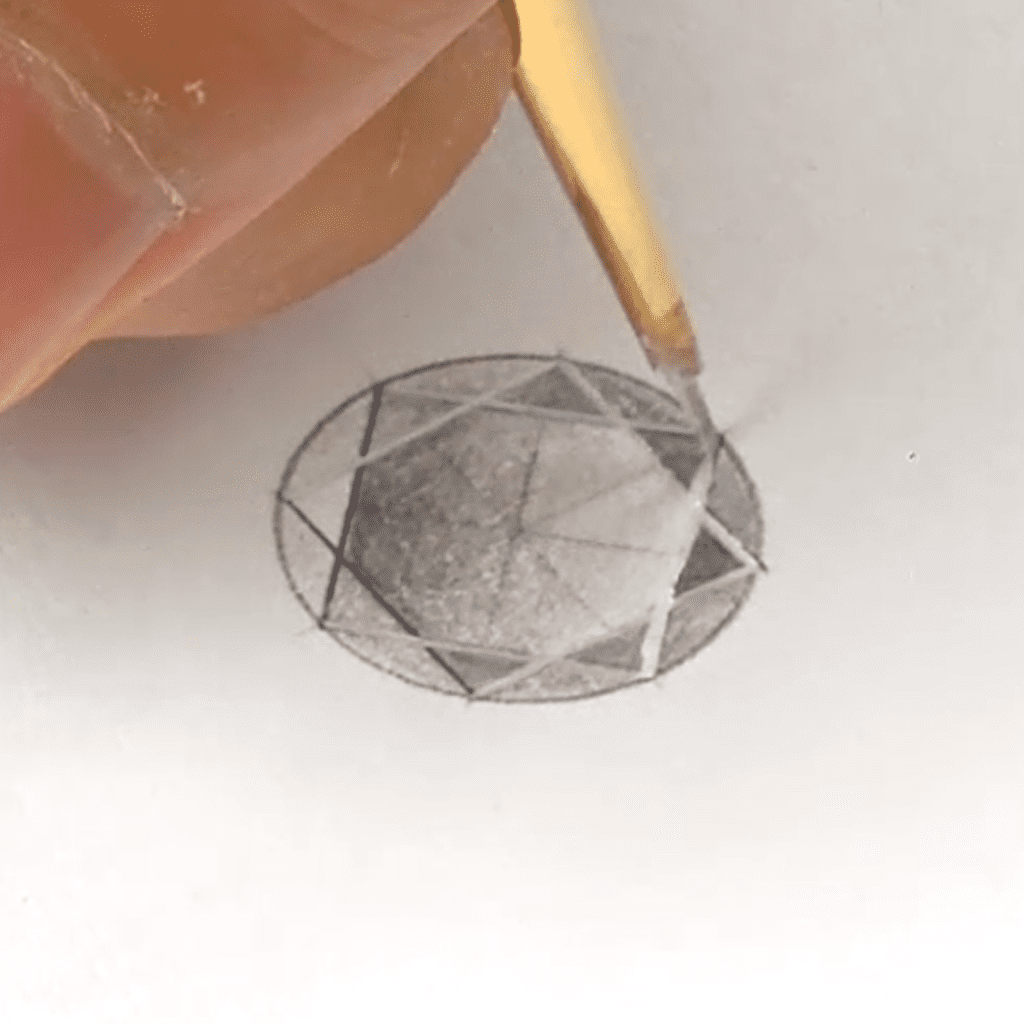
To bring out a little sparkle when rendering diamonds, we will use paintbrush with white gouache paint to create highlights on our diamond.
We will start by squeezing out a tiny amount of white titanium gouache onto a colour plate.
When designing jewellery, we’re usually working on a very small scale, and for this reason I find the paint is a little too thick to use fresh out of the tube, so I always add a little water. The ratio of paint to water I prefer is around 70% paint to 30% water, but it may vary depending on the brand and your preference.
Make sure to have just the right amount of paint on the brush tip – not too much or too little.
If these is excess paint, gently scrape the tip of the brush at the edge of the colour plate to remove it.
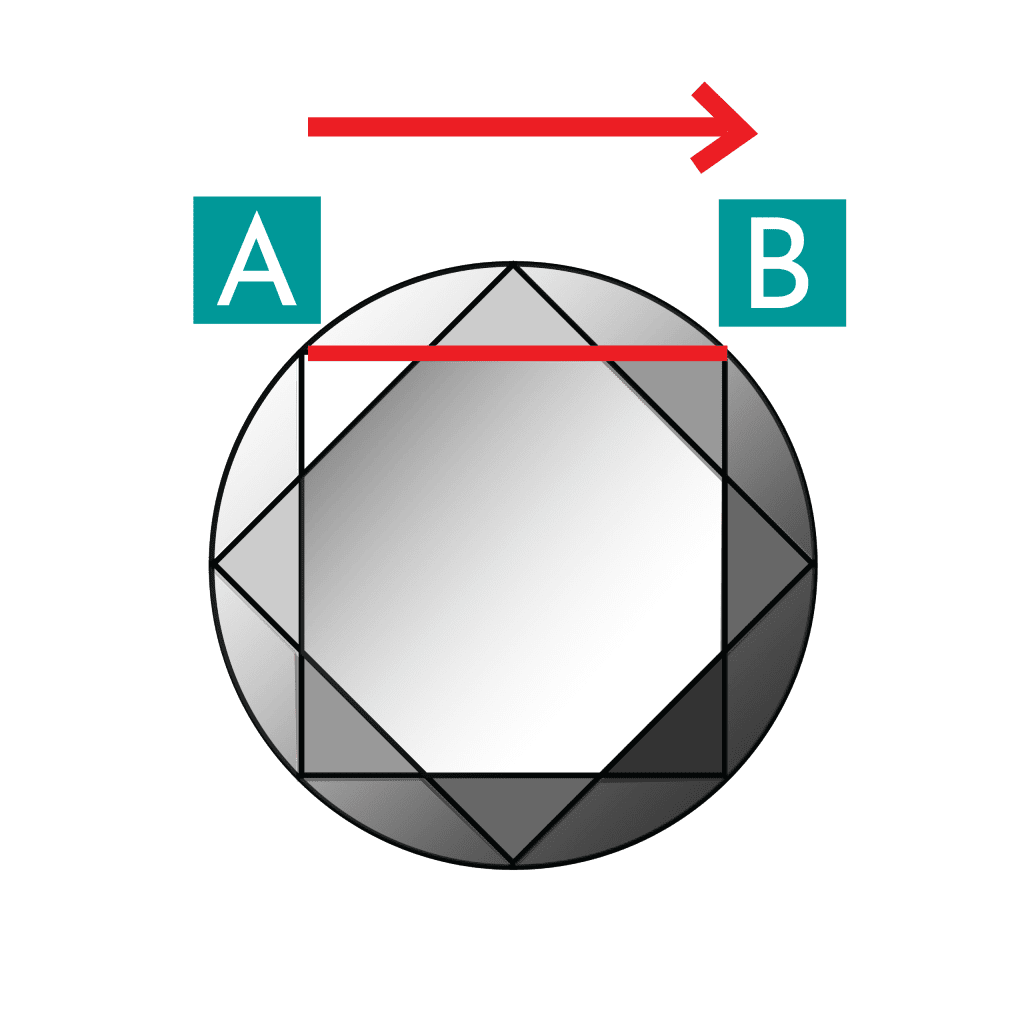
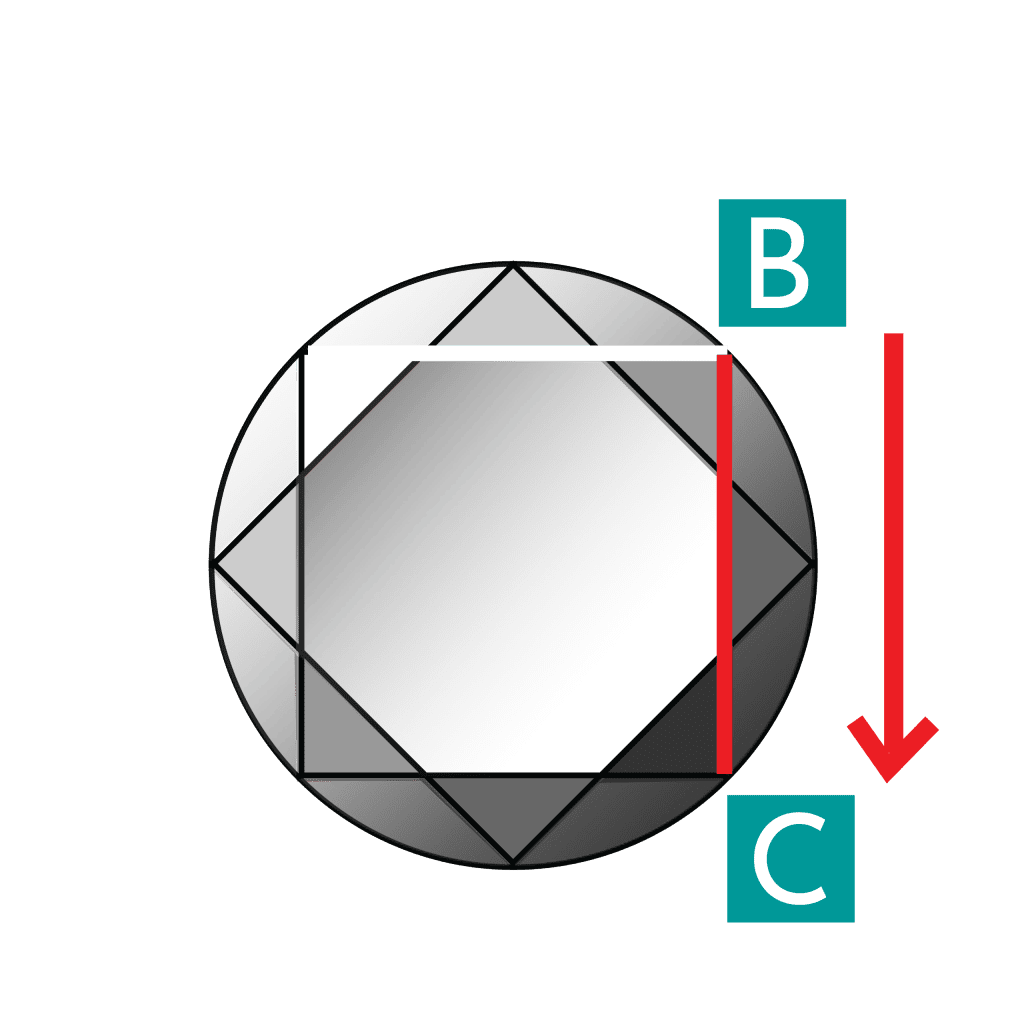
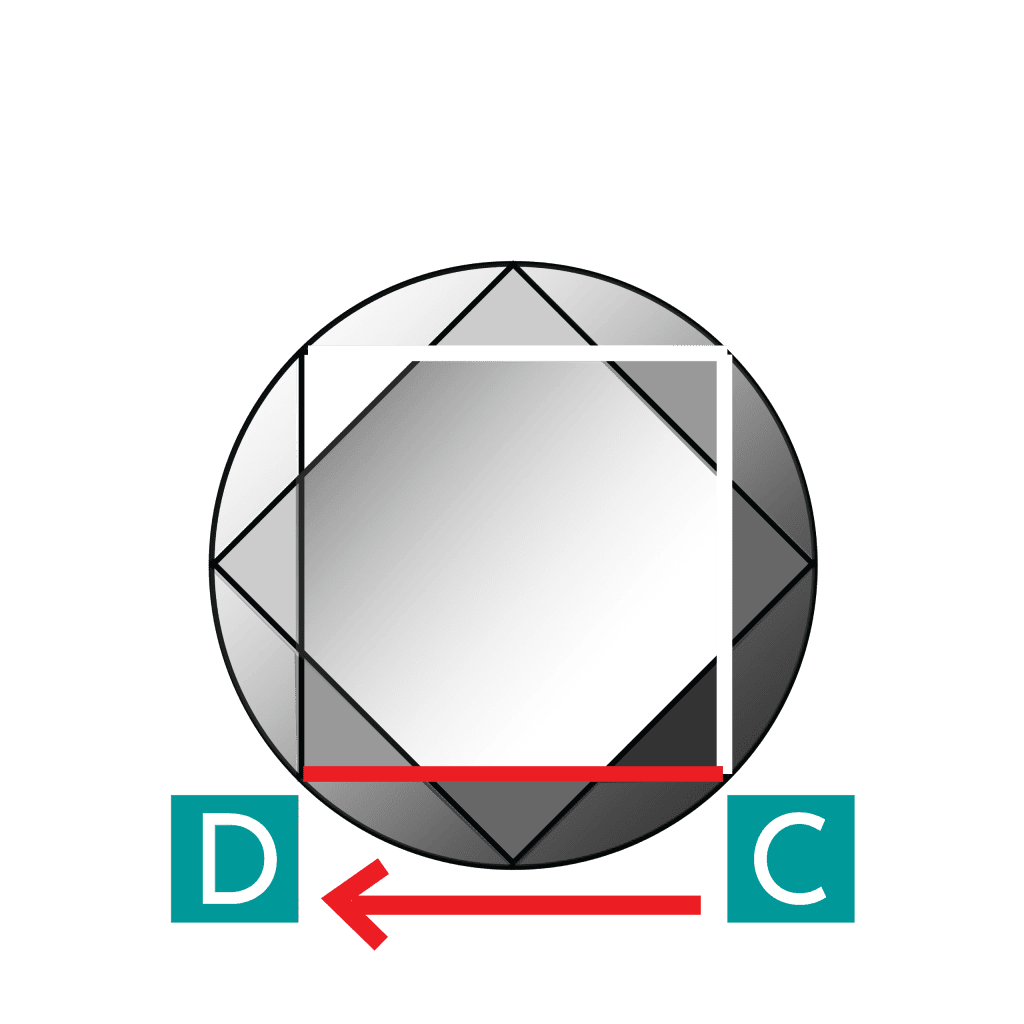
Then to create my highlights, I’ll paint a single narrow line from point A to B, B to C and C to D.
It may take a little practice to get a crisp line, but avoiding having a soggy paintbrush helps.
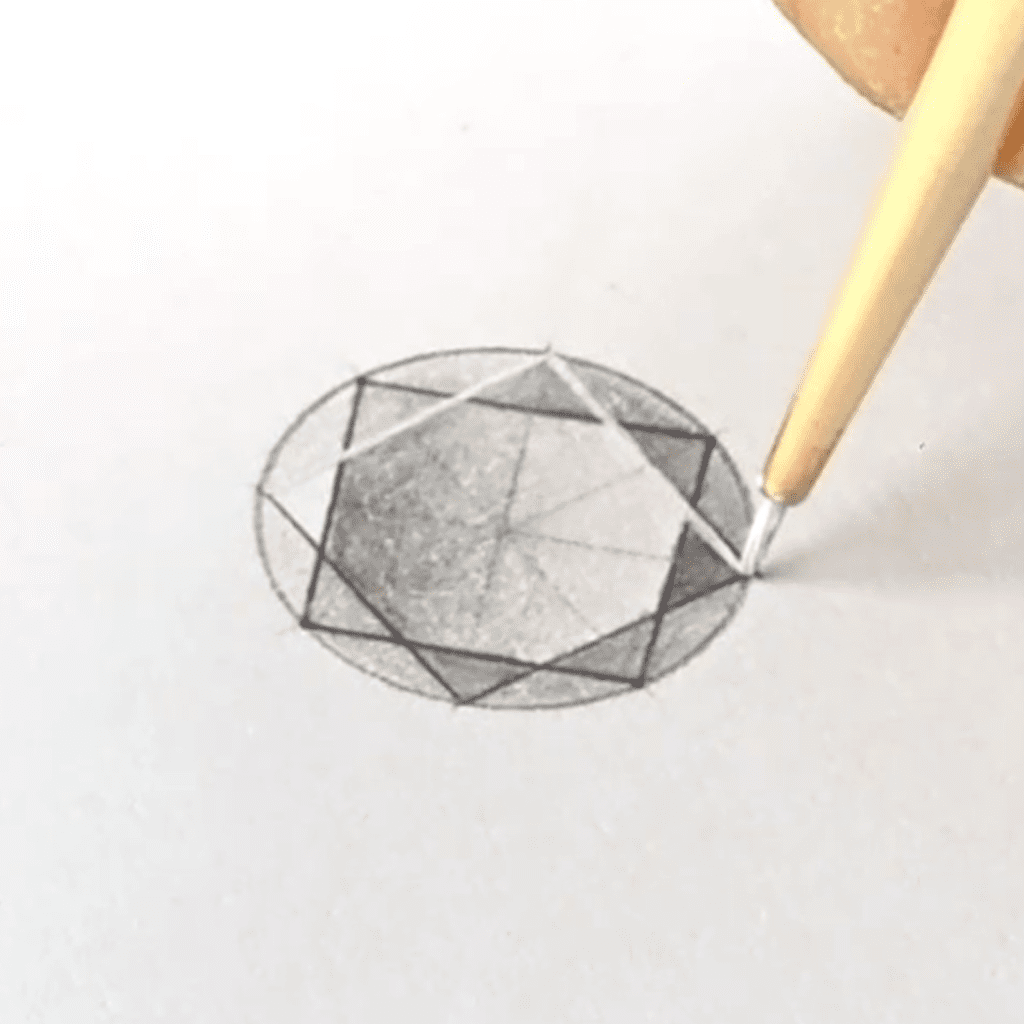
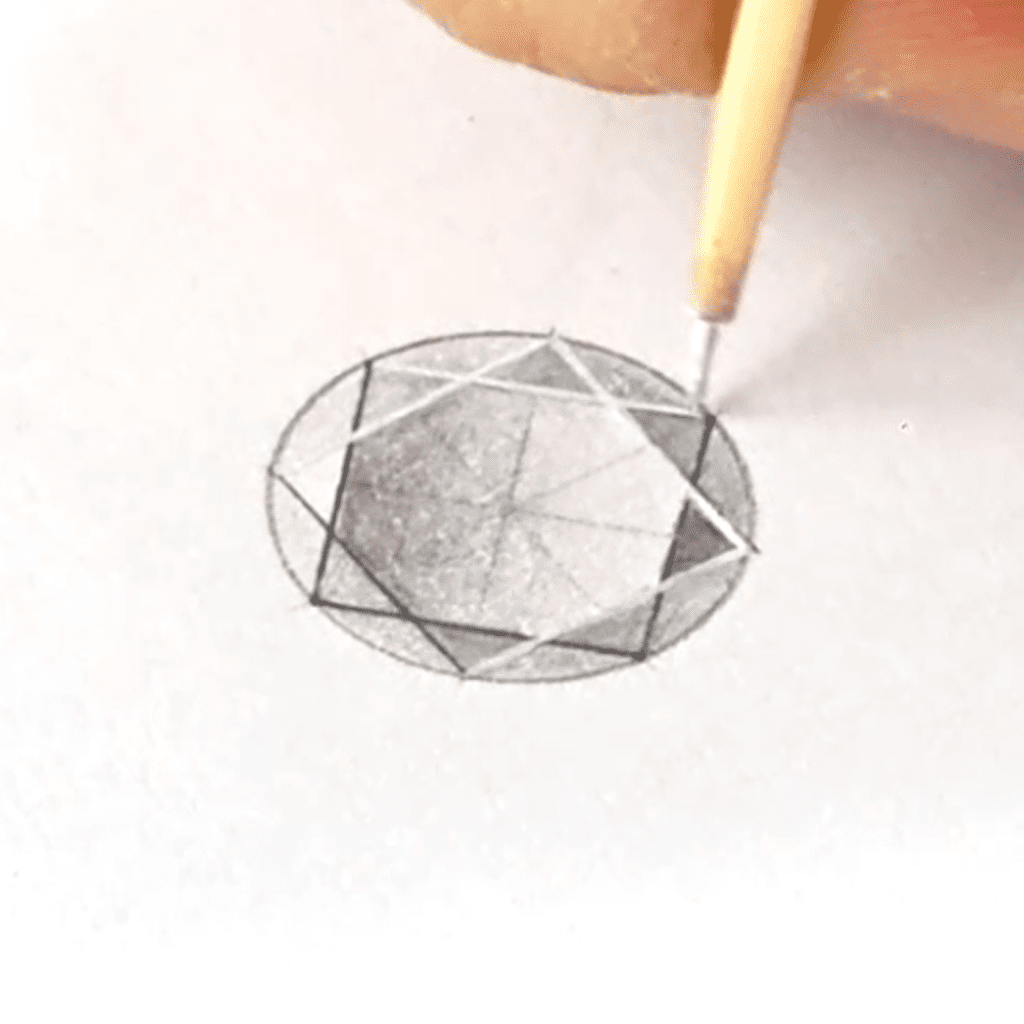
Next, join points E to F, F to G, and G to H in exactly the same way.
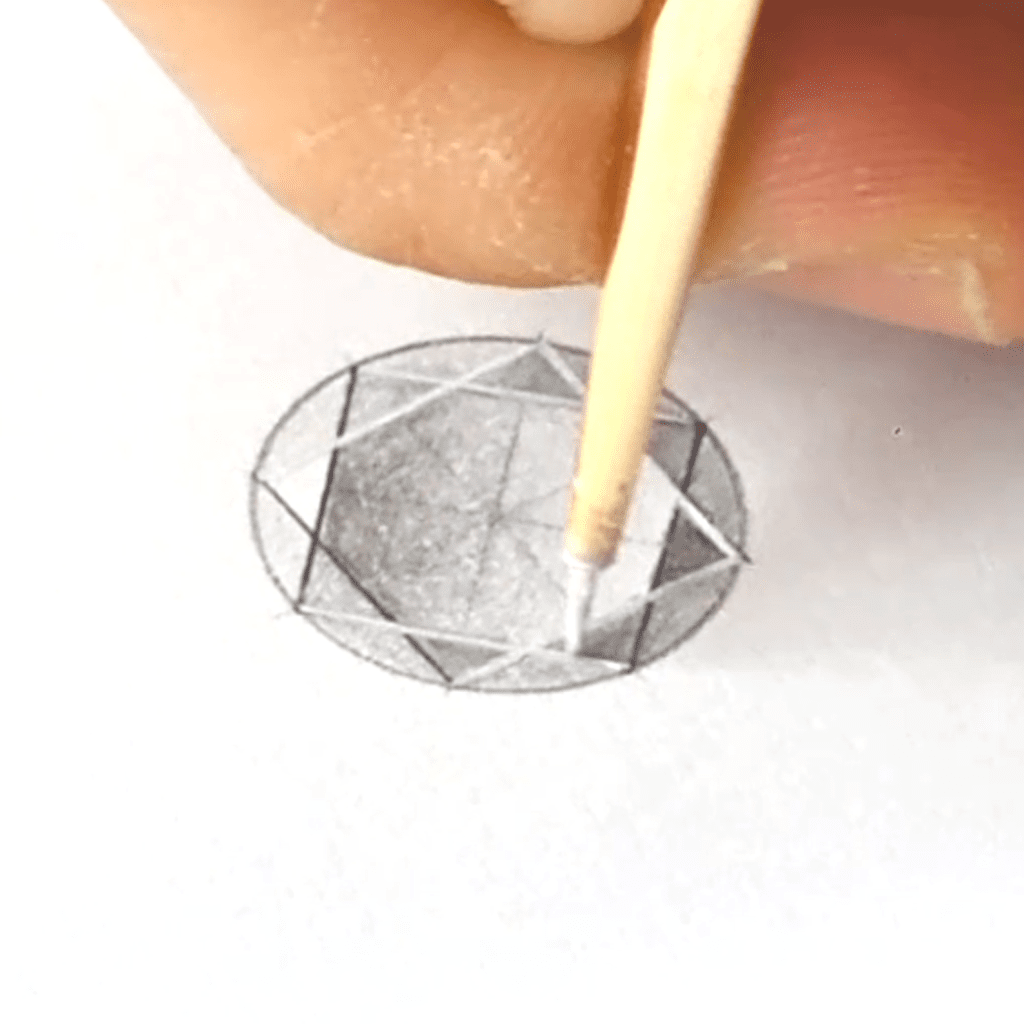
To add a little extra life to our diamond rendering, I like to draw two straight parallel lines topped off with a single a single dot at the top right of the table facet.
Lastly, let’s add some cast shadows. While you may not always draw a standalone stone, I personally love to add cast shadows because it really makes the diamond rendering come to life.
Colour: Warm Grey II Colour Code: 8200-271
Colour: Warm Grey II Colour Code: 8200-271
Colour: Warm Grey V Colour Code: 8200-274
We will apply the cast shadows which are always directly opposite the light source with Warm Grey V and Warm Grey II coloured pencils.
We’re going to start by using Warm Grey V coloured pencil to draw a curved line.
Colour: Warm Grey V
Colour Code: 8200-274
For this, I’ll be using the round template I originally used to draw the diamond. Place the round template (exactly the same size as the diamond rendering) back over the original circle which forms the girdle of the stone. Then move it slightly to the right and downwards.
Then, draw a single curved line from around the 12 o’clock to 8 o’clock position. Start at 12 o’clock by applying very little pressure on your pencil, and gradually increase that pressure until reaching the 4 o’clock point. Finally, slowly reduce the pressure again until reaching 8 o’clock position to create a cast shadow that is lighter at the edges and darkest directly opposite the light source.
To create a more realistic cast shadow, I’ll use a Warm Grey II coloured pencil to blend my first line. First, I’ll start with a fine line starting from approximately 12 o’clock and then gradually widen it until it reaches the widest part of the shadow at around 4 o’clock. I never make the widest part of the shadow more than 2mm wide (I find things look unrealistic if it’s wider than that). After that, I’ll gradually taper the curved line back in towards the girdle of the stone until it stops at around 8 o’clock.
Colour: Warm Grey II
Colour Code: 8200-271
And that is all there is to rendering a round brilliant cut diamond. I hope this post helps bring your jewellery designs to life!