Whether you're reasonably new to making jewellery or you've taken years of metalsmithing classes, flush setting can be tough. But it doesn't have to be........
So you’re ready to give flush setting a try? Woop woop! But, be warned, you’re going to need patience, persistence and just the right amount of coffee for this. It’s a bit of a tricky bugger to master and does require a reasonable amount of practice, but once you’ve nailed it, your jewellery designs will never be the same again…… ok that was a bit dramatic, but it is freekin awesome!
What is this flush setting malarkey?
Flush setting, or gypsy setting as it’s sometimes known, is a modern looking technique used to set stones in jewellery. It’s different to prong setting or bezel setting, in that the stone is generally set directly in the metal, rather than an actual “setting’. If you’re already metalsmithing – which to be honest you should be if you’re going to give this a try, then you’ll probably already have some of the tools needed. But let’s take a look in a little more detail!
What tools do I need for flush setting?
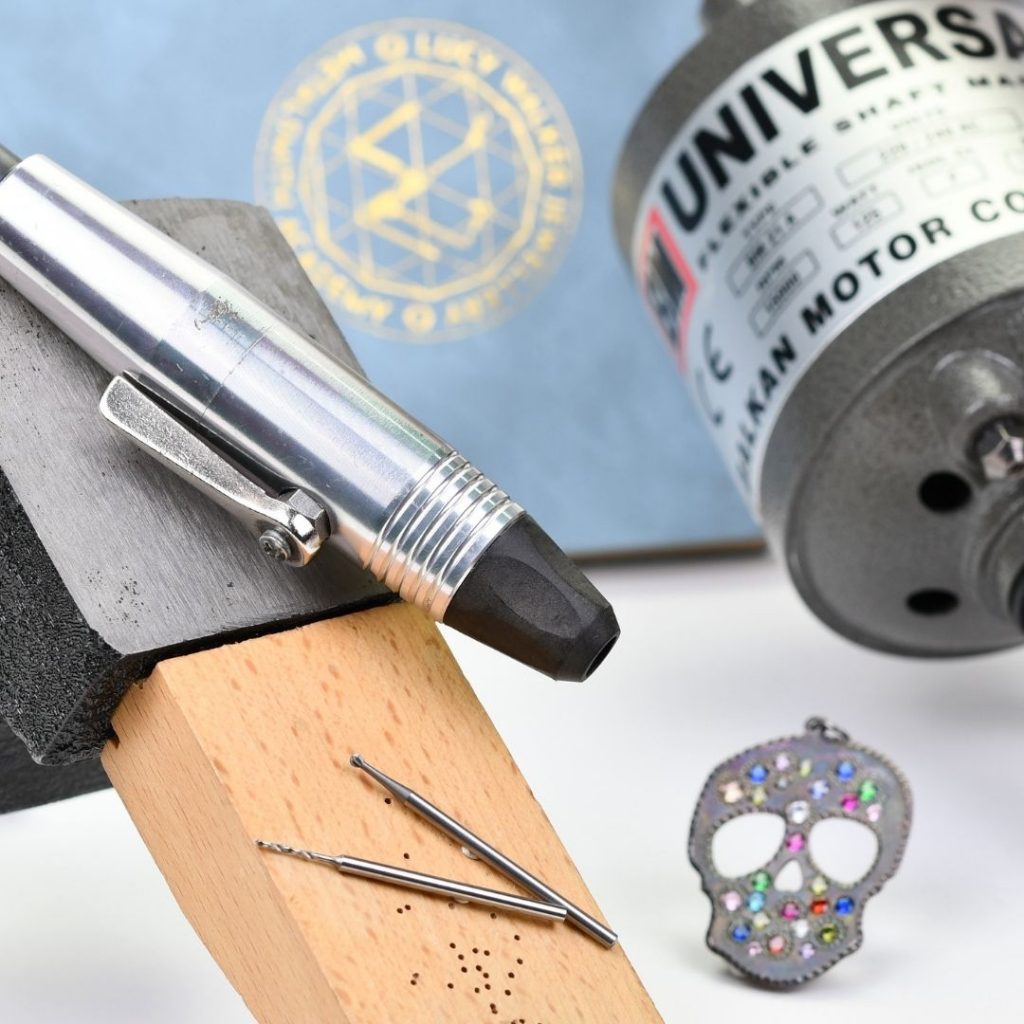
Flex shaft
I have several flex shafts including foredom, but my favourite is the Universal Motors Flex shaft – which is in my opinion the perfect all round flex shaft, and the smoothest I have found. I use mine together with a quick change handpiece, which the Universal Motors flex shaft comes with as standard, and this really makes a huge difference in the amount of time it takes to set a stone. Here’s the one I have.
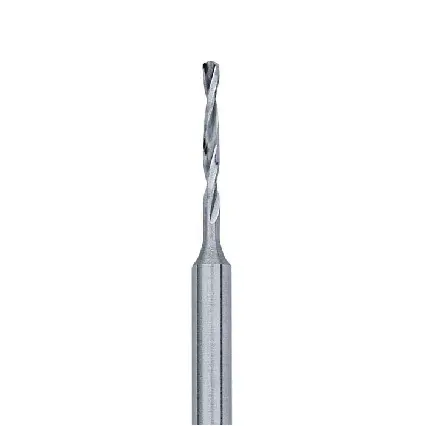

Drill bits
Hopefully you have these already, but you’re gonna need drill bits. Generally for stones over 2mm in diameter, I’ll use a 1mm drill bit to start with. But for stones smaller than 2mm, I’ll aim to use a drill bit about half the size of the diameter of the stones. Beyond a doubt Bush are my favourite brand of drill bits, and as with most burs, these usually come in cute little boxes of 6. Here’s the ones I use.
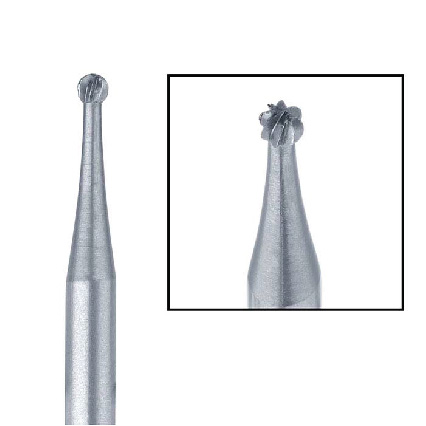
Ball Burs
You’ll need these in various sizes depending on the diameter of the stones you’re going to flush set. To start with a set of multiple sizes is ideal such as this one right here, again from my favourite brand, Busch. Another set is also available in larger sizes if needed, as a general rule, the largest size ball bur you’ll need will be about ¾ the diameter of your stone. Here’s the set I have.

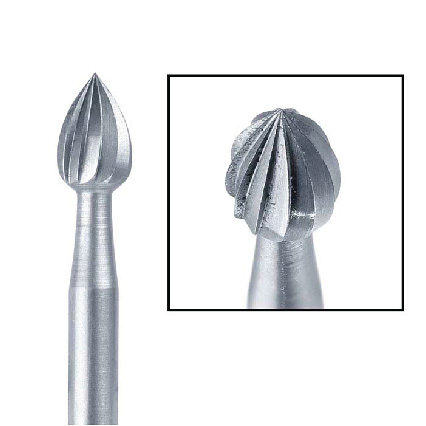

Bud Burs
I use bud burs just to create a tapered hole before I use my setting bur. Generally, I’ll just have a 2.5mm and 4mm for pretty much everything. Busch as always for me! There are cheaper burs available, but Busch burs are the love of my life (where burs are concerned anyway). Here’s the link for ya!
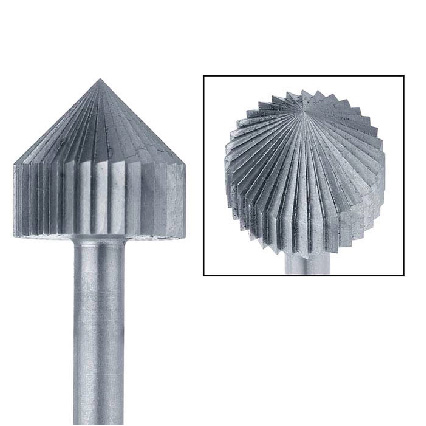
Setting Burs
Just as with ball burs, you’ll need setting burs in various sizes. Ideally you’ll use a setting bur exactly the same size as the stone, we can definitely get by with a slightly smaller one though. BUT…. Under no circumstances do you want to try and flush set a stone, using a bur that is larger than your stone. Capiche?! Busch setting burs anyone?


Brass Pusher
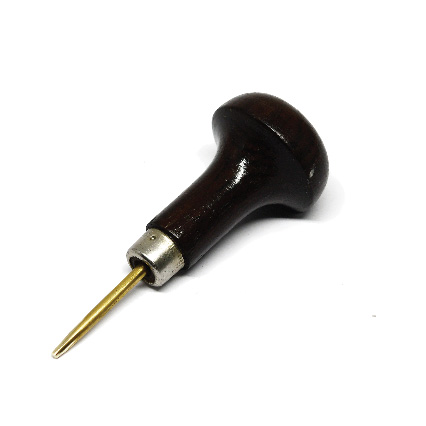
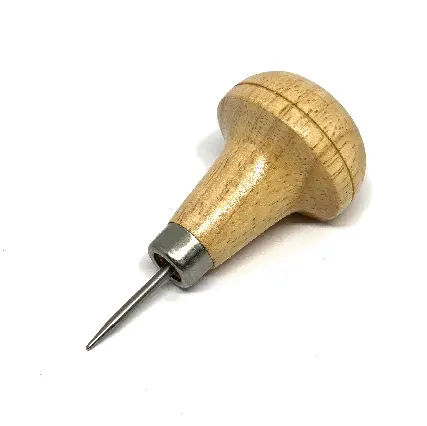
This is a home made tool I use regularly for many different stone settings. It’s simply 12 gauge brass rod, filed to a taper with a small flat spot on the very tip. Then it’s just mounted in a graver handle.
Needle Burnisher
Another home-made tool! And no, you can’t buy these anywhere, you gotta make one. But it’s simple I promise. Learn how to make a needle burnisher here.

And here's how it's done.......
Follow the instructions below and pray a little to whichever deity you subscribe to – it’s simple honestly. Seriously flush setting isn’t that complicated, even if you’re relatively new to jewellery making. The really really important thing when flush setting is to make sure your stone fits tightly in the seat. Give it a try and let us know how you get on in the comments!
IF YOU NEED GLASSES WEAR THEM – if you can’t see what you’re doing, you are most likely going to suck.
Drill a hole
Use a ball bur (or several) to open the hole to ¾ the size of the stone
Use a bud bur to open the top of the hole to exactly the same size of the stone – if you make it bigger than the stone – you’ll need to find a larger stone – DO NOT MAKE IT BIGGER THAN THE STONE!
Use a setting bur exactly the same size as your stone – drill deep enough with your setting bur so the table of the stone is flush with the metal. DO NOT USE A SETTING BUR THAT IS LARGER THAN YOUR STONE!
If you don’t have the perfect size setting bur – which is usually the case, you will want to use the closest size SMALLER bur and ream out the hole – KEEP THE BUR PERPENDICULAR TO THE METAL AND MOVE METHODICALLY, we are not mixing pancake batter
Ensure the stone is a tight fit – if it’s not, select a stone that is slightly larger 0.01mm can make a big difference here! The stone should not slot into the hole, but should require a GENTLE LITTLE shove with a brass pusher (basically a tapered piece of brass rod in a graver handle) to sit nice and securely in the setting.
Place your needle burnisher at the edge of the setting and run it around the edge of the stone applying outwards, not downwards pressure until the stone is secure.
Want to learn more?
We would love to welcome you to the Metalsmith Academy where we can help you create the jewellery you always dreamed of.
- Incredible classes with close up videos and crystal clear explanations
- Extensive full colour handouts for all our classes (a firm favorite with our current members)
- Quick win projects and resources. If you don’t have the time to commit to a full class, but want to learn some new skills quickly, these are for you
- Challenges to help get those creative juices flowing
- Active community forums – and when we say active, seriously it’s like a party over there!
- Direct help – Lucy and Vennice are over in the forums every single day to help
- Exclusive discounts
- Tips and tricks galore – you got a problem, we create the content you need to fix it
Just click below to join the family now!
