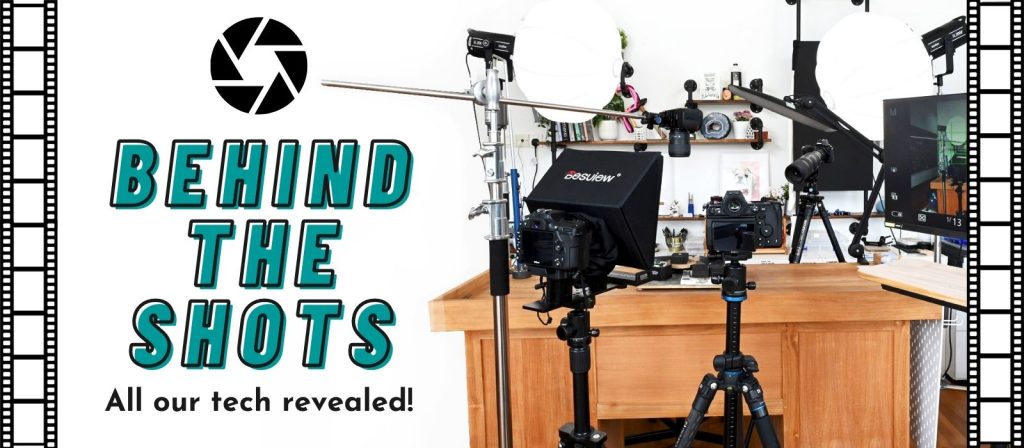
So what kind of equipment does it take to make our online classes?
Well, this is the subject I’m emailed about almost weekly, and I’m always happy to share. So, I figured I’d save myself a little time and just write a blog post! I want to make one thing clear though, before starting filming our online classes, I had zero videography experience (or photography for that matter). So, there is every chance I could be talking out of my arse at some points here! I will avoid talking about the specs of cameras – because quite honestly, I’ll end up sounding like a moron. You can however click on the buttons to see for yourself.
What is listed here is after a massive upgrade to our filming gear just over two years ago, and it’s everything we use on a day to day basis. I’d say I’m 80% happy with what we use right now, but there’s always room for new tools right!?
Unfortunately, as we’re based in Malaysia, we don’t have access to photography superstores where we get to try before we buy. We have had to make the best decisions we can without having ever tried the equipment – and I can’t say we haven’t made a lot of mistakes!
We’re set up for speed and efficiency, so for sure you certainly don’t need to spend 1/4 what we have. But I hope this blog post will at least help you avoid some of our mistakes and spending as much as we have unnecessarily (which was unfortunately a shit tonne).
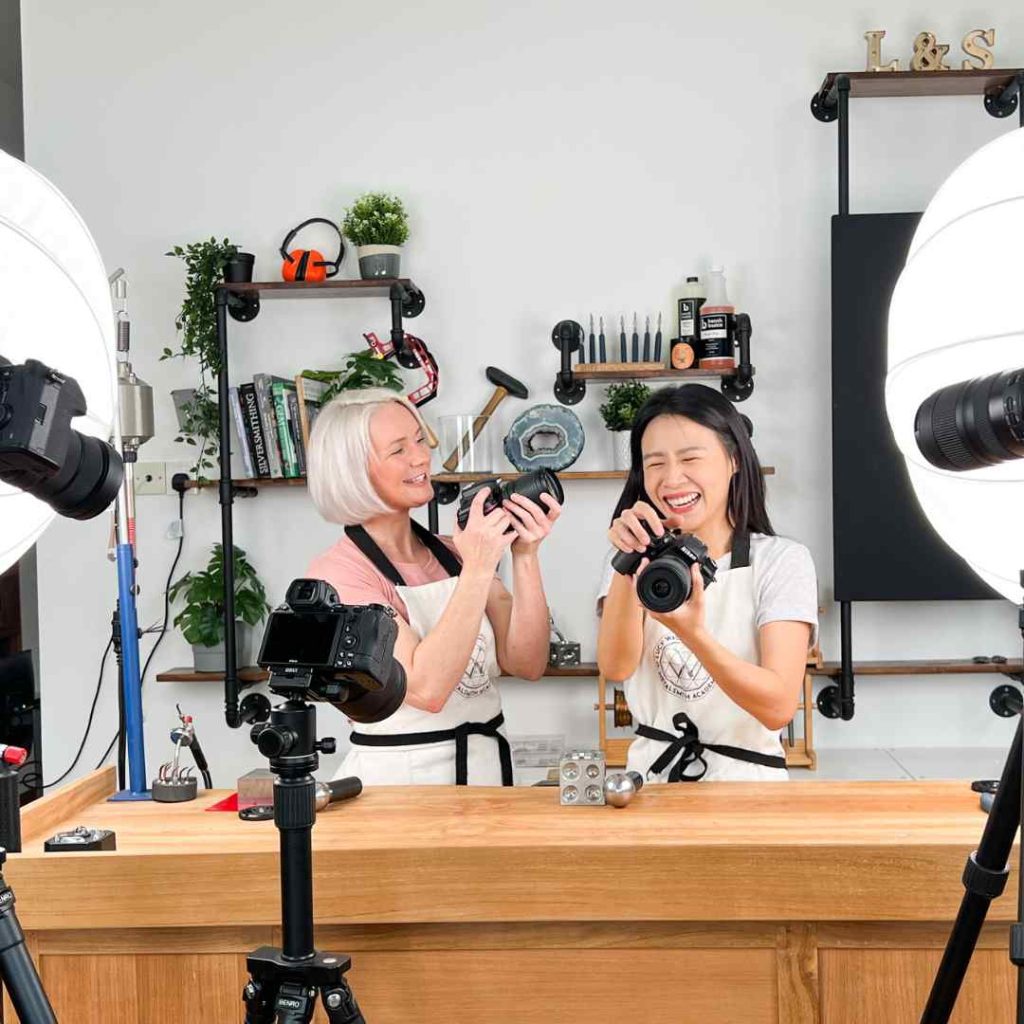

Please bear in mind that we have to purchase most of our gear in Malaysia, under the guidance of a videographer here. So, if you are a photography buff and notice we could be using something better, please let us know and we’ll see about getting it shipped in – we are a little limited here in terms of equipment.
The prices are to the best of my knowledge accurate, but there might be a few that are a little off.
CAMERAS AND LENSES
Nikon Z6 II Mirrorless Camera with 24-70mm f/4 Lens - $2600 (I have two of these)
I love this camera! I was expecting it to be considerably lighter after all the fuss about mirrorless cameras being so light (it’s not, it’s bloody heavy), but despite that it is my favorite of the bunch.
I have two of these with three different lenses. The first of the lenses works great for face-on filming, and the other two which I’ll mention shortly are for macro shots.
I’d say battery life is about 2 -3 hours ish, so I would suggest purchasing a spare!


Nikon NIKKOR Z 24-200mm f/4-6.3 VR Lens - $900


My favorite lens for macro shots. It has no zoom function, so most often this is a maximum of two feet away from wherever I’m working – which can be a little awkward at times.
I film in 4k with this, which means for a standard video size I’m able to zoom in to twice the size without losing quality (as long as the camera was properly focused – which is the bane of my life).
Tamron SP 70-200mm f/2.8 Di VC USD G2 Lens for Nikon F - $1300
My second lens is a Tamron. Because this is a telephoto-zoom lens, I can have this camera a little further away from where I’m working.
Personally, I love that it has a zoom function, sometimes you need to back off a little to show how you’re holding the tools, and it’s super easy to do with this. Although of course, that means another cut in the filming process – some things can’t be avoided!


Nikon FTZ II Mount Adapter $250 and Tamron 1.4X Teleconverter (Model TC-X14) for Select Tamron Lenses in Nikon Mount - $500
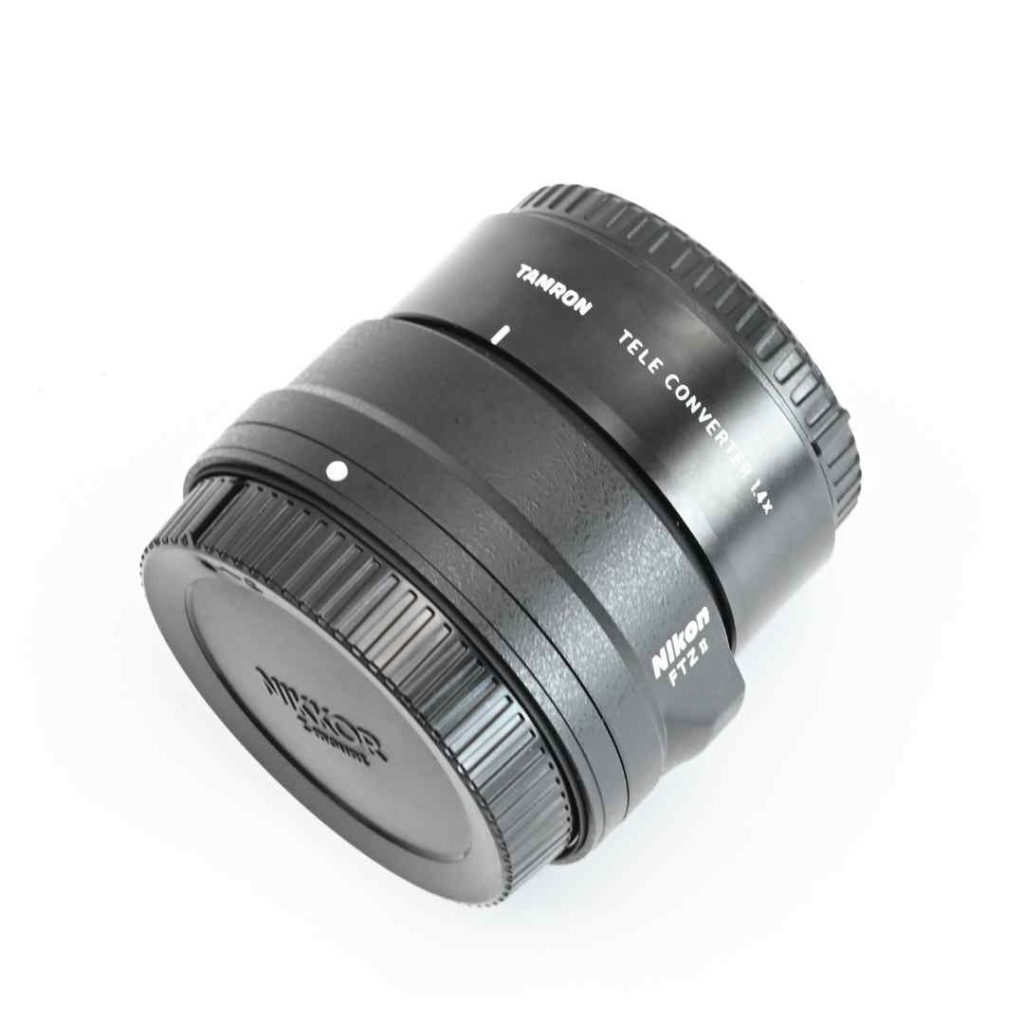

Don’t know much about these – other than my camera guy told me I needed them to make my Tamron lens play nicely with my Nikon Camera. Seems to work!
Panasonic Lumix S1H Mirrorless Camera - $3500 (without lens)
It’s probably a little overkill (and overcomplicated for what we need). I’ll will stick with Nikons going forwards, just to avoid any unnecessary learning curves, but it is a beautiful camera providing a huge range of shooting options for crystal-clear videography.


Sigma 24-70mm for the Lumix - $1100
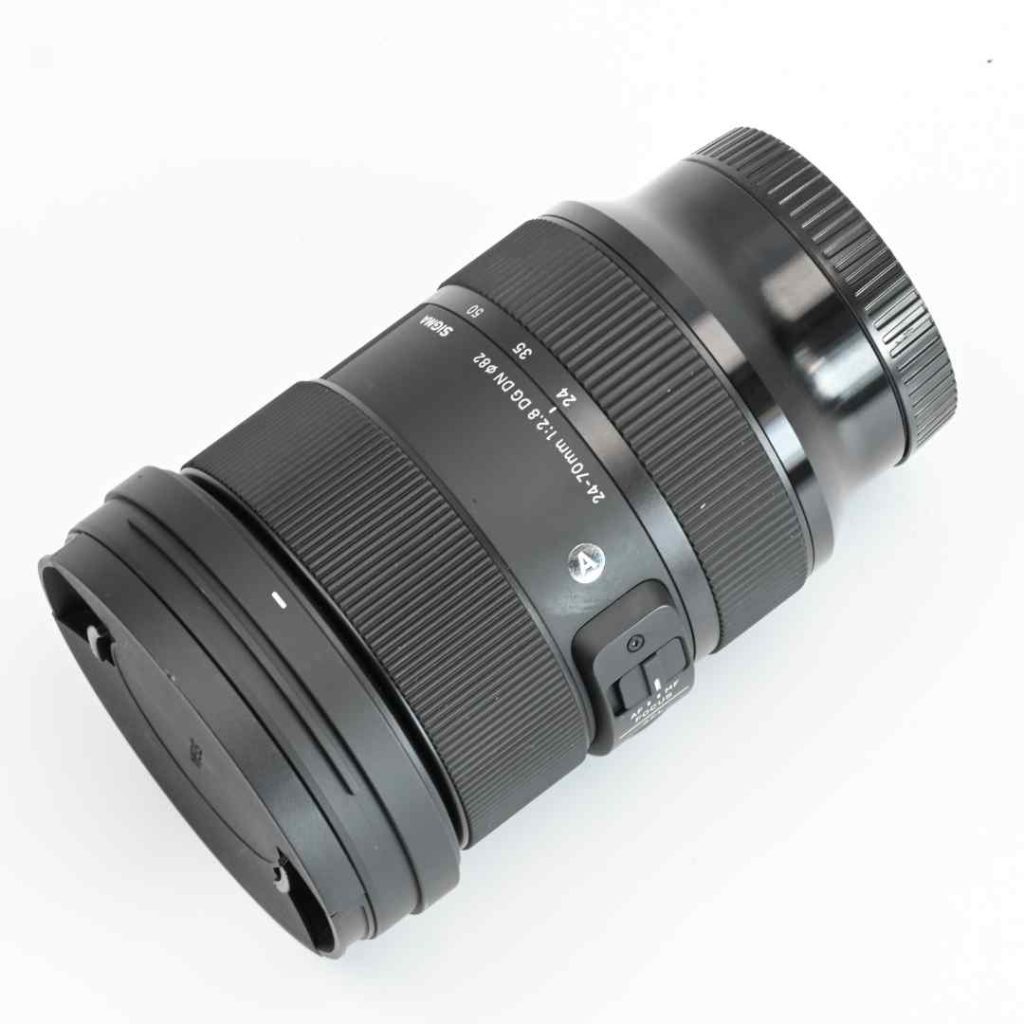

Just as with the Tamron lens, this has a zoom which is again super handy. Honestly, I can’t say I understand all the features. I have no idea, but I use it for filming slightly wider-angle shots, say where I want to get half the bench in on the action, rather than for anything super close up.
Leica S9D Trinocular Microscope - $2300
You can’t go wrong with any Leica microscope! And this is no exception.
I also have the S9i which has an integrated camera, but I find it too temperamental for my liking. Plus, the camera only films AVI files which aren’t compatible with Adobe Premier Pro.


M4KHD2/M 4kHD Digital Microscope Camera - $1500 + $400 for adapters


Well despite not liking the S9i because it only films AVI files, this camera is the same, but I prefer it anyway. Operating a camera and a microscope separately is easier than trying to operate both at once. It’s not a bad camera, but I will be exploring other options soon. Time for a camcorder I think and a new adapter of course. On the note of adapters, you will definitely need one to get your camera to play nicely with your scope. I buy my adapters from Martin Microscopes.
Iphone 13 Pro Max 1TB- $1599 (at launch)
Simple but it works when you need something fast. I have a separate iPhone just for filming which I definitely recommend to avoid getting stuck uploading and downloading videos. I got the largest storage possible to make life easy.
Top tip, disable the autofocus on these things if you don’t want the lens constantly trying to focus as you move around. I set the focus to whatever I’m working on, and just make sure it doesn’t move out of focus. I also enable 4k filming which is not set as default.


Screens
FeelWorld F6 Plus 5.5" 4K HDMI Monitor - $190 (we use three of these)
Camera monitors are small, I do not trust them. Things may look in focus at the time, but upon transferring footage to your laptop, you find it’s not – devastating!
It’s also impossible to see your camera’s view finder while you’re working and filming, and so I usually have three of these on my workbench – just out of the view of any camera, but close enough that I can see them.
Sometimes though, it’s not possible to work with these, so I also use the screen below.


LG UltraGear Gaming Monitor 27"- $350
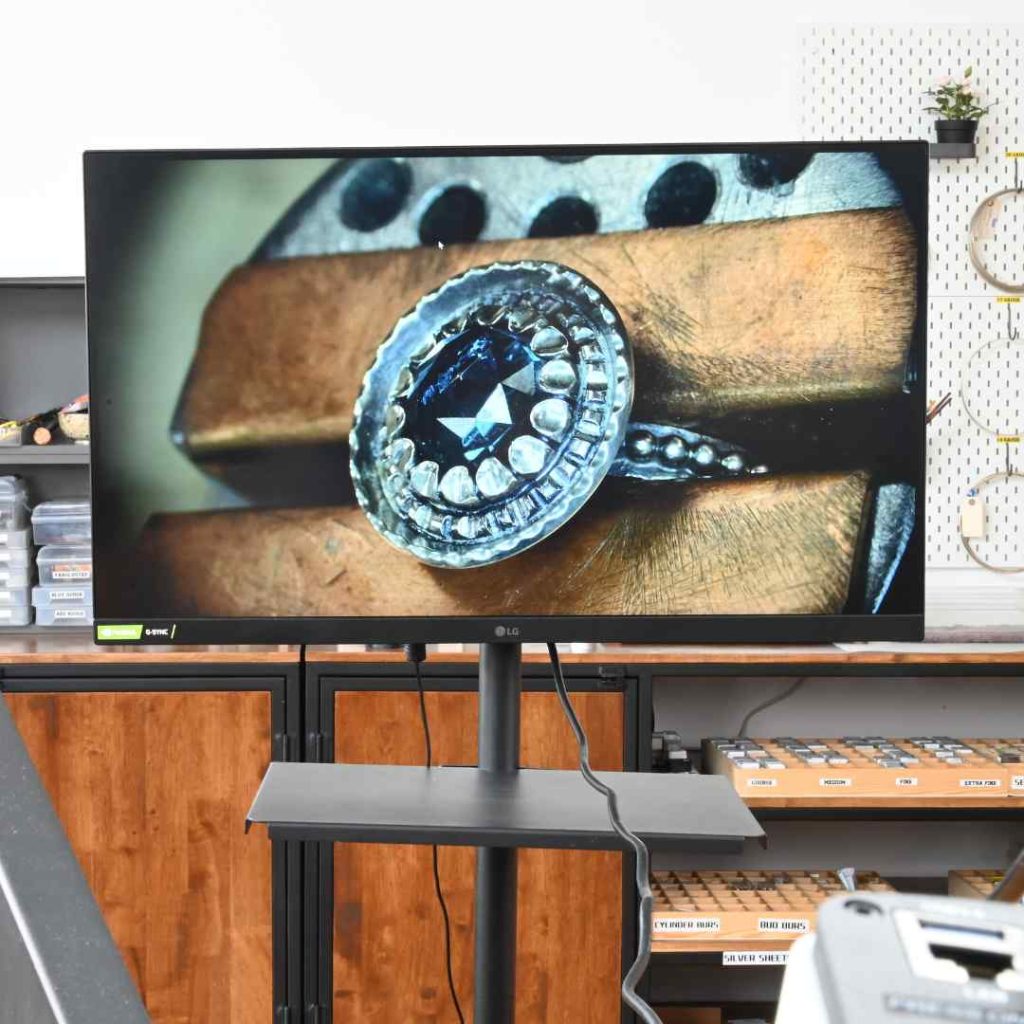

I love my little monitors, but sometimes there just isn’t space for them on the bench. When this happens, I need to use a larger screen (which I use together with a multiviewer so I can check out all my cameras from just the one monitor).
LIGHTING
Godox SL 200 - $440 (I have 4 of these)
No matter how good your cameras are, I have found lighting is absolutely key. I use 4 of these lights for virtually every shoot despite having an exceptionally well-lit studio with natural light.
Generally speaking, to make the most of our natural light, most of my filming is done between 11am and 3pm (thank the lord I live almost on the equator).
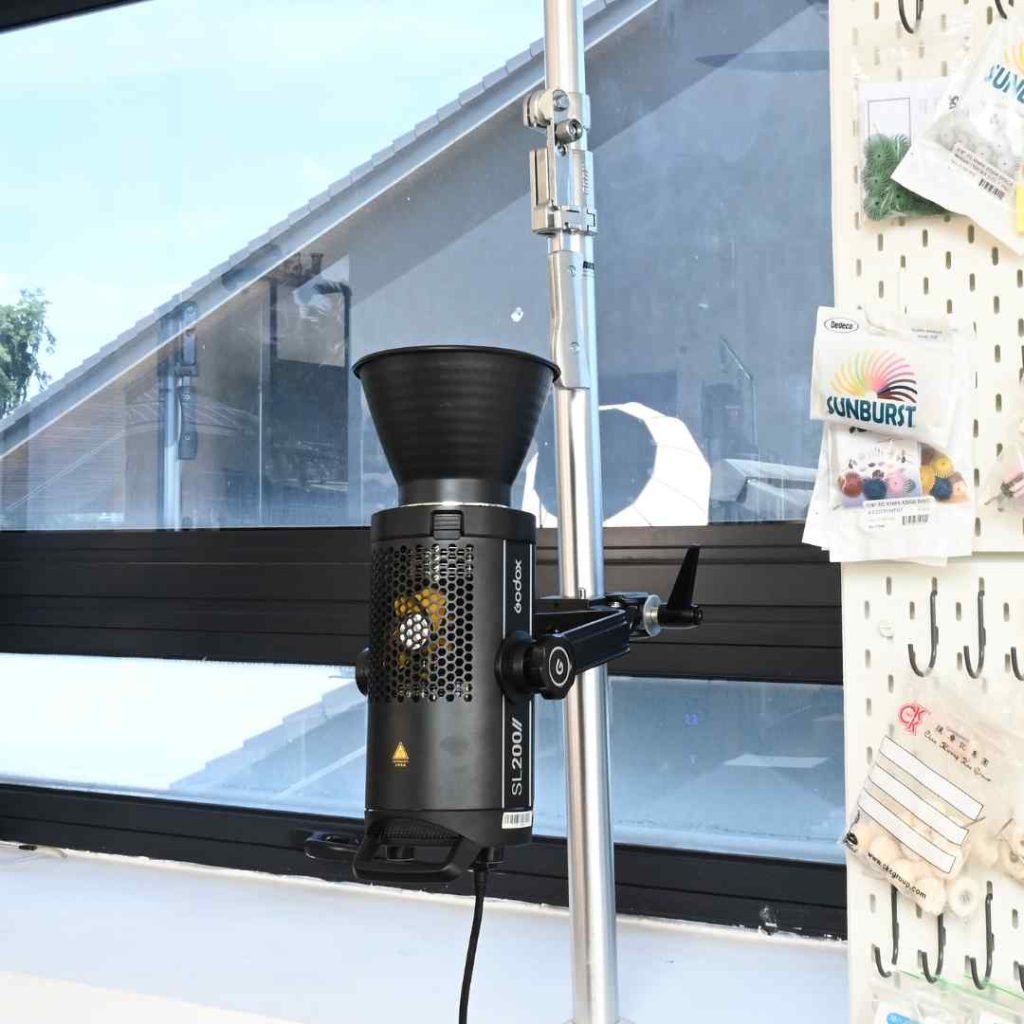

Godox Collapsible Lantern Softbox (26.6") $70 each


Using light directly is way too harsh for filming – these soft boxes reduce shadows and give a much softer light.
Two of our lights generally have these softboxes on, and the other two lights bounce the light from the ceiling which also helps avoid getting any harsh shadows.
EDITING
These are not all the laptops I own – SHOCK! But why so many? Because rendering videos and uploading videos takes a lot of time, and slows down your laptop horrendously. In order to be productive, I need to have alternative laptops to use when my main one is busy uploading or downloading.
Why not a desktop? Because I work at home, at the studio, and sometimes even at the beach (it’s amazing editing by the beach) – a desktop is simply too restrictive for me personally.
Alienware x17 R1 Gaming Laptop, 17 inch screen, 64GB RAM, 4TB storage - $3,000 (or there abouts)
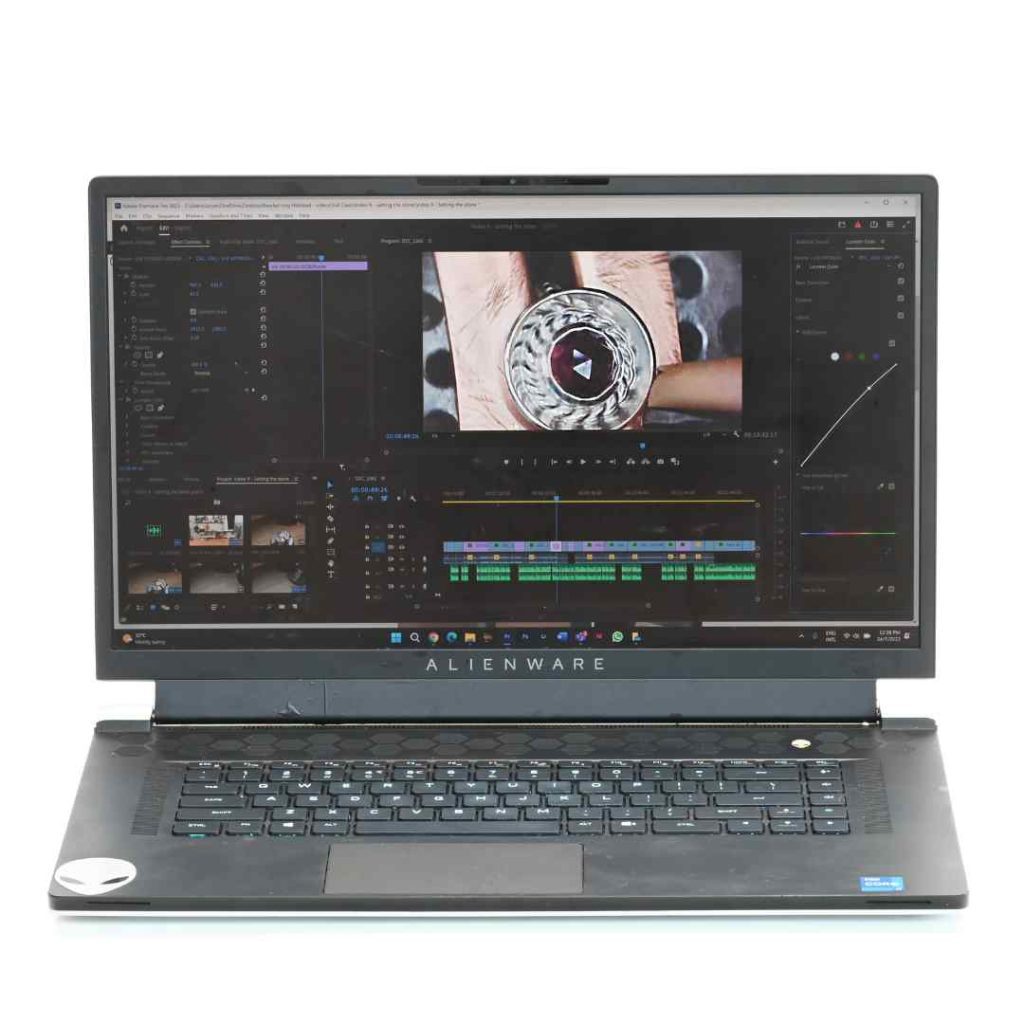

I was fortunate enough to be able to bag a 4TB laptop before they stopped selling those in Malaysia. A powerful laptop with a decent memory is a must if you are using a lot of 4K video footage.
I’ve linked to the latest model below, mine is no longer available.
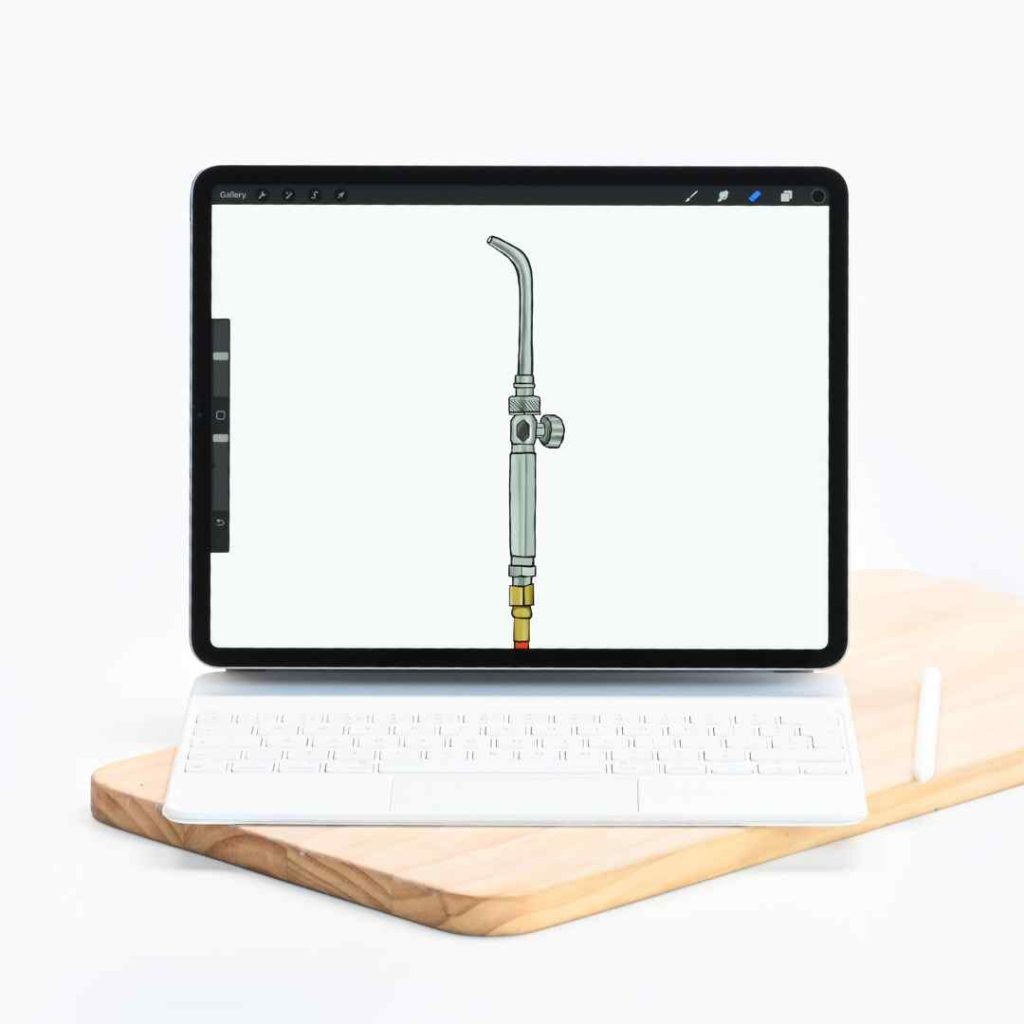
Ipad Pro, 12.9 inch screen, 1TB - $1800
This I love to use with ProCreate. It’s perfect for drawing the graphics we use in our handouts and videos. I also use iMovie for creating quick videos if there isn’t space on my regular working laptop.
It also has a great web cam for if you ever want to do live presentations – I only just figured this part out!!

Microsoft Surface Pro 7
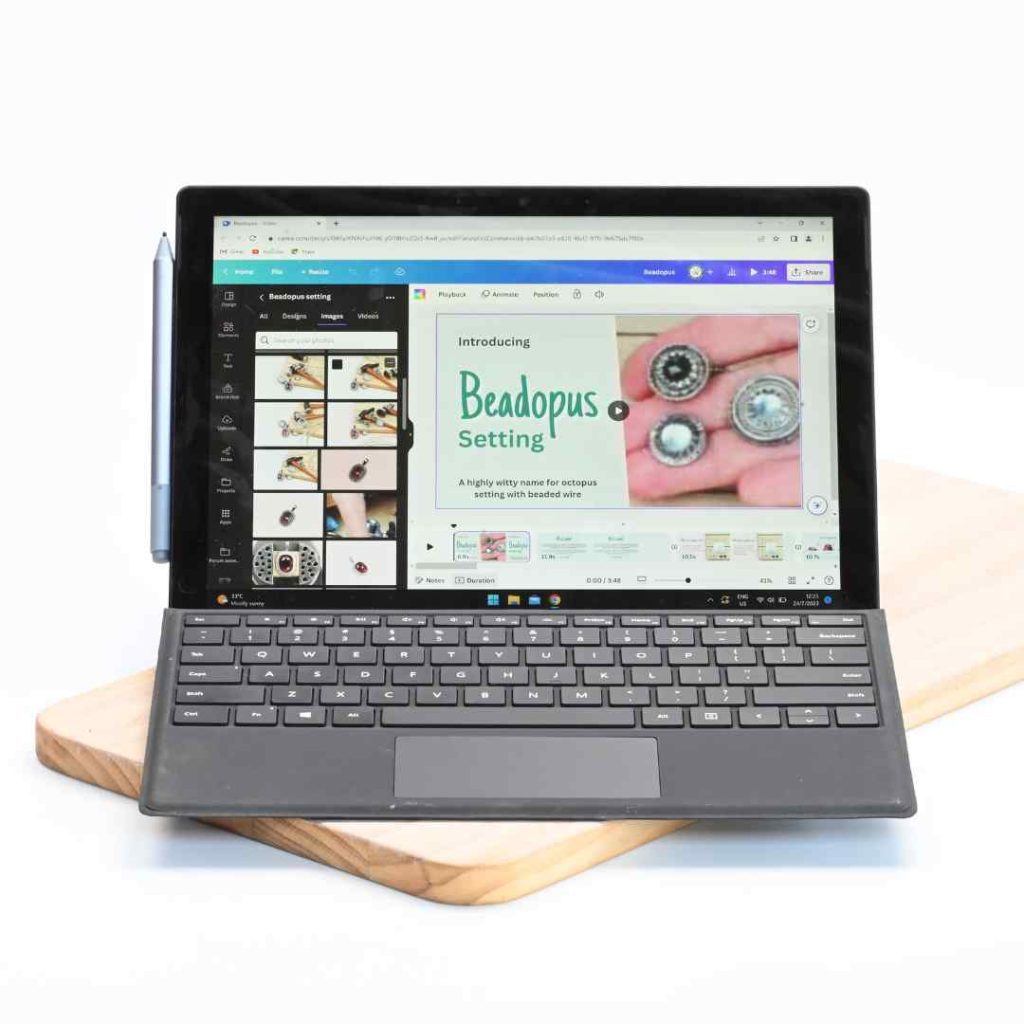

I mostly use this with Adobe Illustrator and Photoshop to create graphics and animations for our online classes as well as handouts. The touch screen and pen make things a lot easier than trying to use a mouse.
I can’t remember all of the specs, but basically I went for maximum power and storage.
STORAGE
This cost has been a huge shock to me, but one way or another we have to save and back up our work.
External storage is pricey, but that’s not the only thing, hosting videos with Vimeo is another huge cost. The public pricing you see on Vimeo’s website doesn’t apply once you reach a certain threshold, when much larger enterprise-grade costs come into the picture – be sure to do thorough research when deciding on video hosts.
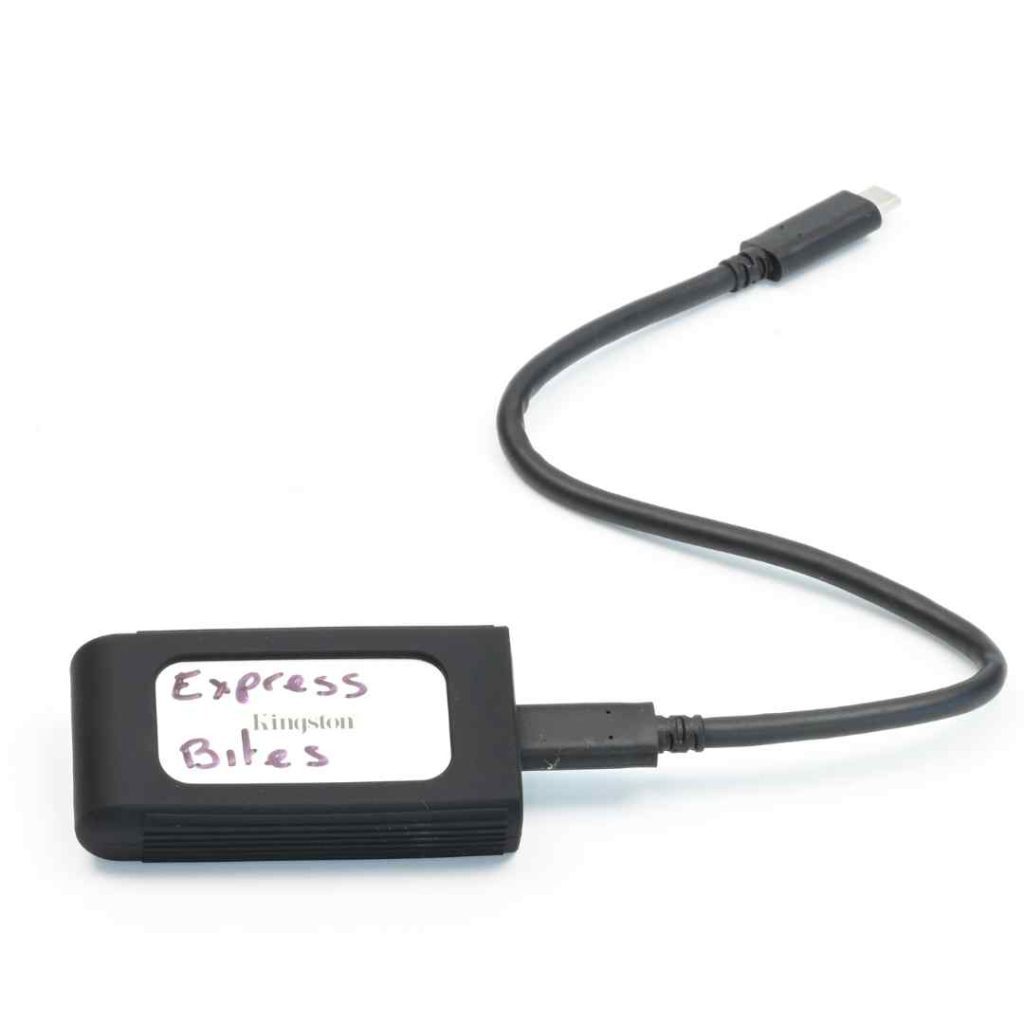
Hard drives - Kingston XS2000 4TB High Performance Portable SSD - $240 each (we currently have about 20 hard drives)
Our classes each take about 3 to 4 months to produce entirely. I cannot imagine not saving my work regularly on a backup drive.
And it’s also worth noting, if you’re planning on filming in 4K and from multiple angles, even with a 4TB laptop, it will run out of storage pretty quickly. I can film and produce a maximum of two classes at a time on my 4TB laptop – but I do film everything in 4k, and I am obsessed with retakes if things aren’t perfectly in focus.
I do not recommend using cheap hard drives, they die if you drop them on the floor – ask me how I know!

Synology DS1821+ Network Attached Storage - $7000 (after loading it out with hard drives)
Once our classes are uploaded onto a hard drive, I have to delete all the original files from my laptop – they just can’t possibly fit on there. Deleting from my laptop means, I only have one copy of our files which is too risky. So, the files then get backed up on our network storage.
We recently upgraded to this 8-bay NAS from the 4-bay one we were using before. They don’t come with the hard drives, so those need to be bought separately and that’s where the true cost is. We have currently 6 of the bays filled with 16TB hard drives each, and will need to upgrade very soon!!!
TRIPODS
C-Stands - $170 (we have 6 of these)
These adjustable metal stands are excellent for getting into places where tripods just can’t reach – when you need to get the camera really close into the action.
We also use these as stands for our Godox lights.
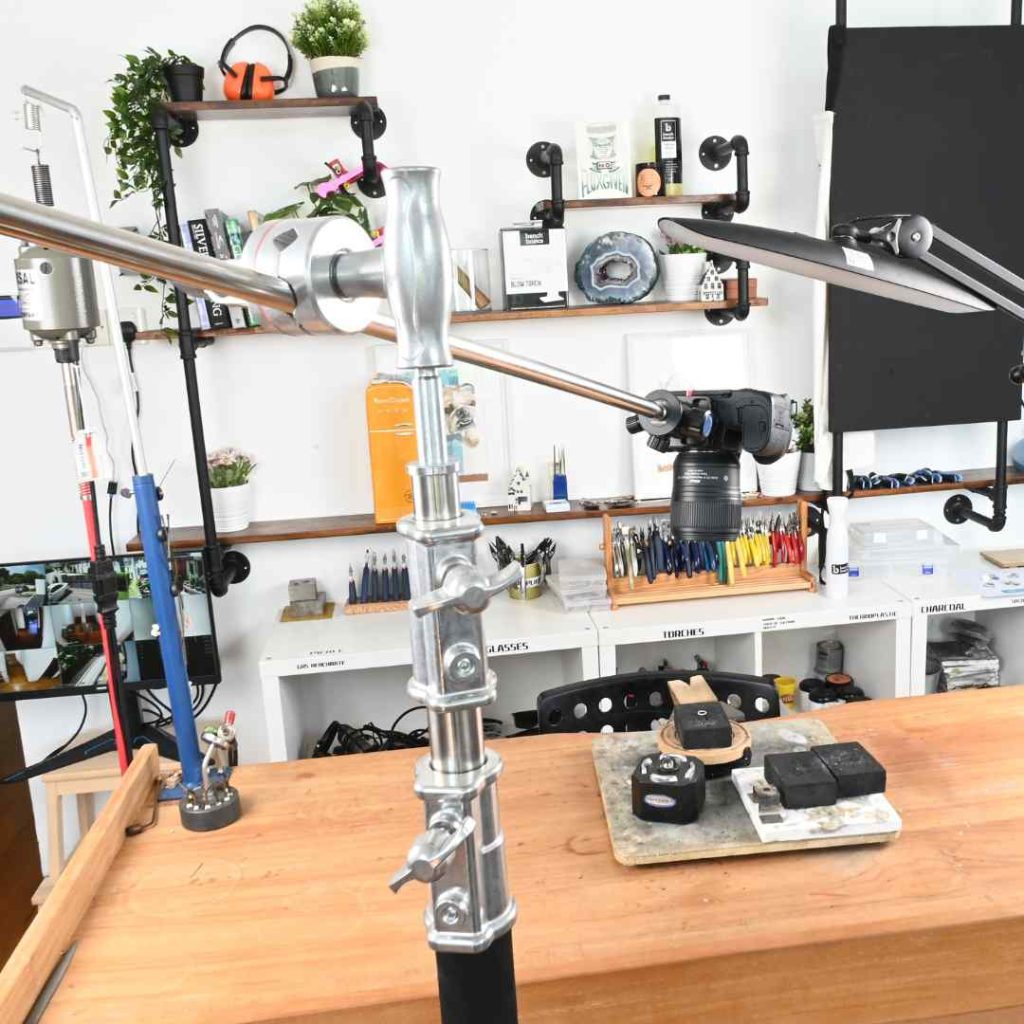

Benro FGP28C Tripod - $400 (We have 6 in the studio)


Sturdy and lightweight, these are super easy to move around the studio and exceptionally sturdy for the weight. They have an articulating pole at the top which can also be helpful for getting cameras into hard-to-reach places.
We use these for photography and videography in conjunction with the Benro B1 mentioned below
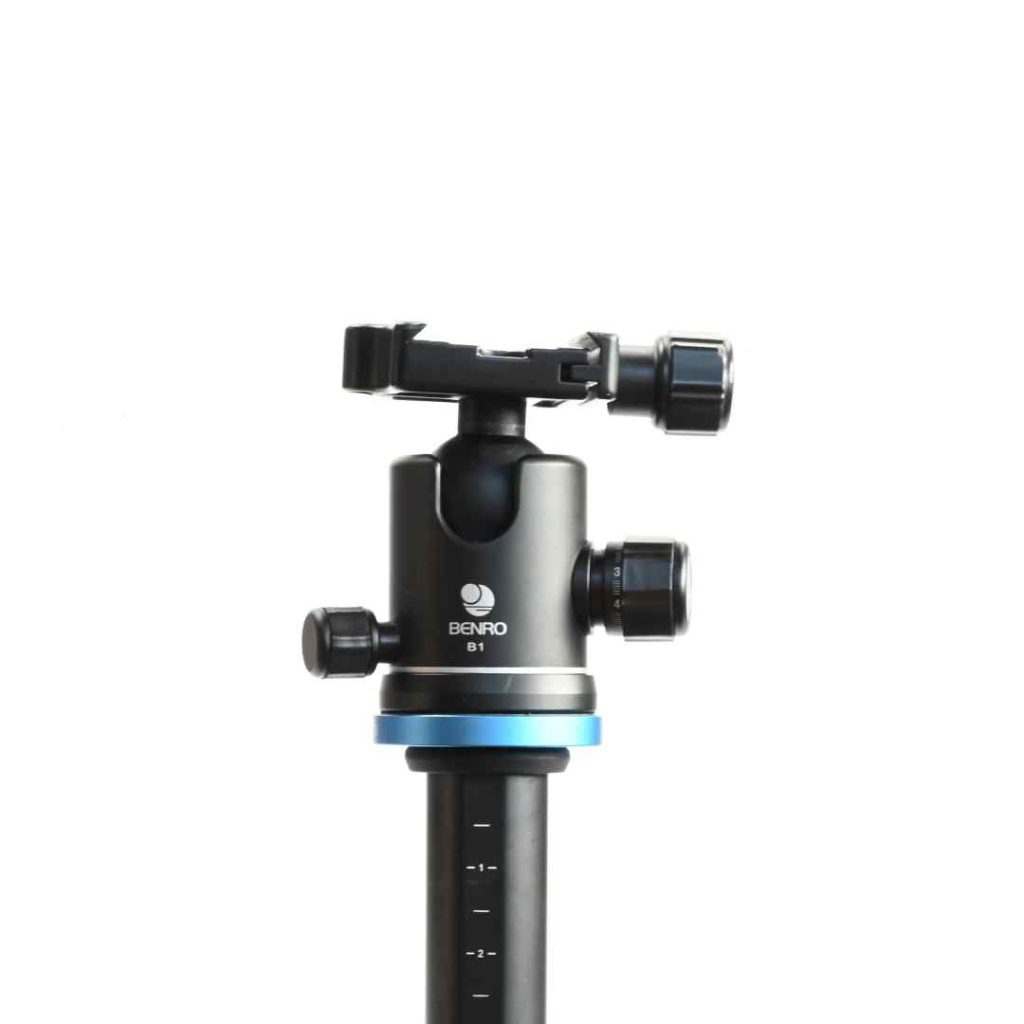
Benro B1 Double Action Ballhead $120 (We have 6 of these)
No matter what tripod I use, I couldn’t film without these – they’re easy to use and allow the camera to be easily maneuvered.

Audio
RODE NT1-A Large-Diaphragm Cardioid Condenser Microphone - $200
I love this mic, it’s not as discreet as a lapel mic, but the quality is excellent, and as most of our videos are voiced over, it’s not really an issue.
I use this together with the recorder below.


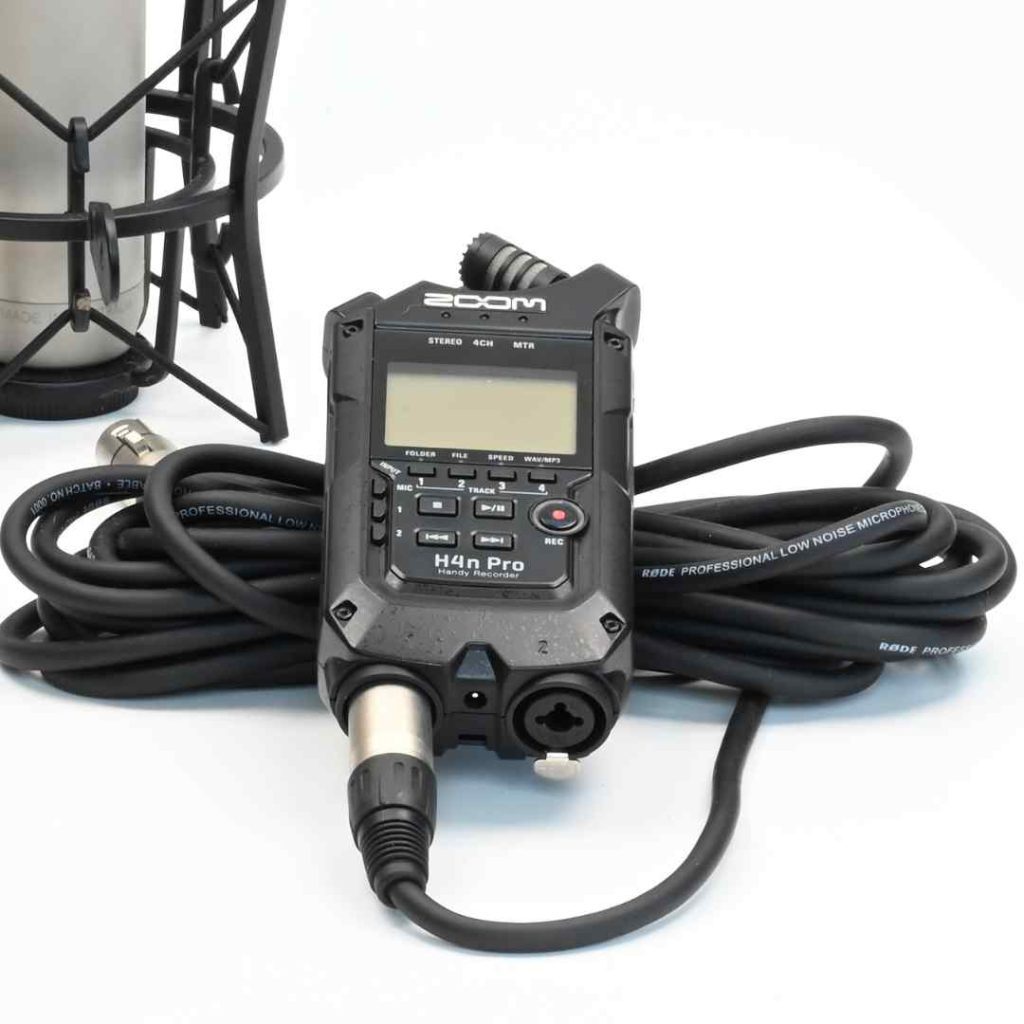
Zoom H4n Pro - $200
I honestly think this thing takes way too long to start up – like 30 seconds to load. But it does help record very nice audio.
I’m happy with it, but I’d love to try out more options!

I hope you find this little rundown helpful! It’s not everything, but it is most of it. Of course there are cables and batteries galore involved in this, but who wants to see piccies of cables right?!
Ready to dive in and create your own professional looking jewellery?


Join the Metalsmith Academy today and you’ll have access to all the classes you need to get up and running making professional looking jewellery with confidence – all filmed with your viewing pleasure in mind. According to our students, our videography is the best out there!
You’ll also be able to ask questions on this class and others in our active community forums where Lucy and Vennice are personally available every single day.
Curious about what’s happening at the Metalsmith Academy, but not quite ready to join? Sign up below to take a peek the classes available, resources, and all the magic we have to offer! As a welcome gift, we’ve prepared some incredibly helpful free resources that you won’t want to miss.
