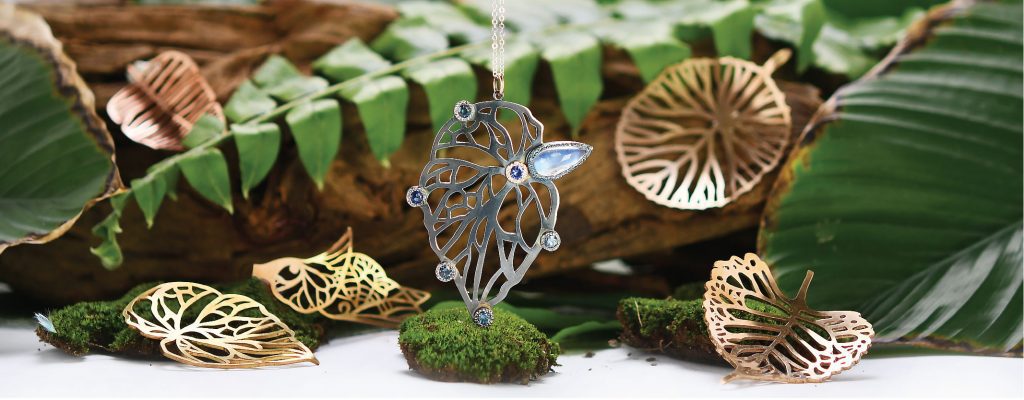
If you're relatively new to making jewellery, then saw piercing is a great place to start.
And that is exactly where I started out, just piercing out any images that I could find online. The designs were somewhat limited and not particularly exciting to say the least. But it worked and I got the practice I needed as a newbie metalsmithing student. However, you’ll be happy to know that we made you a few beautiful mandala practice designs that you can download right here.
But at some point, you’ll want to start designing your own right? and I don’t want you to freak out at the thought of this, because it really isn’t that complicated at all, there are just a few things you need to consider.
So let's take a look at what you need to think about when designing your own saw pierced templates:
Be clear which areas are to be pierced out. I like to draw in black on white and pierce out the white areas. Things can get very confusing otherwise.
Draw a rough sketch first before turning it into a piercing template – that way you can get your ideas down on paper exactly as you want them, then modify it as necessary to make a successful piercing template.
A tablet with a touch screen and pen really makes designing much easier. I design in Adobe Illustrator but there are numerous free programmes available which work similarly, check out Gimp!
If you’re just starting out, don’t make any of your lines thinner than 1mm at any point. After a little while, you’ll be able to get crazy I promise!
Consider the size of the areas to be cut out…. basically you need to think how difficult you want to make your life, and what size saw blades and drill bits you have available.
Make sure your design is structurally sound. Constant connections are needed, and negative spaces shouldn’t continue on un-supported. If you look at image A to the right, you can see the lines of the design don’t meet anywhere. Without soldering this onto a back plate, these will be very fragile and will bend and eventually break. If you look at design B, you can see where I added connections to make it more structurally sound.


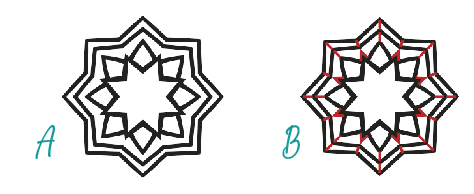

Take time to consider if things will actually work in reality and off paper. If you take a look at example A to the left, if you were to pierce this out, you would end up with several individual components rather than one single piece. If we want this to work as a whole piece, we’ll need to add connecters in there as I did in red in example B.
I really hope this was useful!
Want to learn more?
We would love to welcome you to the Metalsmith Academy where we can help you create the jewellery you always dreamed of.
- Incredible classes with close up videos and crystal clear explanations
- Extensive full colour handouts for all our classes (a firm favorite with our current members)
- Quick win projects and resources. If you don’t have the time to commit to a full class, but want to learn some new skills quickly, these are for you
- Challenges to help get those creative juices flowing
- Active community forums – and when we say active, seriously it’s like a party over there!
- Direct help – Lucy and Vennice are over in the forums every single day to help
- Exclusive discounts
- Tips and tricks galore – you got a problem, we create the content you need to fix it
Just click below to join the family now!
