If you're just starting out this should get you well on the way
What you're going to need...
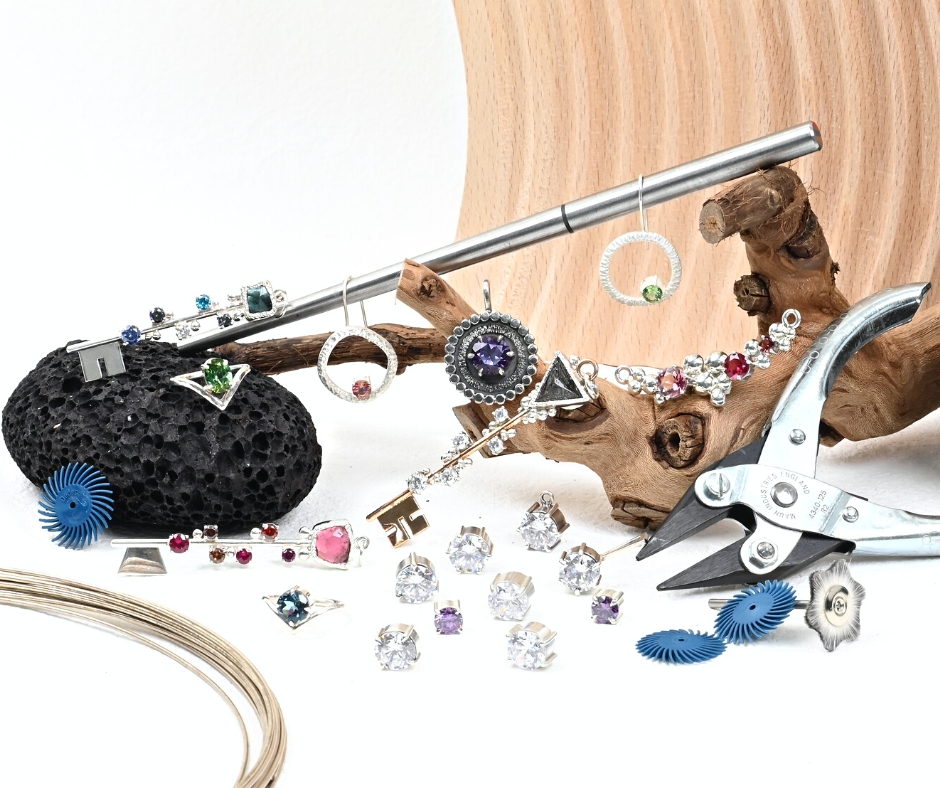
In terms of tools and materials necessary to get started, I wanted to get the basics of what you’ll need to get started, together with a few nice to have items too. Everything listed here should be enough to get you through Stage One of our Student Roadmap.
Before diving in and purchasing anything however, I recommend at least watching our Saw Pierced Pendant, and Chunky Chain classes in full before any shopping sprees. I know the temptation is to have everything ready to go, but you can watch our videos as many times as necessary – so just take a little time to digest things first.
A note on Materials
The amount of money spent really does depend on if you’re keen to get started working straight away with sterling silver. I honestly advise against this to begin with (certainly for saw piercing) for a number of reasons:
Firstly we really shouldn't be worrying about making things to sell this early in the game. Right now, the focus is on learning the basics, and the least stressful way to do that, is by using brass or bronze rather than sterling silver.
The cost to practice saw piercing in sterling silver is horrendous, your first try no matter how good you are will likely be nowhere near as impressive as your third. So I'd suggest getting the practice out of the way in brass or bronze.
Because of the cost of silver, working in it discourages us from taking risks as we practice. Working in brass or bronze removes a lot of the fear of failure, which can be a real block to learning.
It's a lot easier to see where we need to improve our soldering when using a metal that's a different colour to our solder.
I purchase most of my metal from Rio Grande, Stuller or Hoover and Strong in the USA. Wherver you’re purchasing from though, always remember to compare prices, it’s surprising what a difference there can be on any given day. And just because one supplier is cheaper one day, certainly doesn’t mean they will be the next.
If you’re not in the USA, please check out the suppliers and discounts page for a full list of suppliers worldwide, or if you’re still struggling don’t hesitate to post over in the Community Forums – there will always be someone in your part of the world ready to answer.
We mention brass or bronze in the materials list below, for bronze, a standard phosphor bronze is perfect.
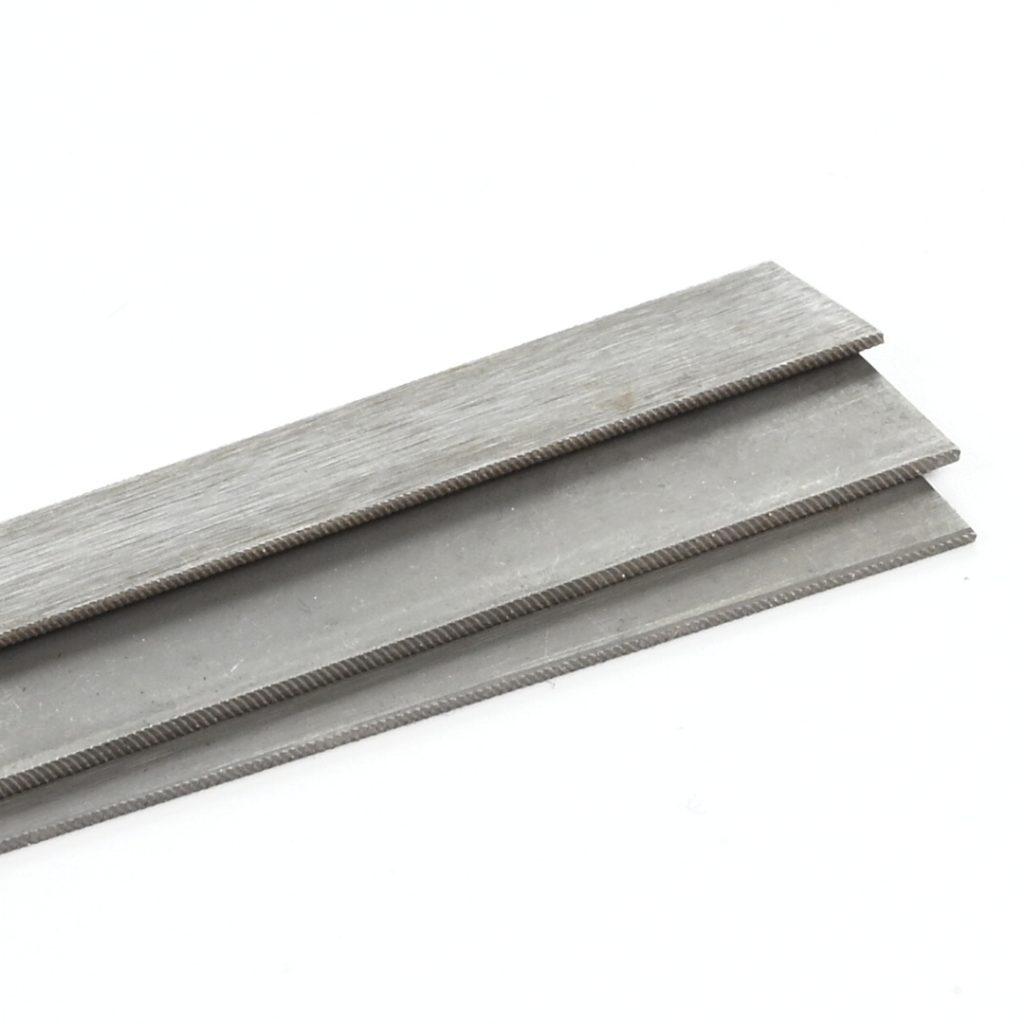
18 gauge (1mm thick) brass or bronze sheet
This is a great thickness to practice saw piercing skills with, and 18 gauge is probably my most commonly used thickness of sheet metal. A piece measuring 6 inches by 12 inches should keep you busy for a long while.
I prefer to practice saw piercing with half hard or fully hard metal to avoid warpage, and I find it less “chewy” to cut through. For the later chewy reason, I personally prefer not to pierce copper, however my lovely assistant Fatima totally disagrees with me on that. But certainly for copper you would want to use fully hard sheet metal.
16 gauge (1.3mm thick) brass or bronze sheet
I use this regularly for saw piercing pendants too – it is a little heavy for larger earrings though. Surprising as it may seem, thicker metal (up to a point) is actually easier to pierce and get crisp results than thinner metal. A piece measuring 6 inches by 6 inches should be good to start with, as you’ll likely find you don’t use this as often as 18 gauge.
Again I’d go for half hard or fully hard metal, although with 16 gauge warpage during working is less of an issue.
20 gauge (0.8mm thick) brass or bronze sheet
If you want to practice saw piercing by making a pair of earrings, then this gauge is slightly easier on the ears. It’s also a great option for our delicate flower ring class. Personally I don’t love this for pendants, but I just like jewellery that feels sturdy. As with 16 gauge sheet, I find I don’t use this as often as 18 gauge, so a piece measuring 6 inches by 6 inches should be a good start
I’d go for fully hard with this one as warpage can be quite an issue. You can always anneal it after piercing if you want to form this after.
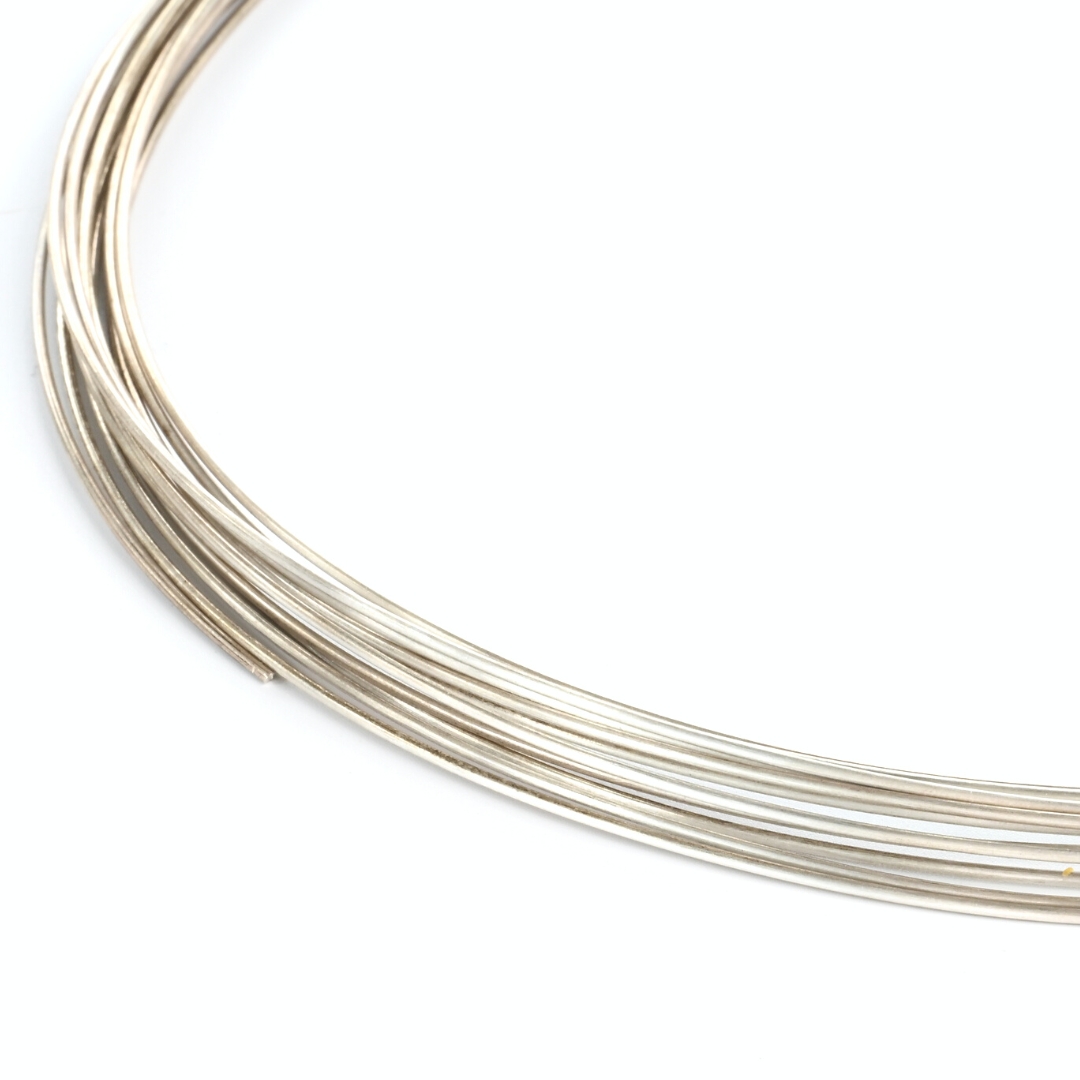
18 gauge (1mm thick) round profile wire in brass, bronze or sterling silver
As with 18 gauge sheet, 18 gauge round profile wire is another staple mill product in most studios. I use it most often to make larger jump rings. Brass or bronze would again
Because we’re going to be forming wire, I recommend purchasing dead soft. If you decide to go with half hard or hard wire, to make life easier, you’ll want to anneal it before making things such as jump rings.
20 gauge (0.8mm thick) round profile wire
If you want to practice saw piercing by making a pair of earrings, then this gauge is slightly easier on the ears. It’s also a great option for our delicate flower ring class. Personally I don’t love this for pendants, but I just like jewellery that feels sturdy. As with 16 gauge sheet, I find I don’t use this as often as 18 gauge, so a piece measuring 6 inches by 6 inches should be a good start
Because we’re going to be forming wire, I recommend purchasing dead soft. If you decide to go with half hard or hard wire, to make life easier, you’ll want to anneal it before making things such as jump rings.
12 gauge (0.8mm thick) round profile wire
If you want to practice saw piercing by making a pair of earrings, then this gauge is slightly easier on the ears. It’s also a great option for our delicate flower ring class. Personally I don’t love this for pendants, but I just like jewellery that feels sturdy. As with 16 gauge sheet, I find I don’t use this as often as 18 gauge, so a piece measuring 6 inches by 6 inches should be a good start
Because we’re going to be forming wire, I recommend purchasing dead soft. If you decide to go with half hard or hard wire, to make life easier, you’ll want to anneal it before making things such as jump rings.
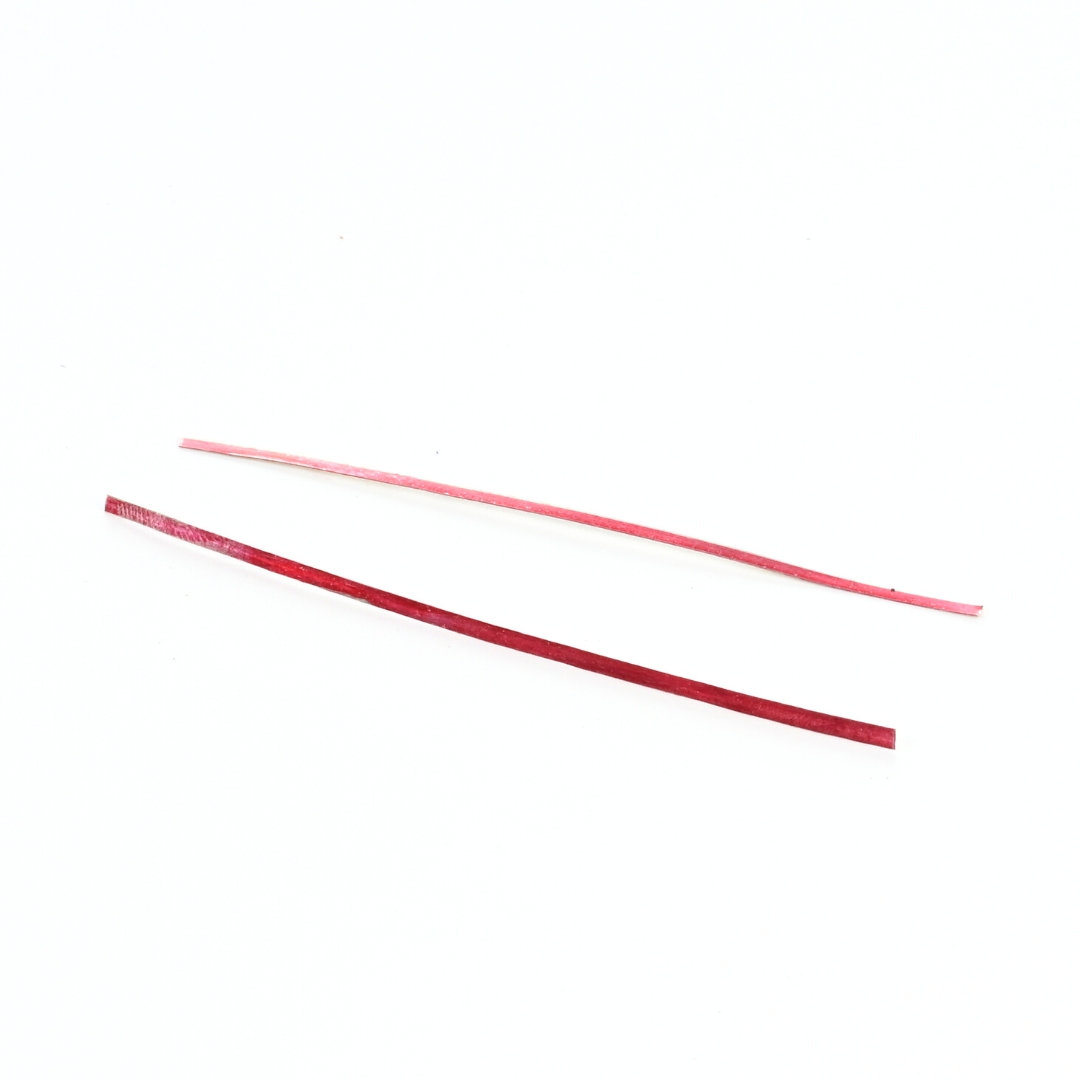
Hard, medium and easy silver solder
I prefer to use wire solder that is rolled as thin as possible, but we’ll get to that shortly in our Chunky Chain class.
To start out with 60cm (2ft) of hard solder wire in 20 or 22 gauge will be more than enough, and because we mostly use hard solder, 30cm (1ft) of easy and medium solder should certainly be enough to get you through stage 1 of the Roadmap.
As an advanced class, I’m going to assume you have the basics. But I have included links below to some items used that you may not have at hand. Most things mentioned should be available from any major supplier, however I have only found the joint round edge files available at Otto Frei.
Do check out our Suppliers and Discounts page for discount codes for a variety of tool companies around the world before ordering. And please remember as always, to watch the class before ordering anything.
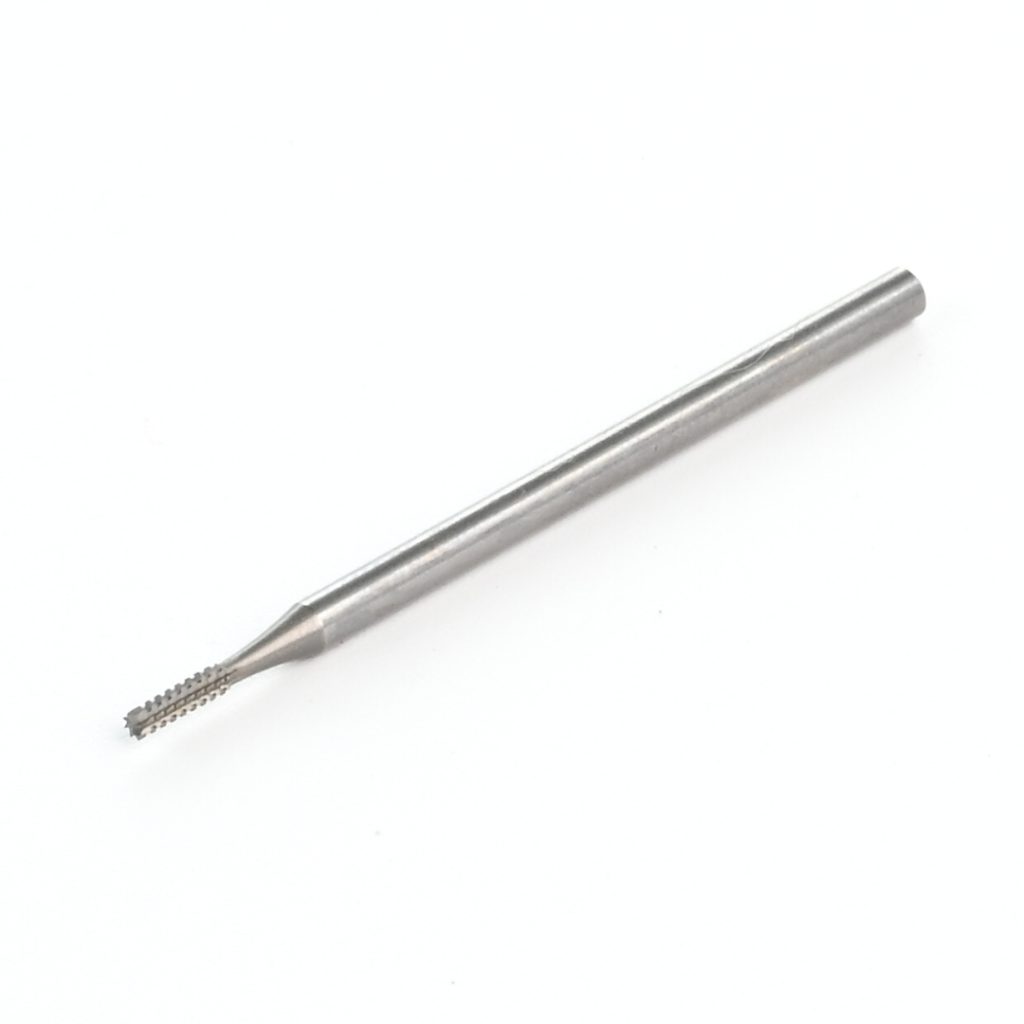
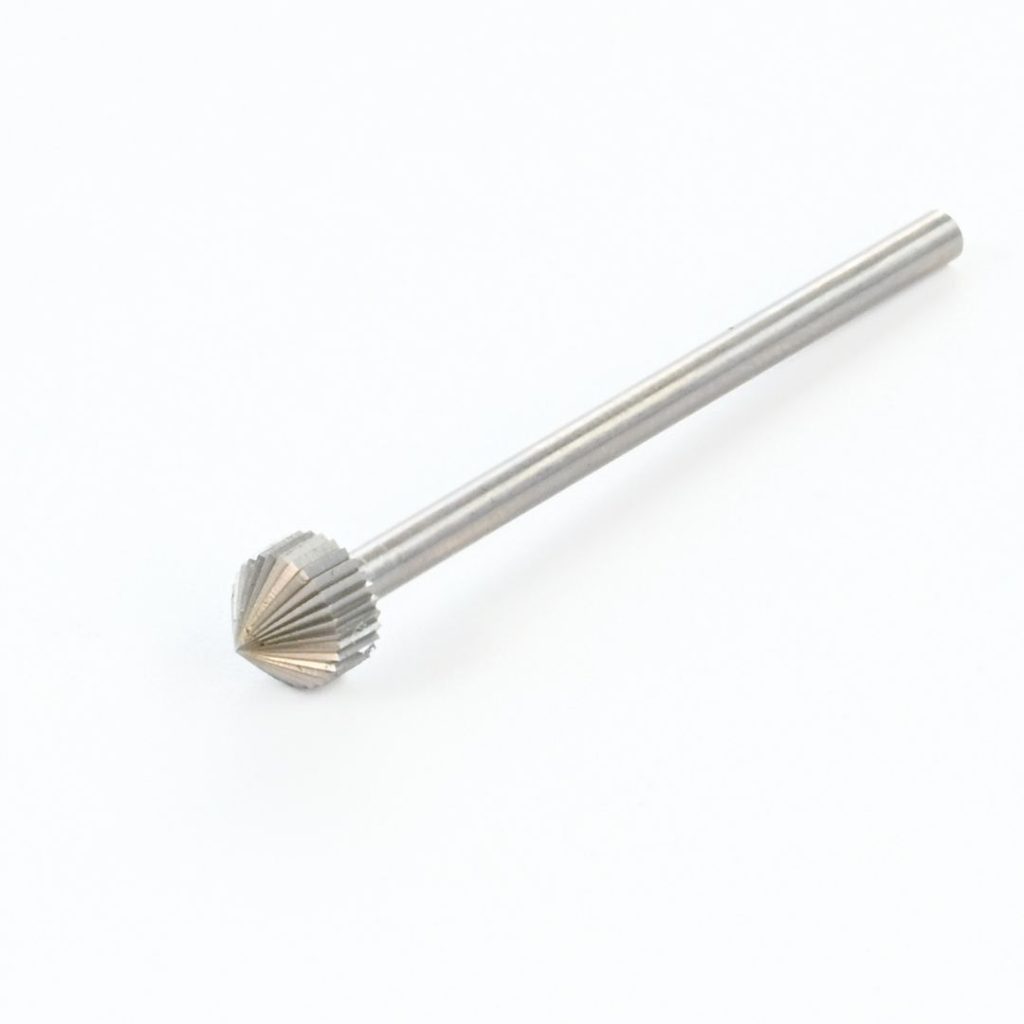
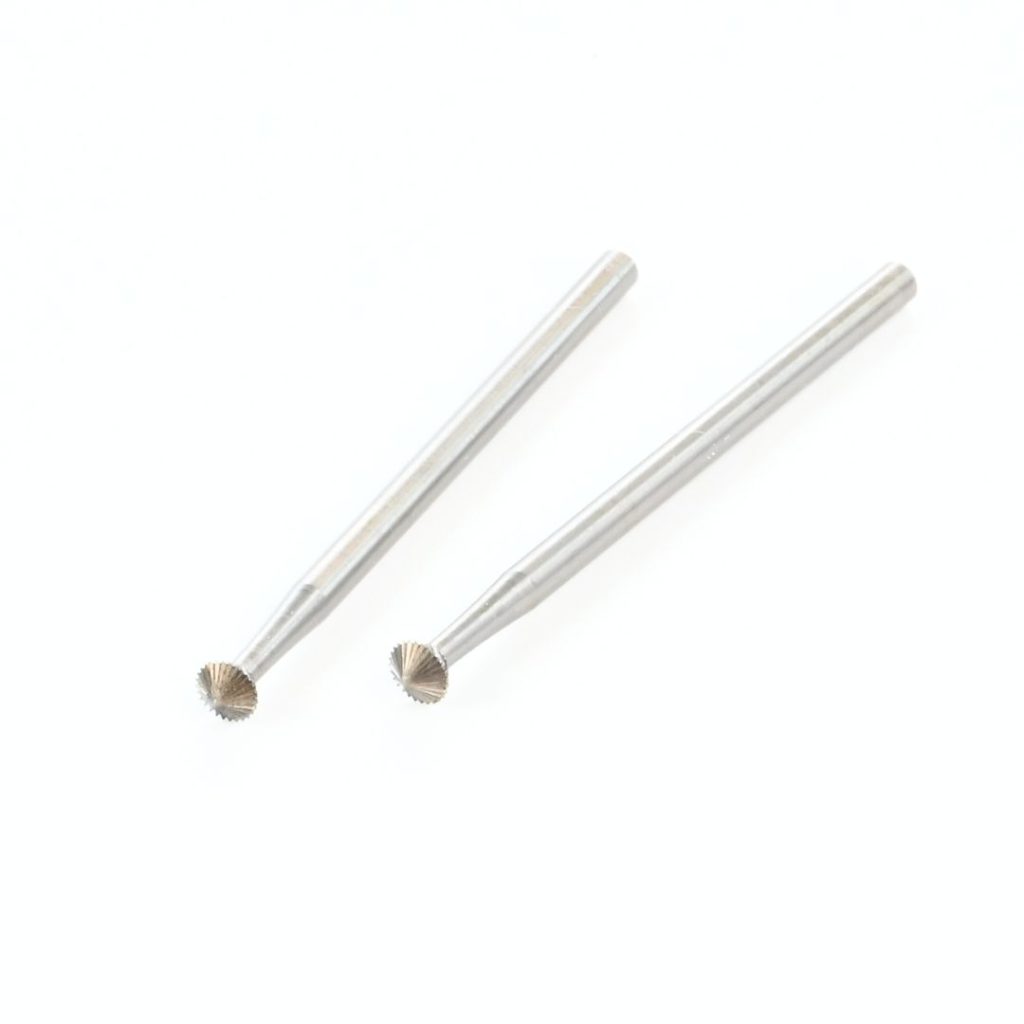
Cross cut cylinder bur
I used a 1.32mm bur in the video (however for Busch – it’s sold as 1.4mm). You’ll also need a 0.6mm cylinder bur for setting the stone
Joint round edge files
Rather than cylinder burs, you could also use these specialist files for cutting the recesses for the prongs. However, they are expensive!
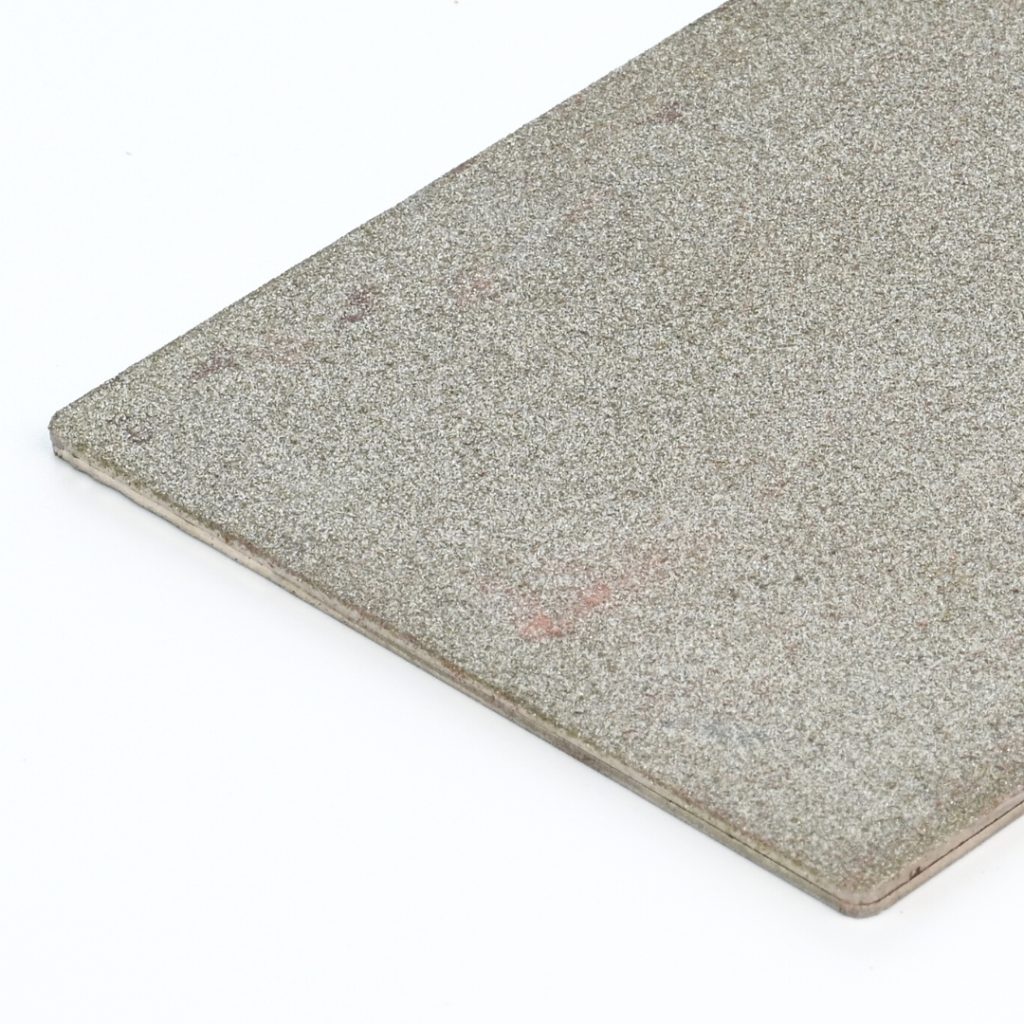
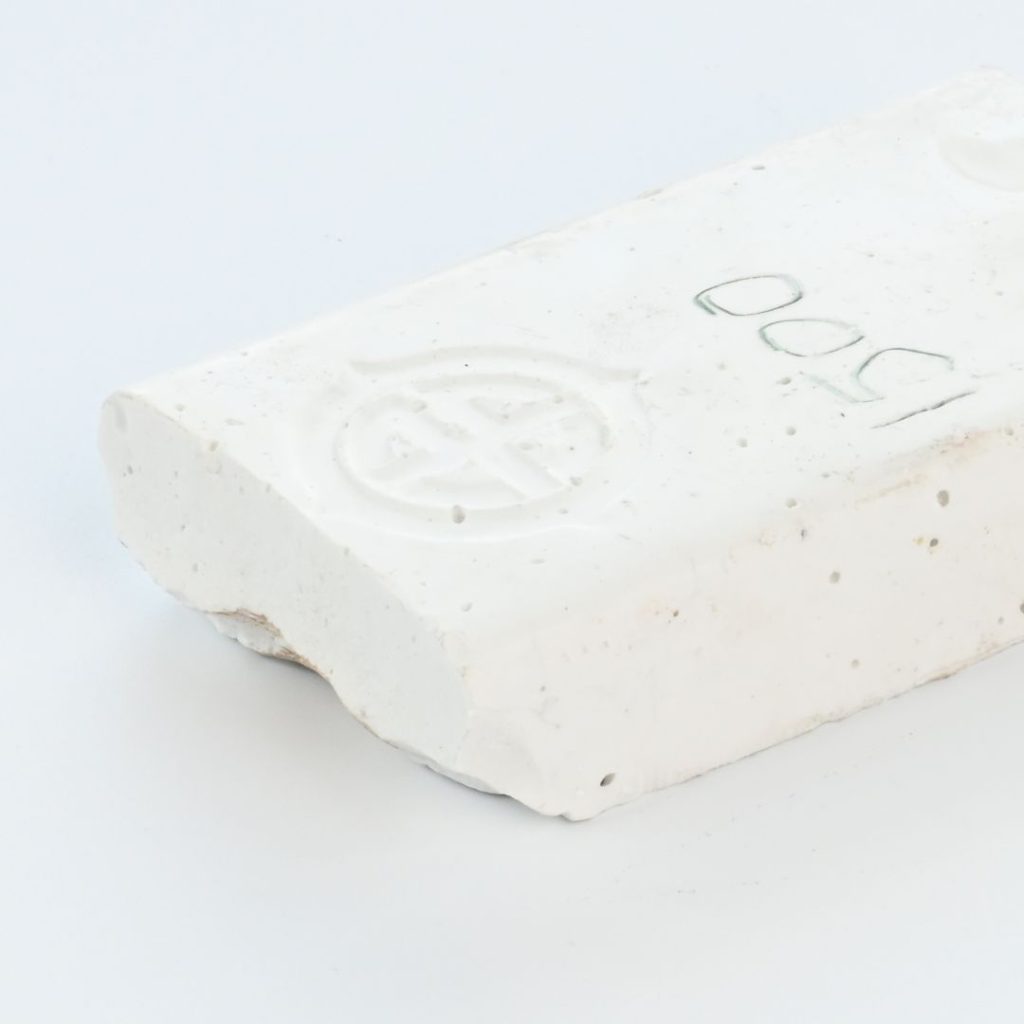
Diamond Sharpening Plate
Used for cleaning up and shaping rubber wheels. You can also use an old file or sandpaper. I buy these on Amazon.
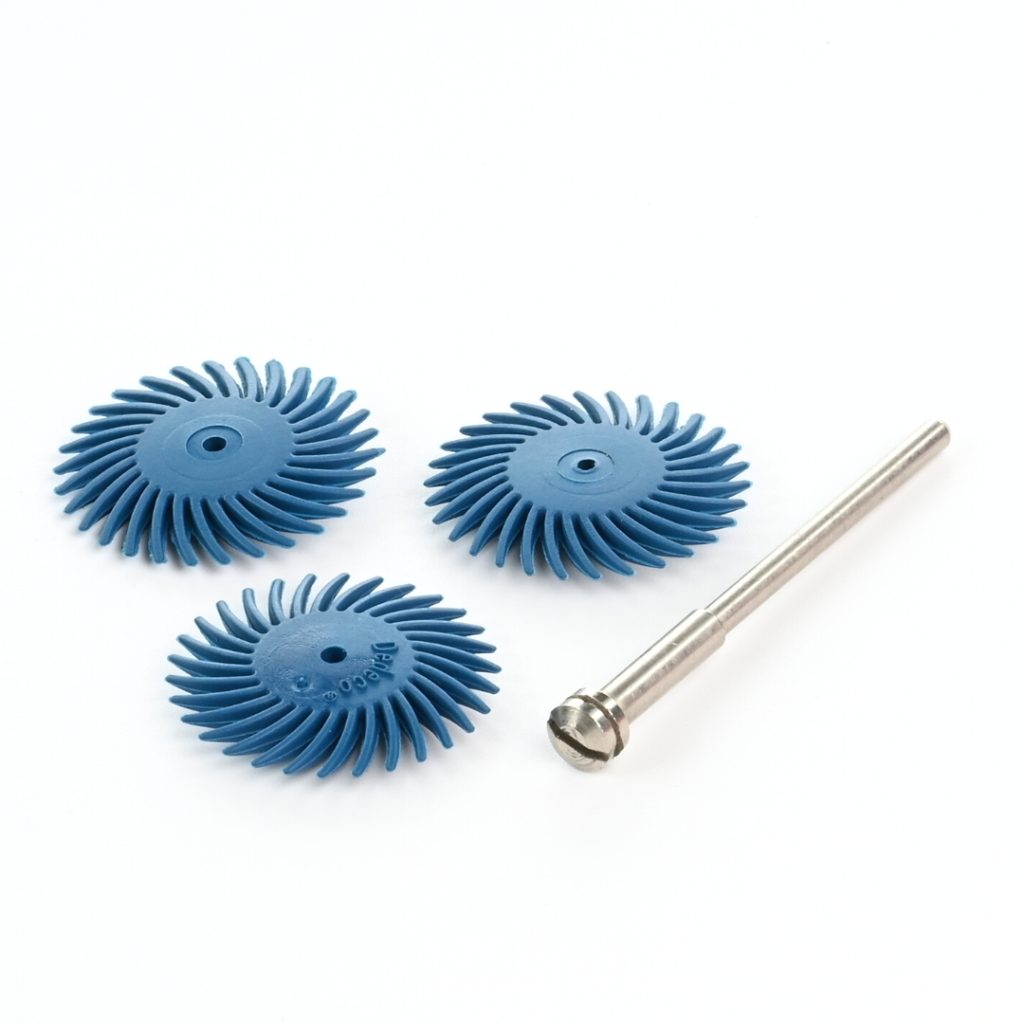
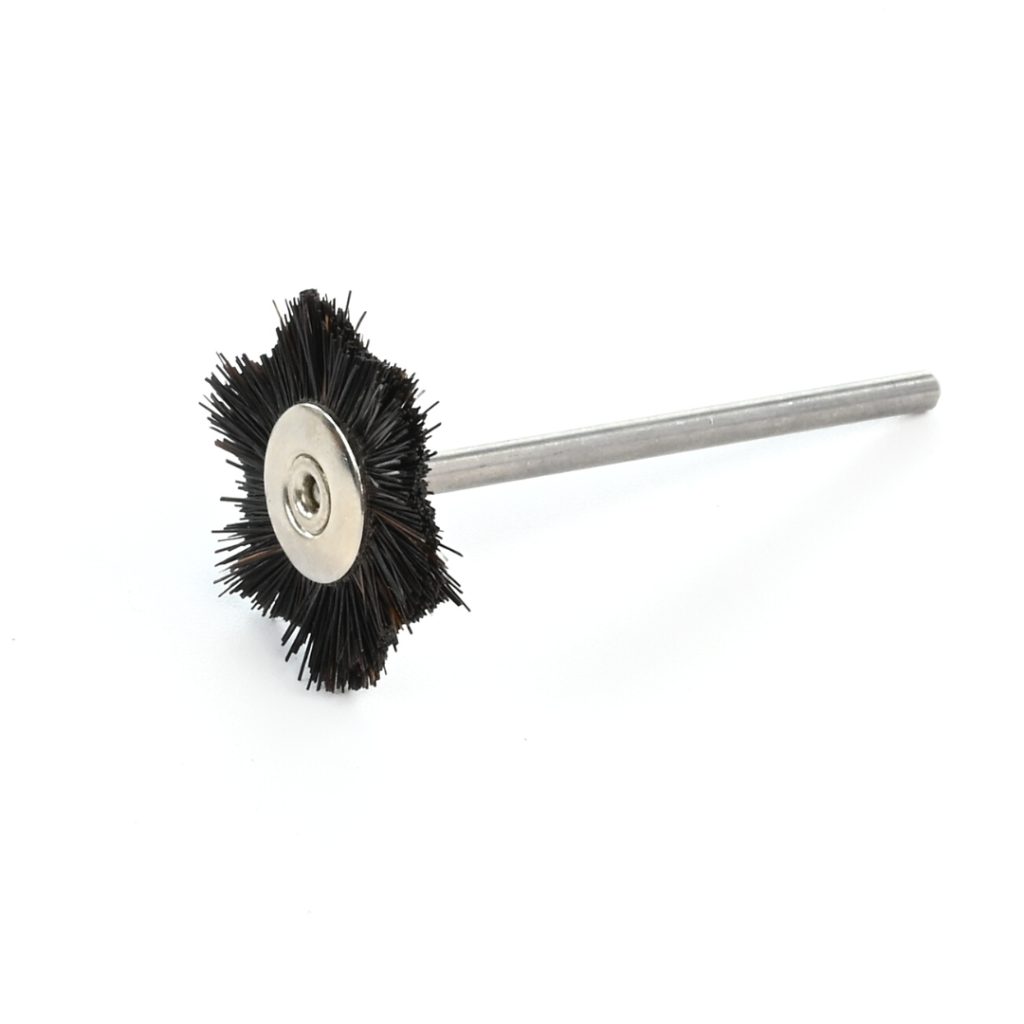
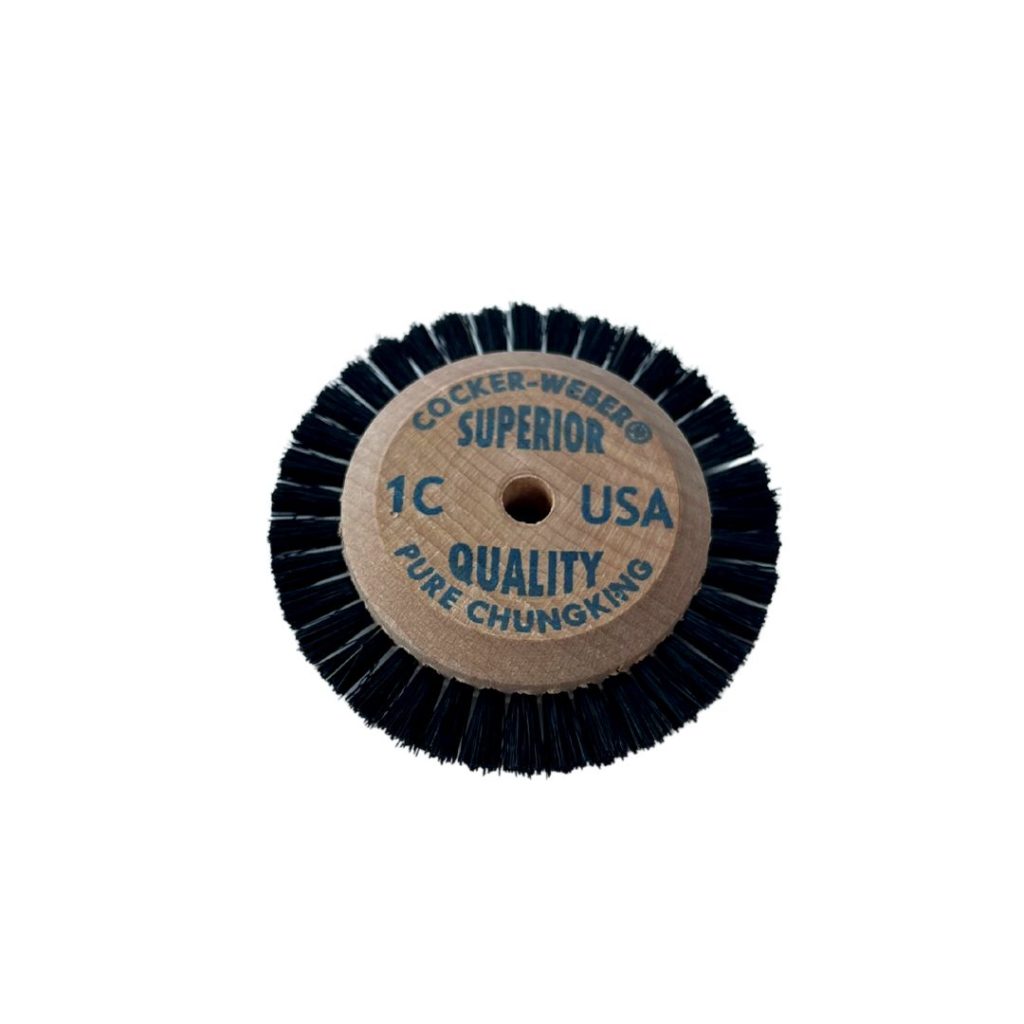
Used for cleaning minor excess solder situations. You’ll also want to grab a screw mandrel too to mount them on. The link is to a kit from Pepe – they have the best price I found (as of the date this page went live, at least).
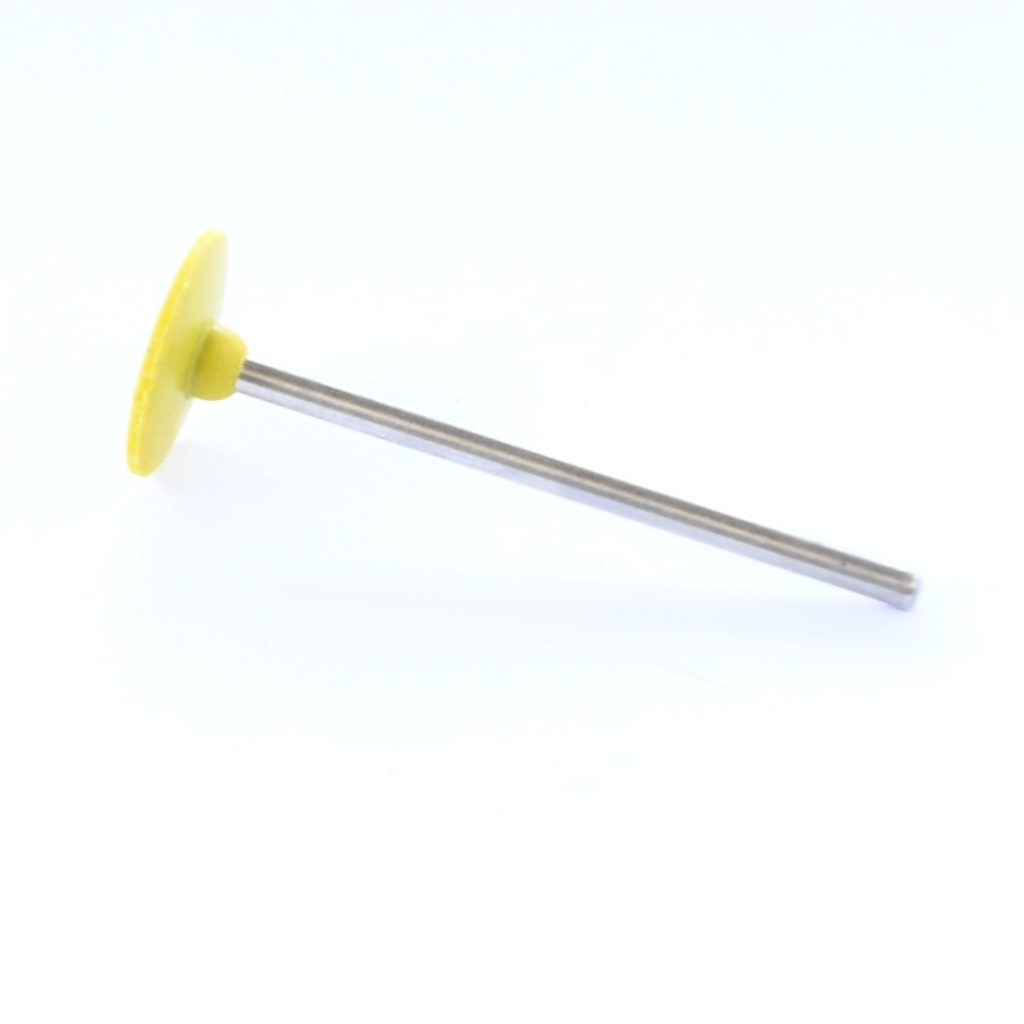
EVEflex Knife edge rubber wheels
Used for cleaning up more major excess solder issues. I use the red (fine) wheel most often.
I popped a link below to a full set of these wheels though.
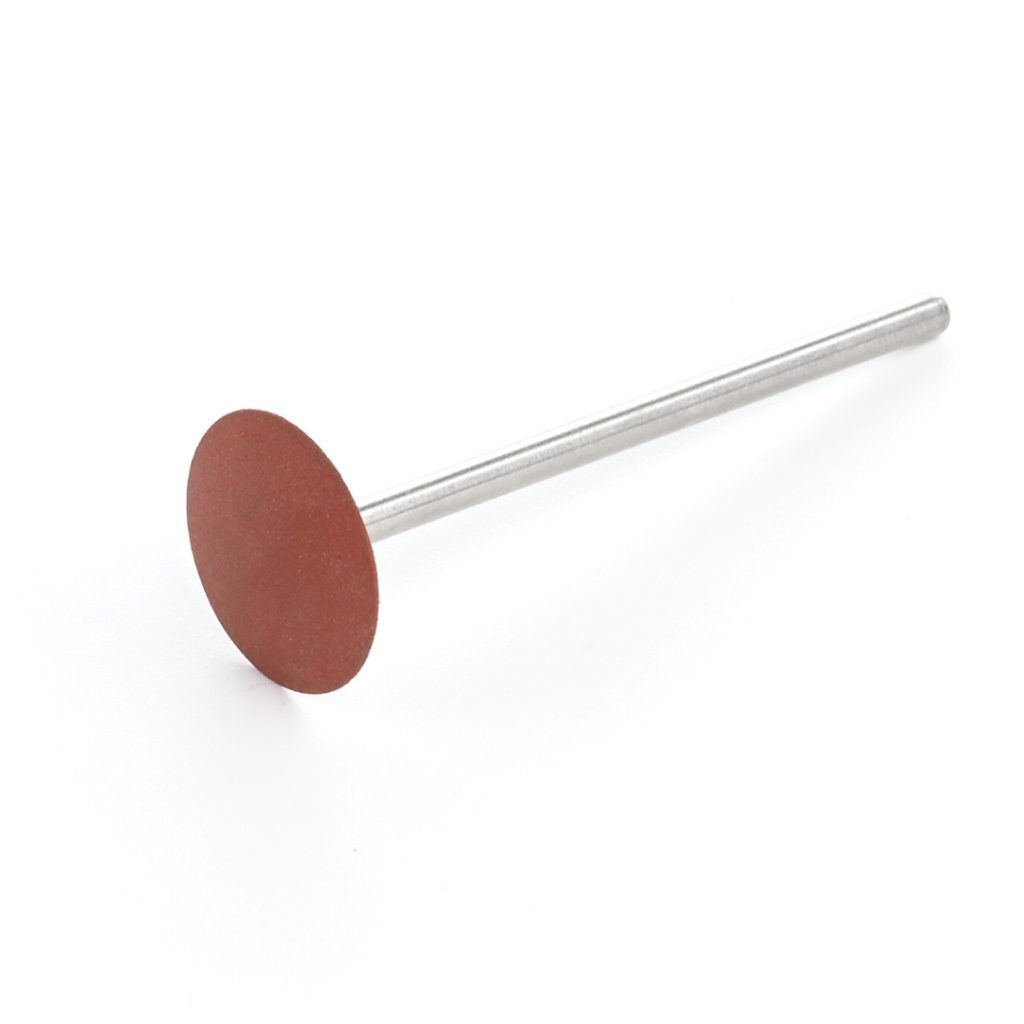
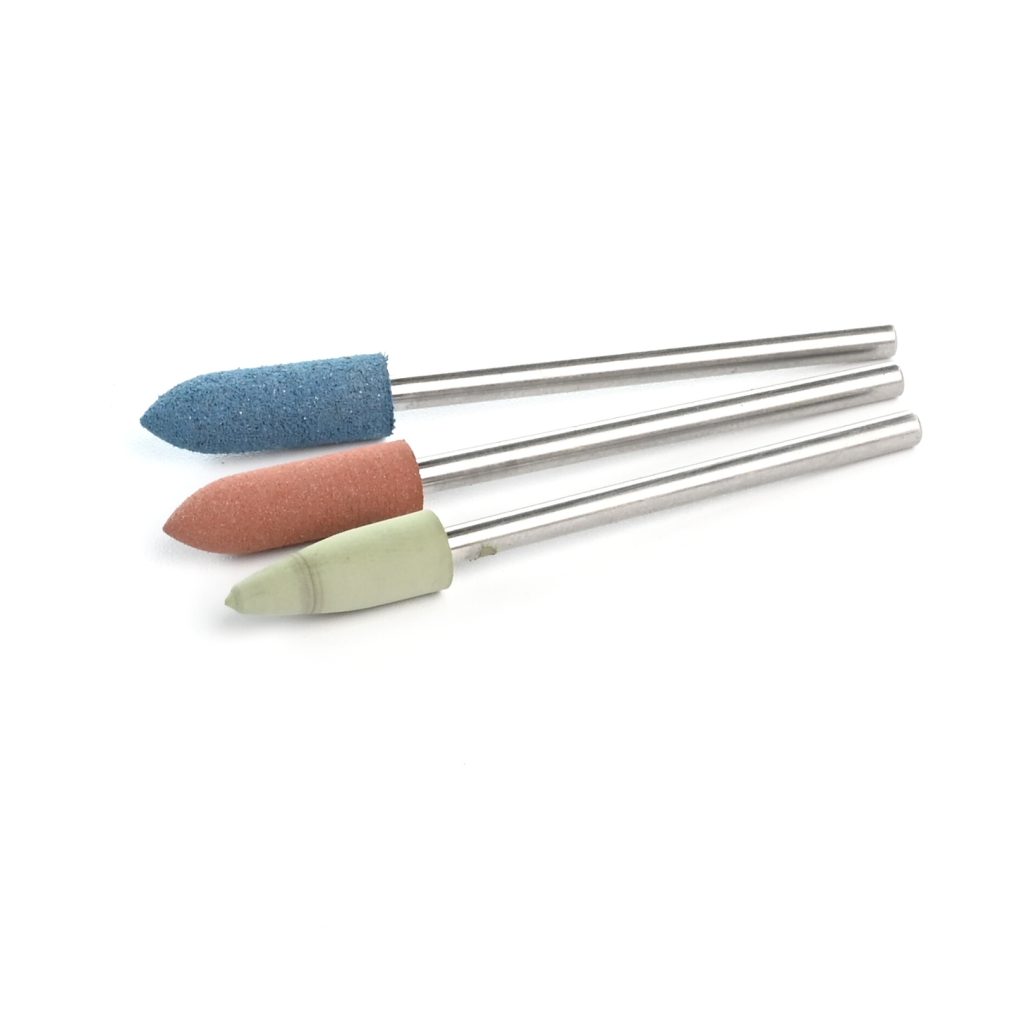
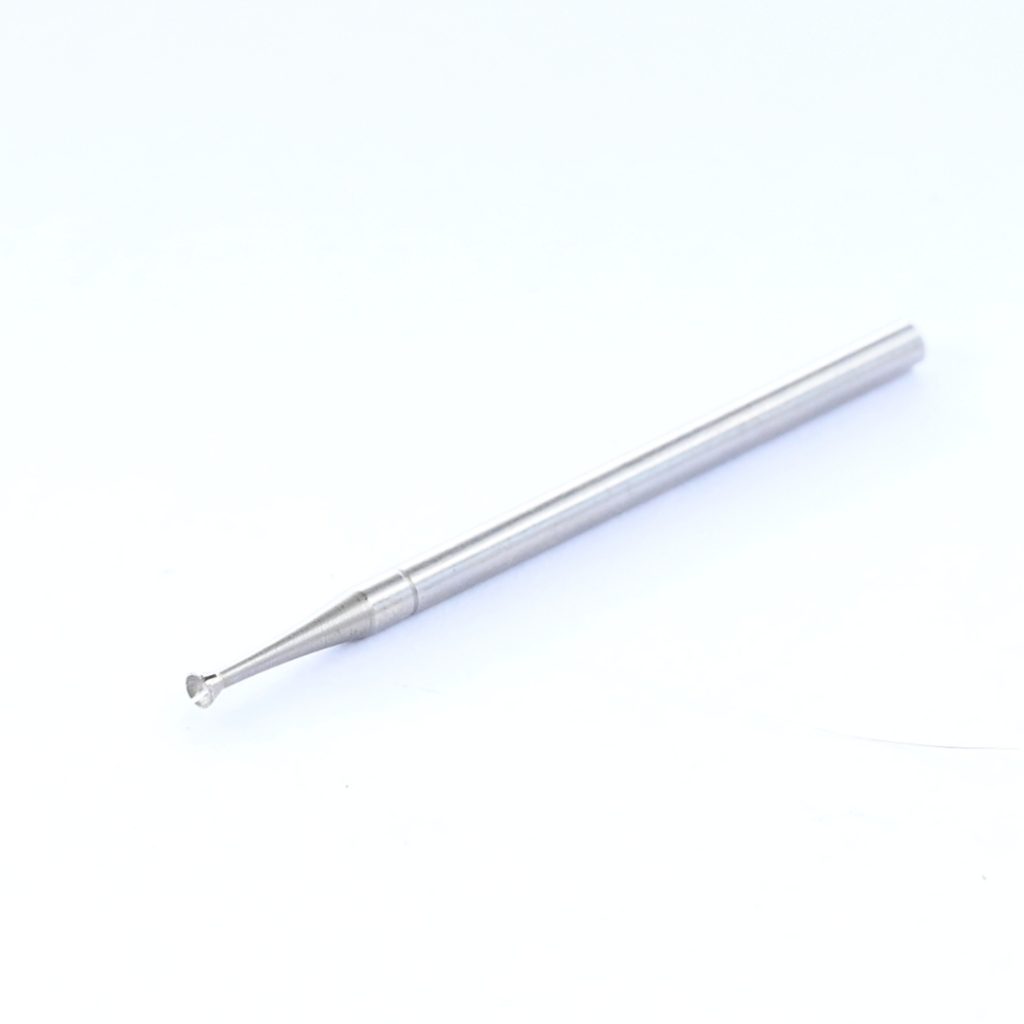
EVEFlex bullet rubber wheel
Used for cleaning up and polishing the inside of the setting – I use all grits from coarse to extra fine.
The link is to the fine wheel. However, you can purchase a whole set below.